
Hello Swift!
Swiftを楽しく学ぶための準備をしていきましょう!
Swiftとは
SwiftはAppleが開発したプログラミング言語で、主にiOS、Mac、Apple watchなどのApple製品に対するアプリ開発に使用されます。
高いパフォーマンスと安全性、シンプルな構文を持つ言語です。
Xcodeのインストール
Swiftを使ってアプリ開発をする場合は、Xcodeというアプリが必要なのでインストールしましょう。(※Macでしかインストールできません。)
Xcodeをインストールする方法を2つ紹介します。
インストールの前にまずは、macOSのバージョンを最新にしておきましょう。

Appleマーク→システム設定
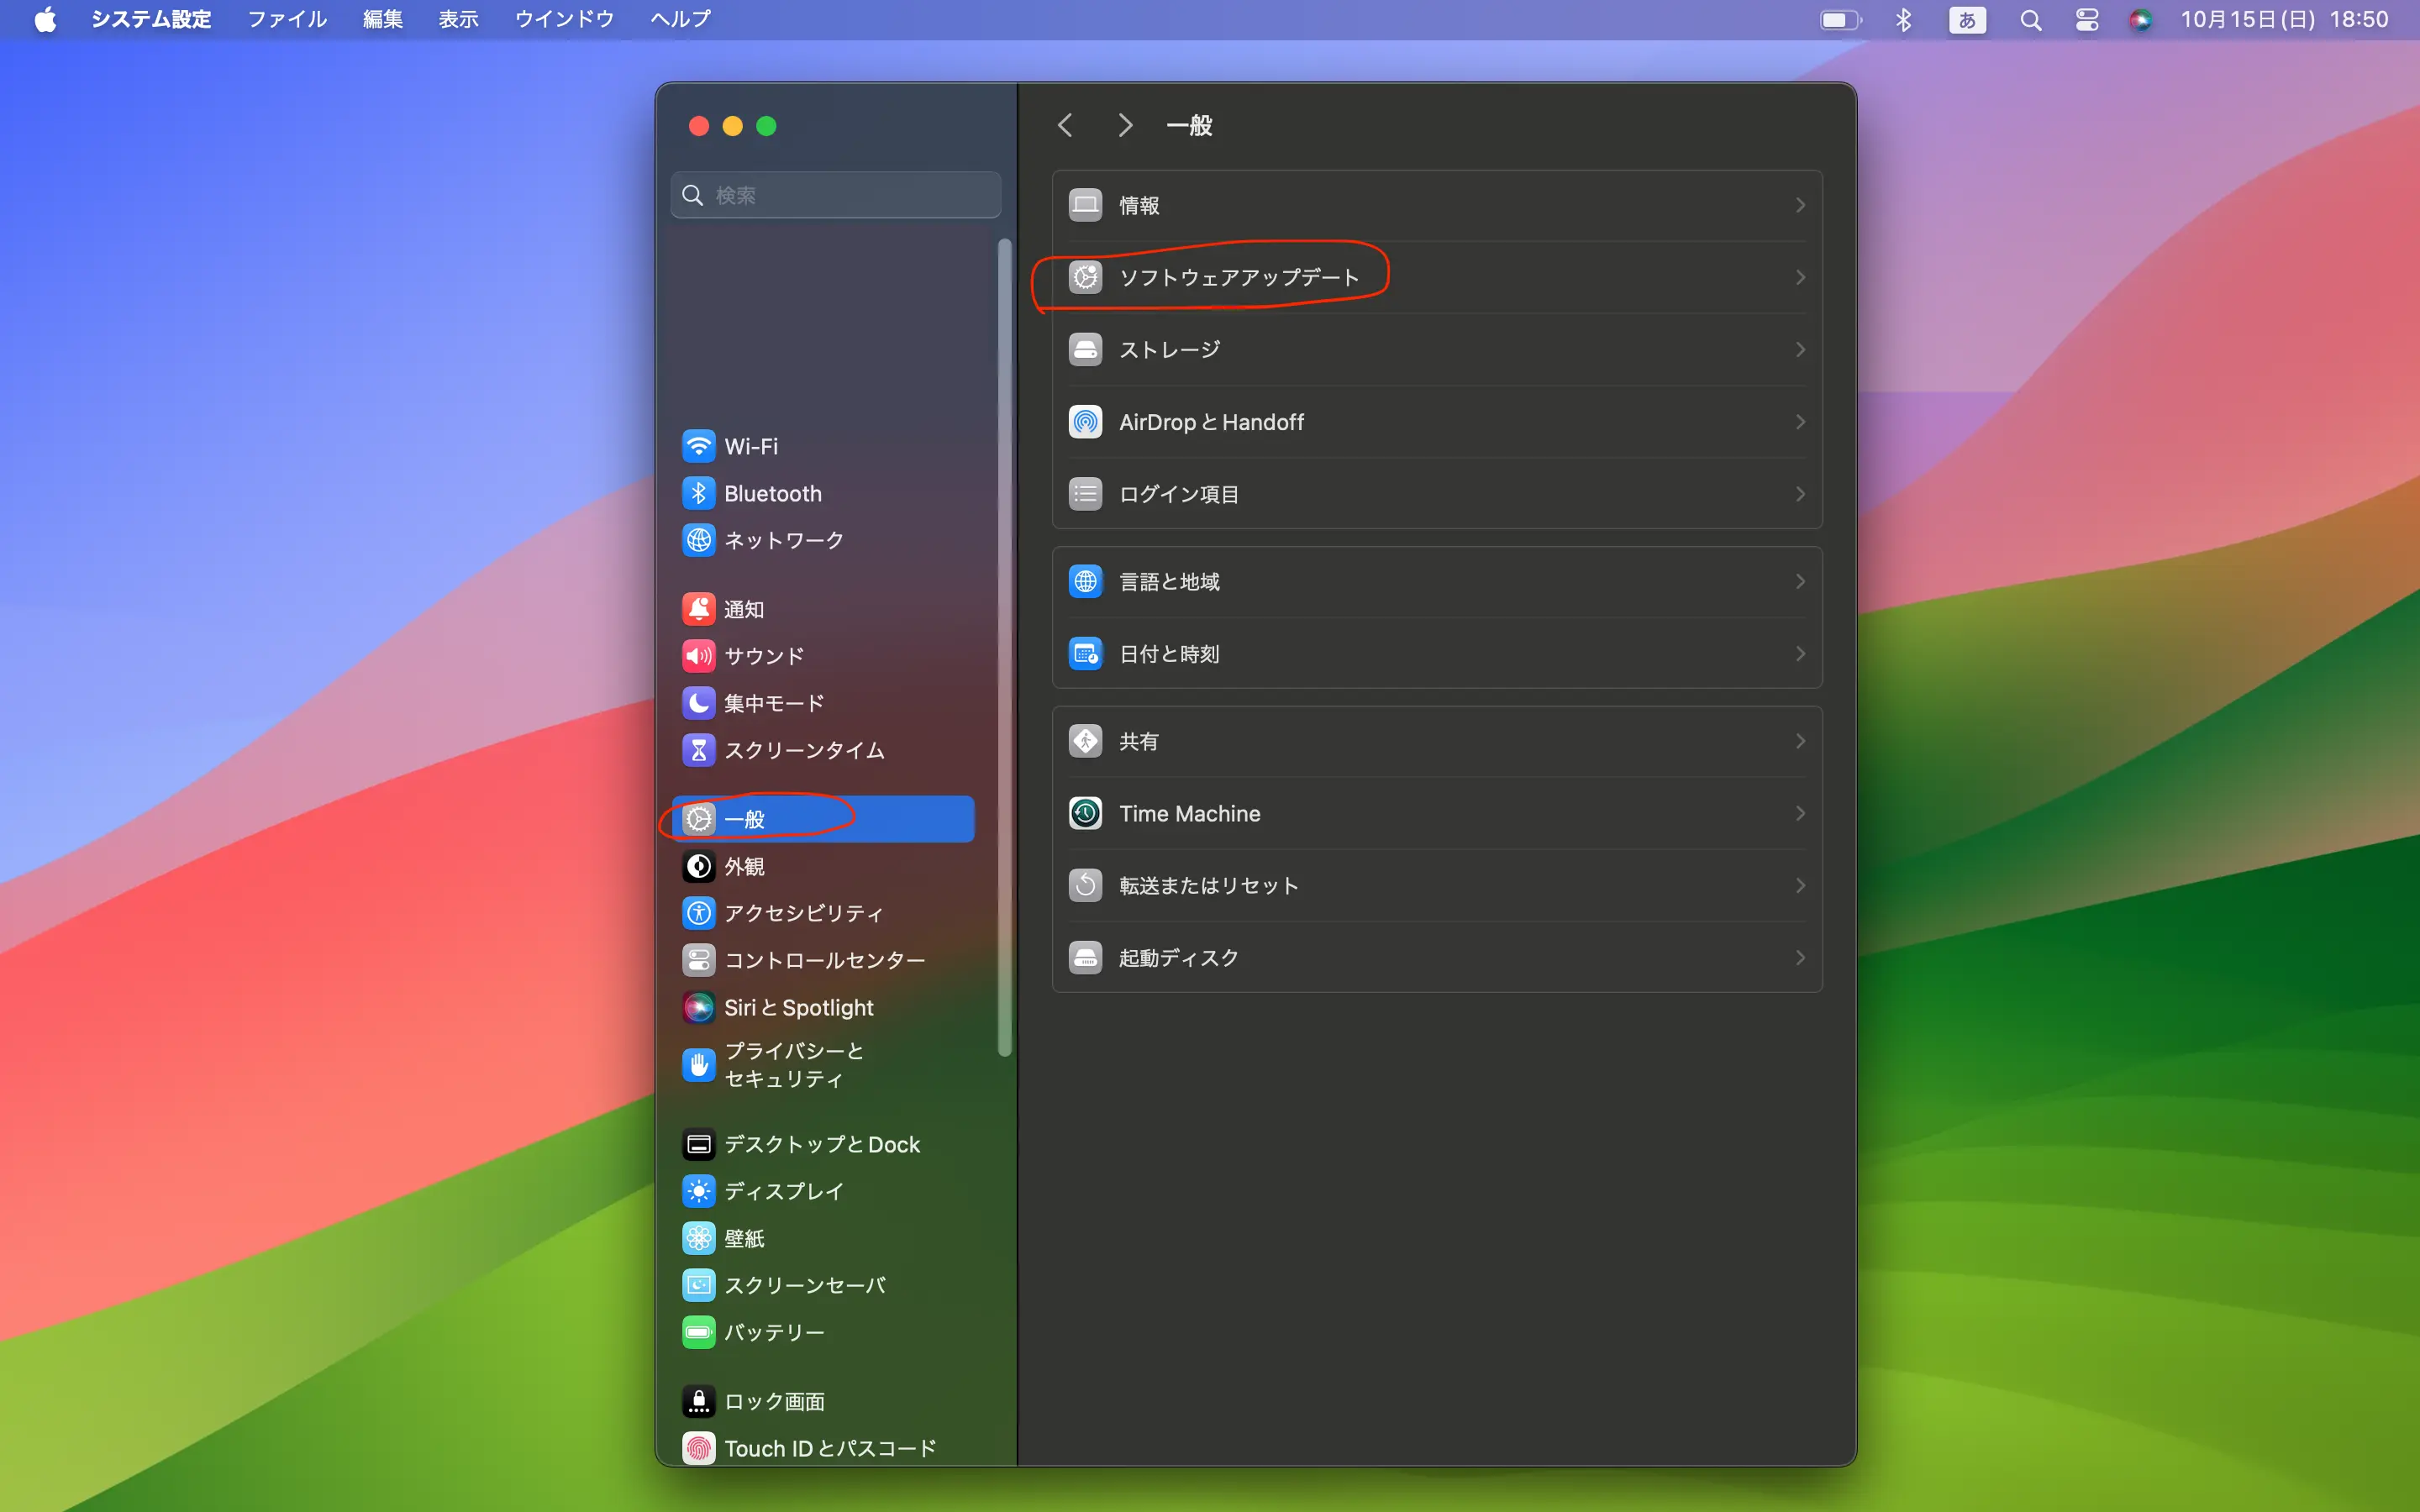
一般→ソフトウェアアップデート
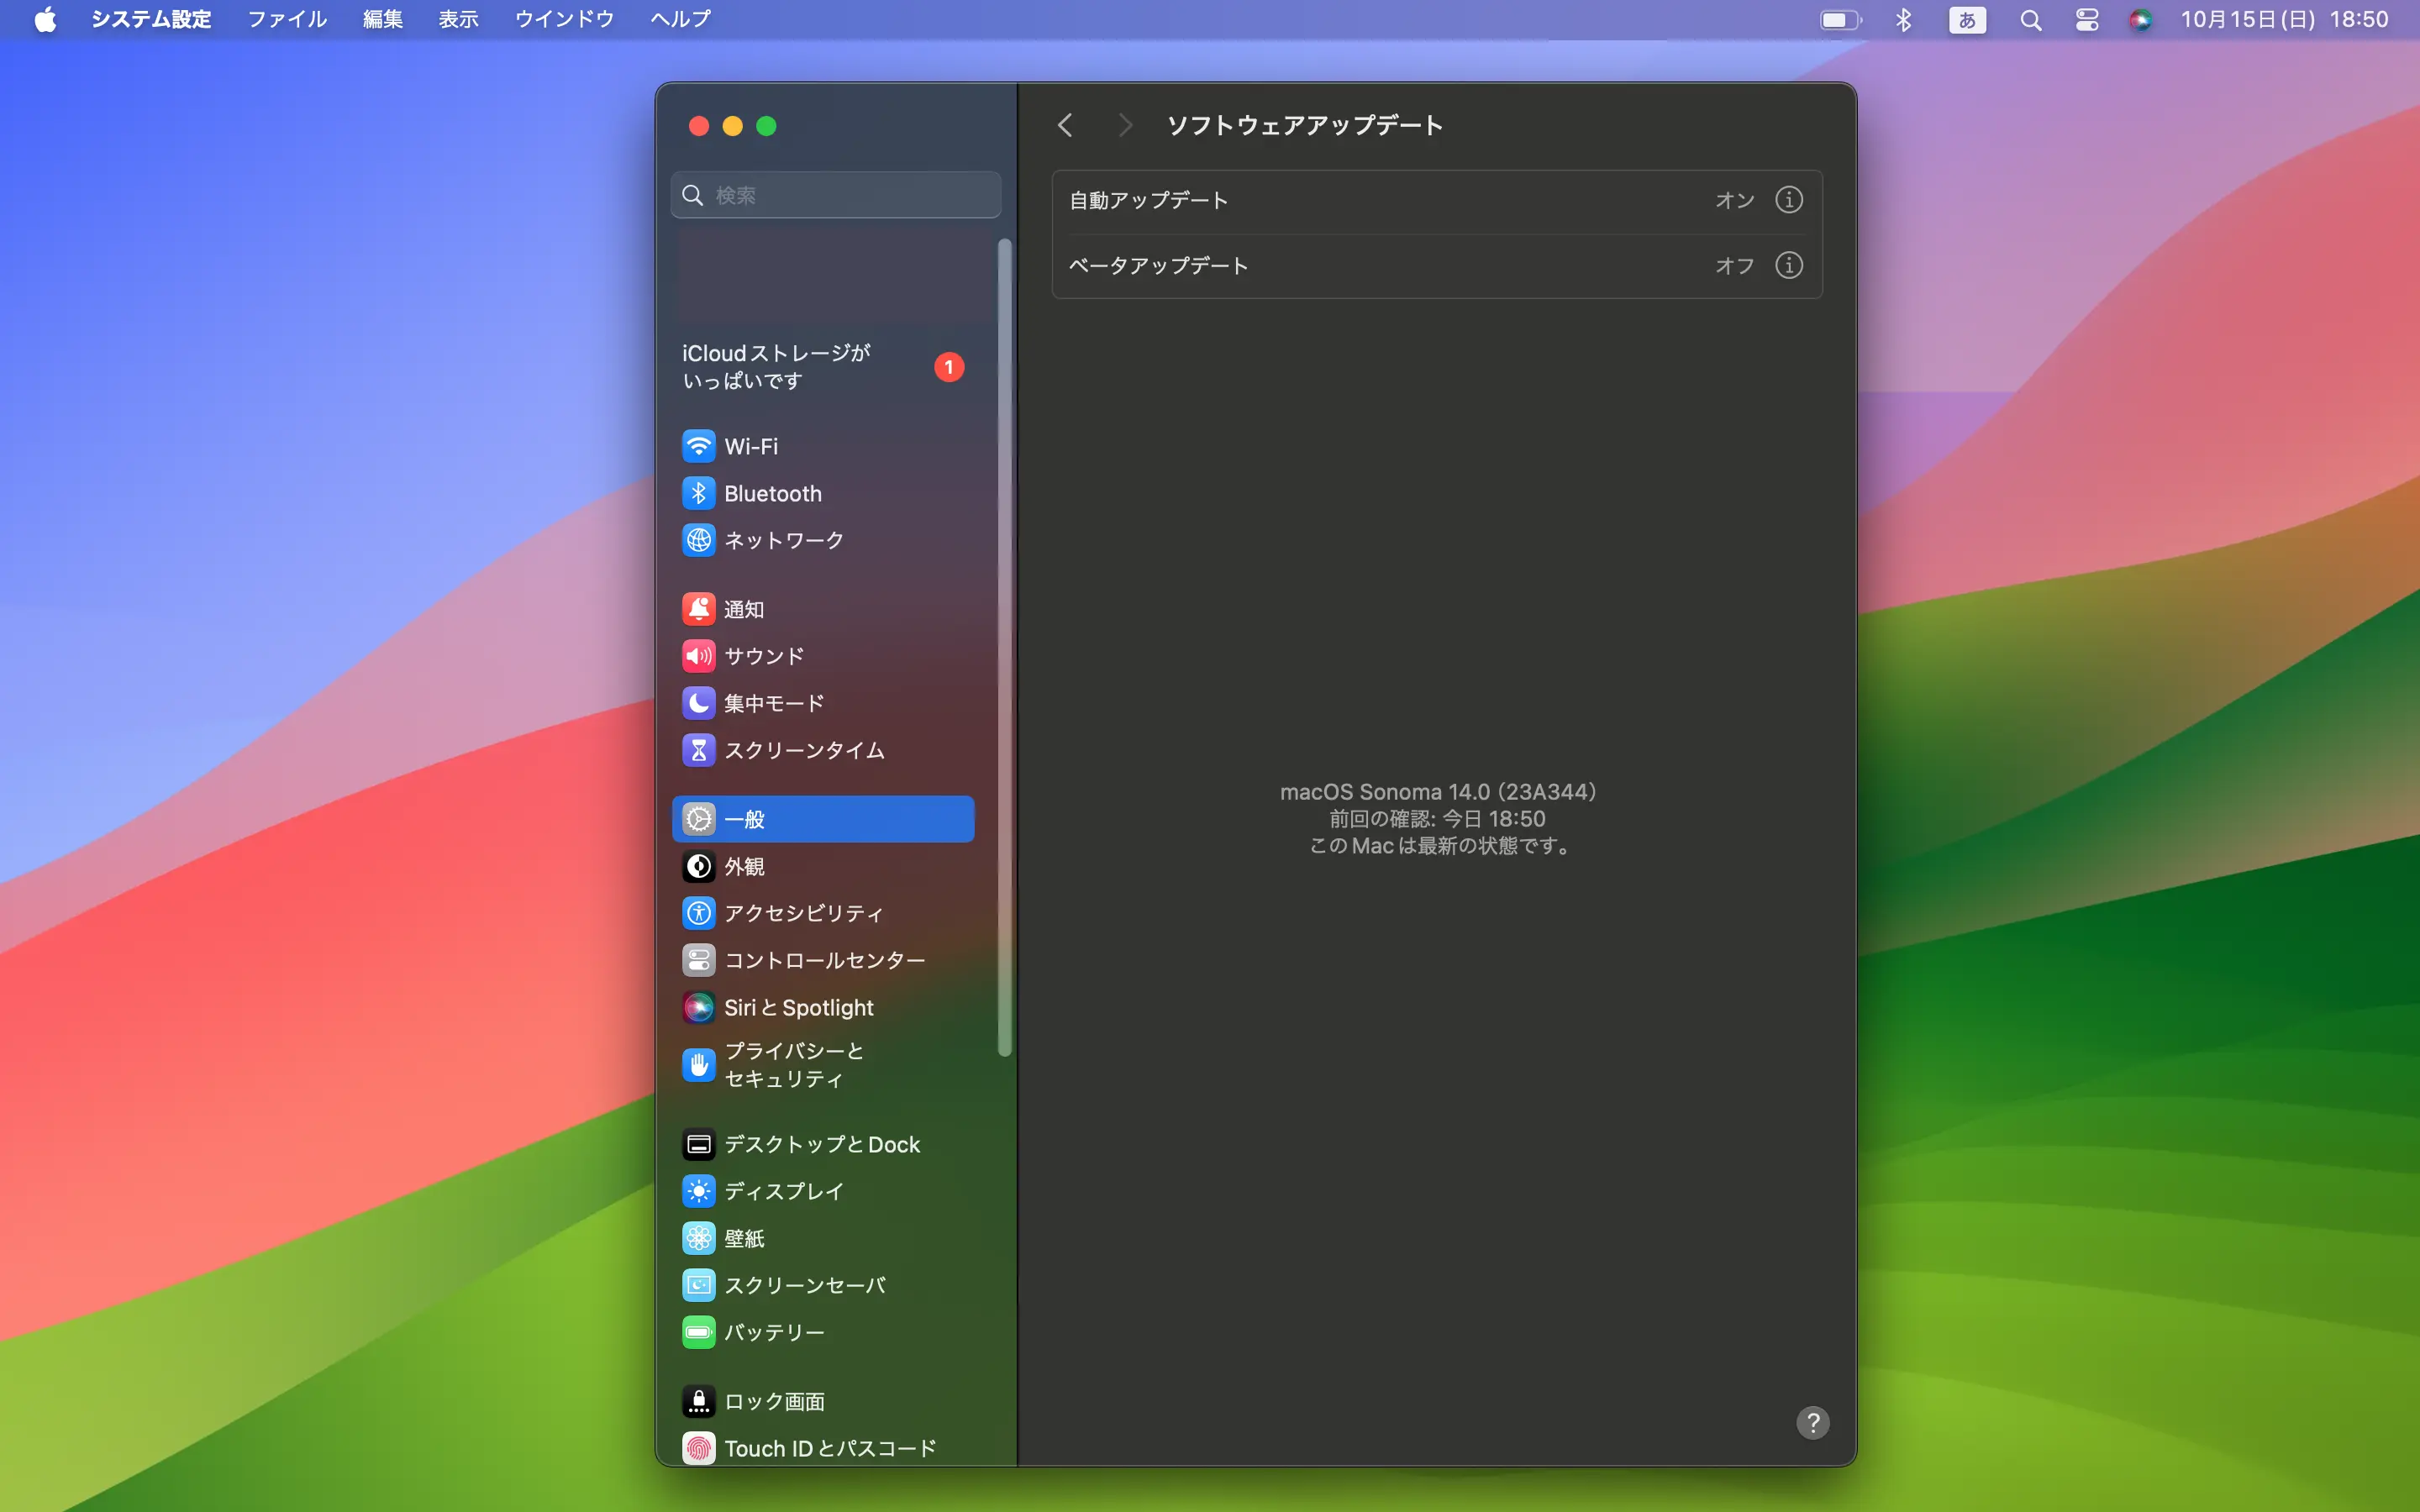
「このMacは最新の状態です。」と表示されたら大丈夫です。
表示されなかったらOSのアップデートをしてください。
ではXcodeをインストールしていきましょう。
App Store
最も一般的な方法です。
ですが、Xcodesからのインストールの方が早くて確実なのでおすすめです。
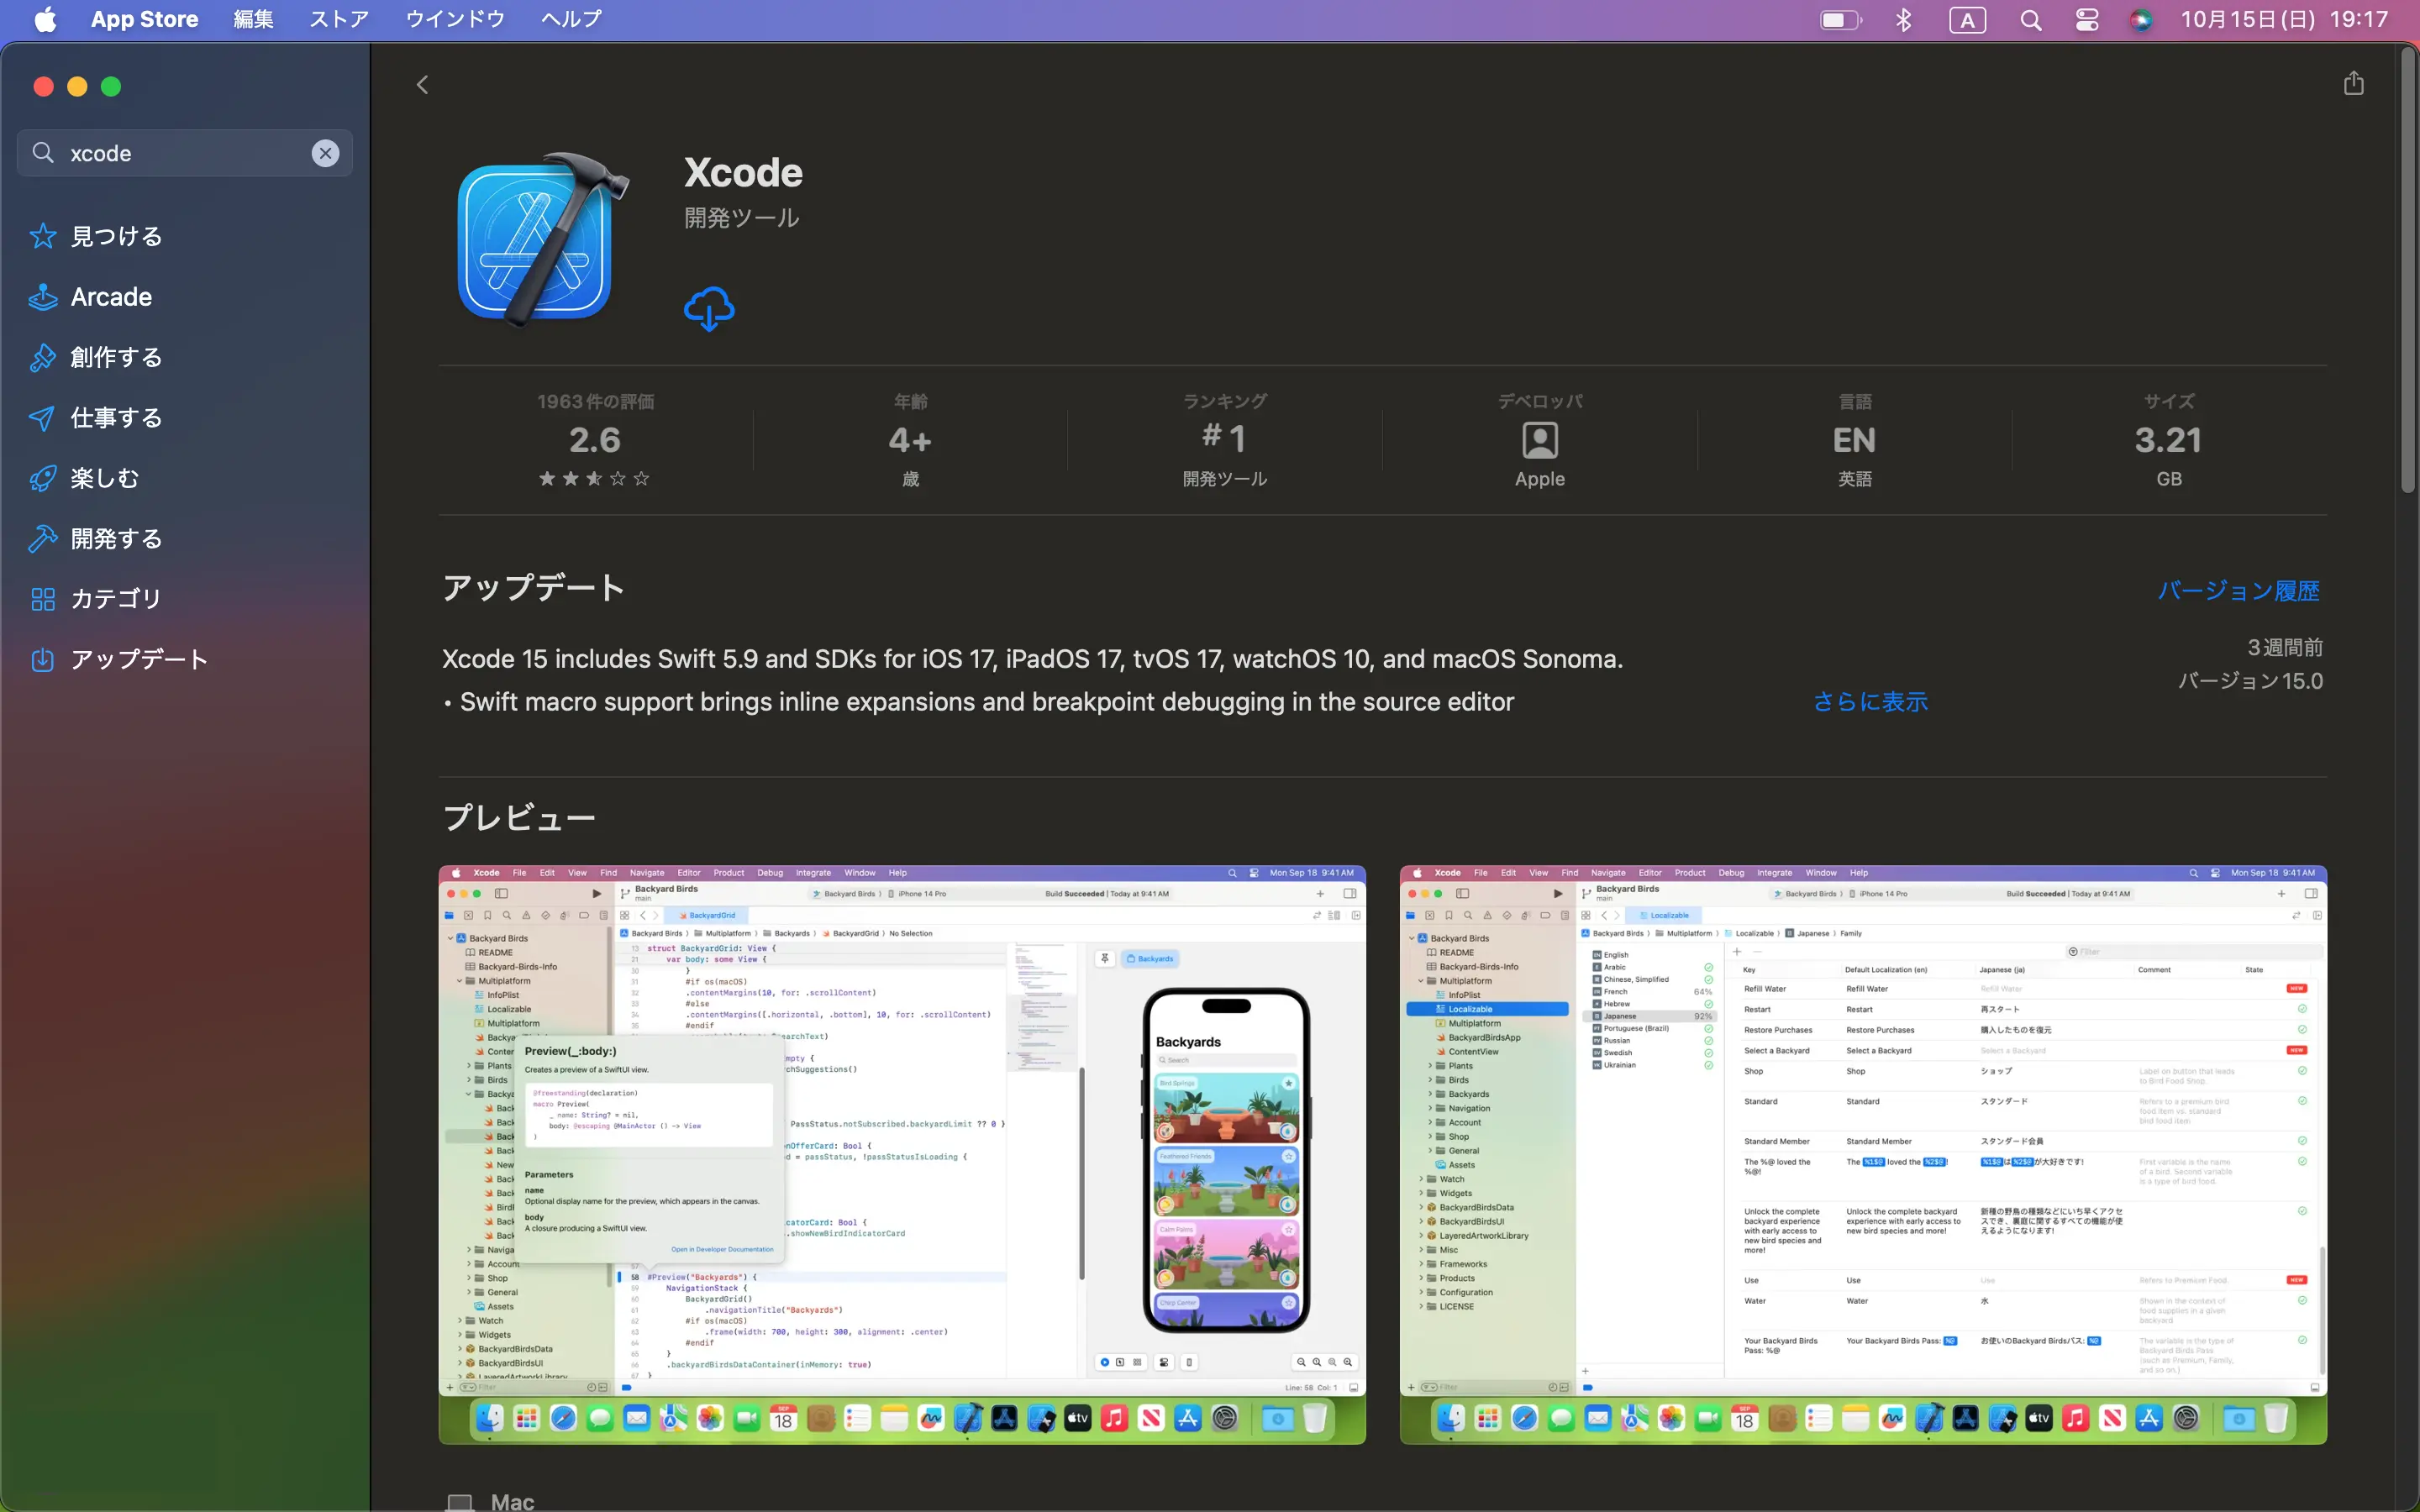
App Storeを開いて「xcode」と検索し、上記のアプリをインストールしてください。
アプリサイズが大きいので、安定した通信環境でインストールしましょう。
Xcodes
Xcodesアプリ経由でやると、App Storeからよりも確実に速くインストールができます。
App Storeからのインストール、Xcodesからのインストールどっちもやりましたが、Xcodesの方が速くインストールできました。
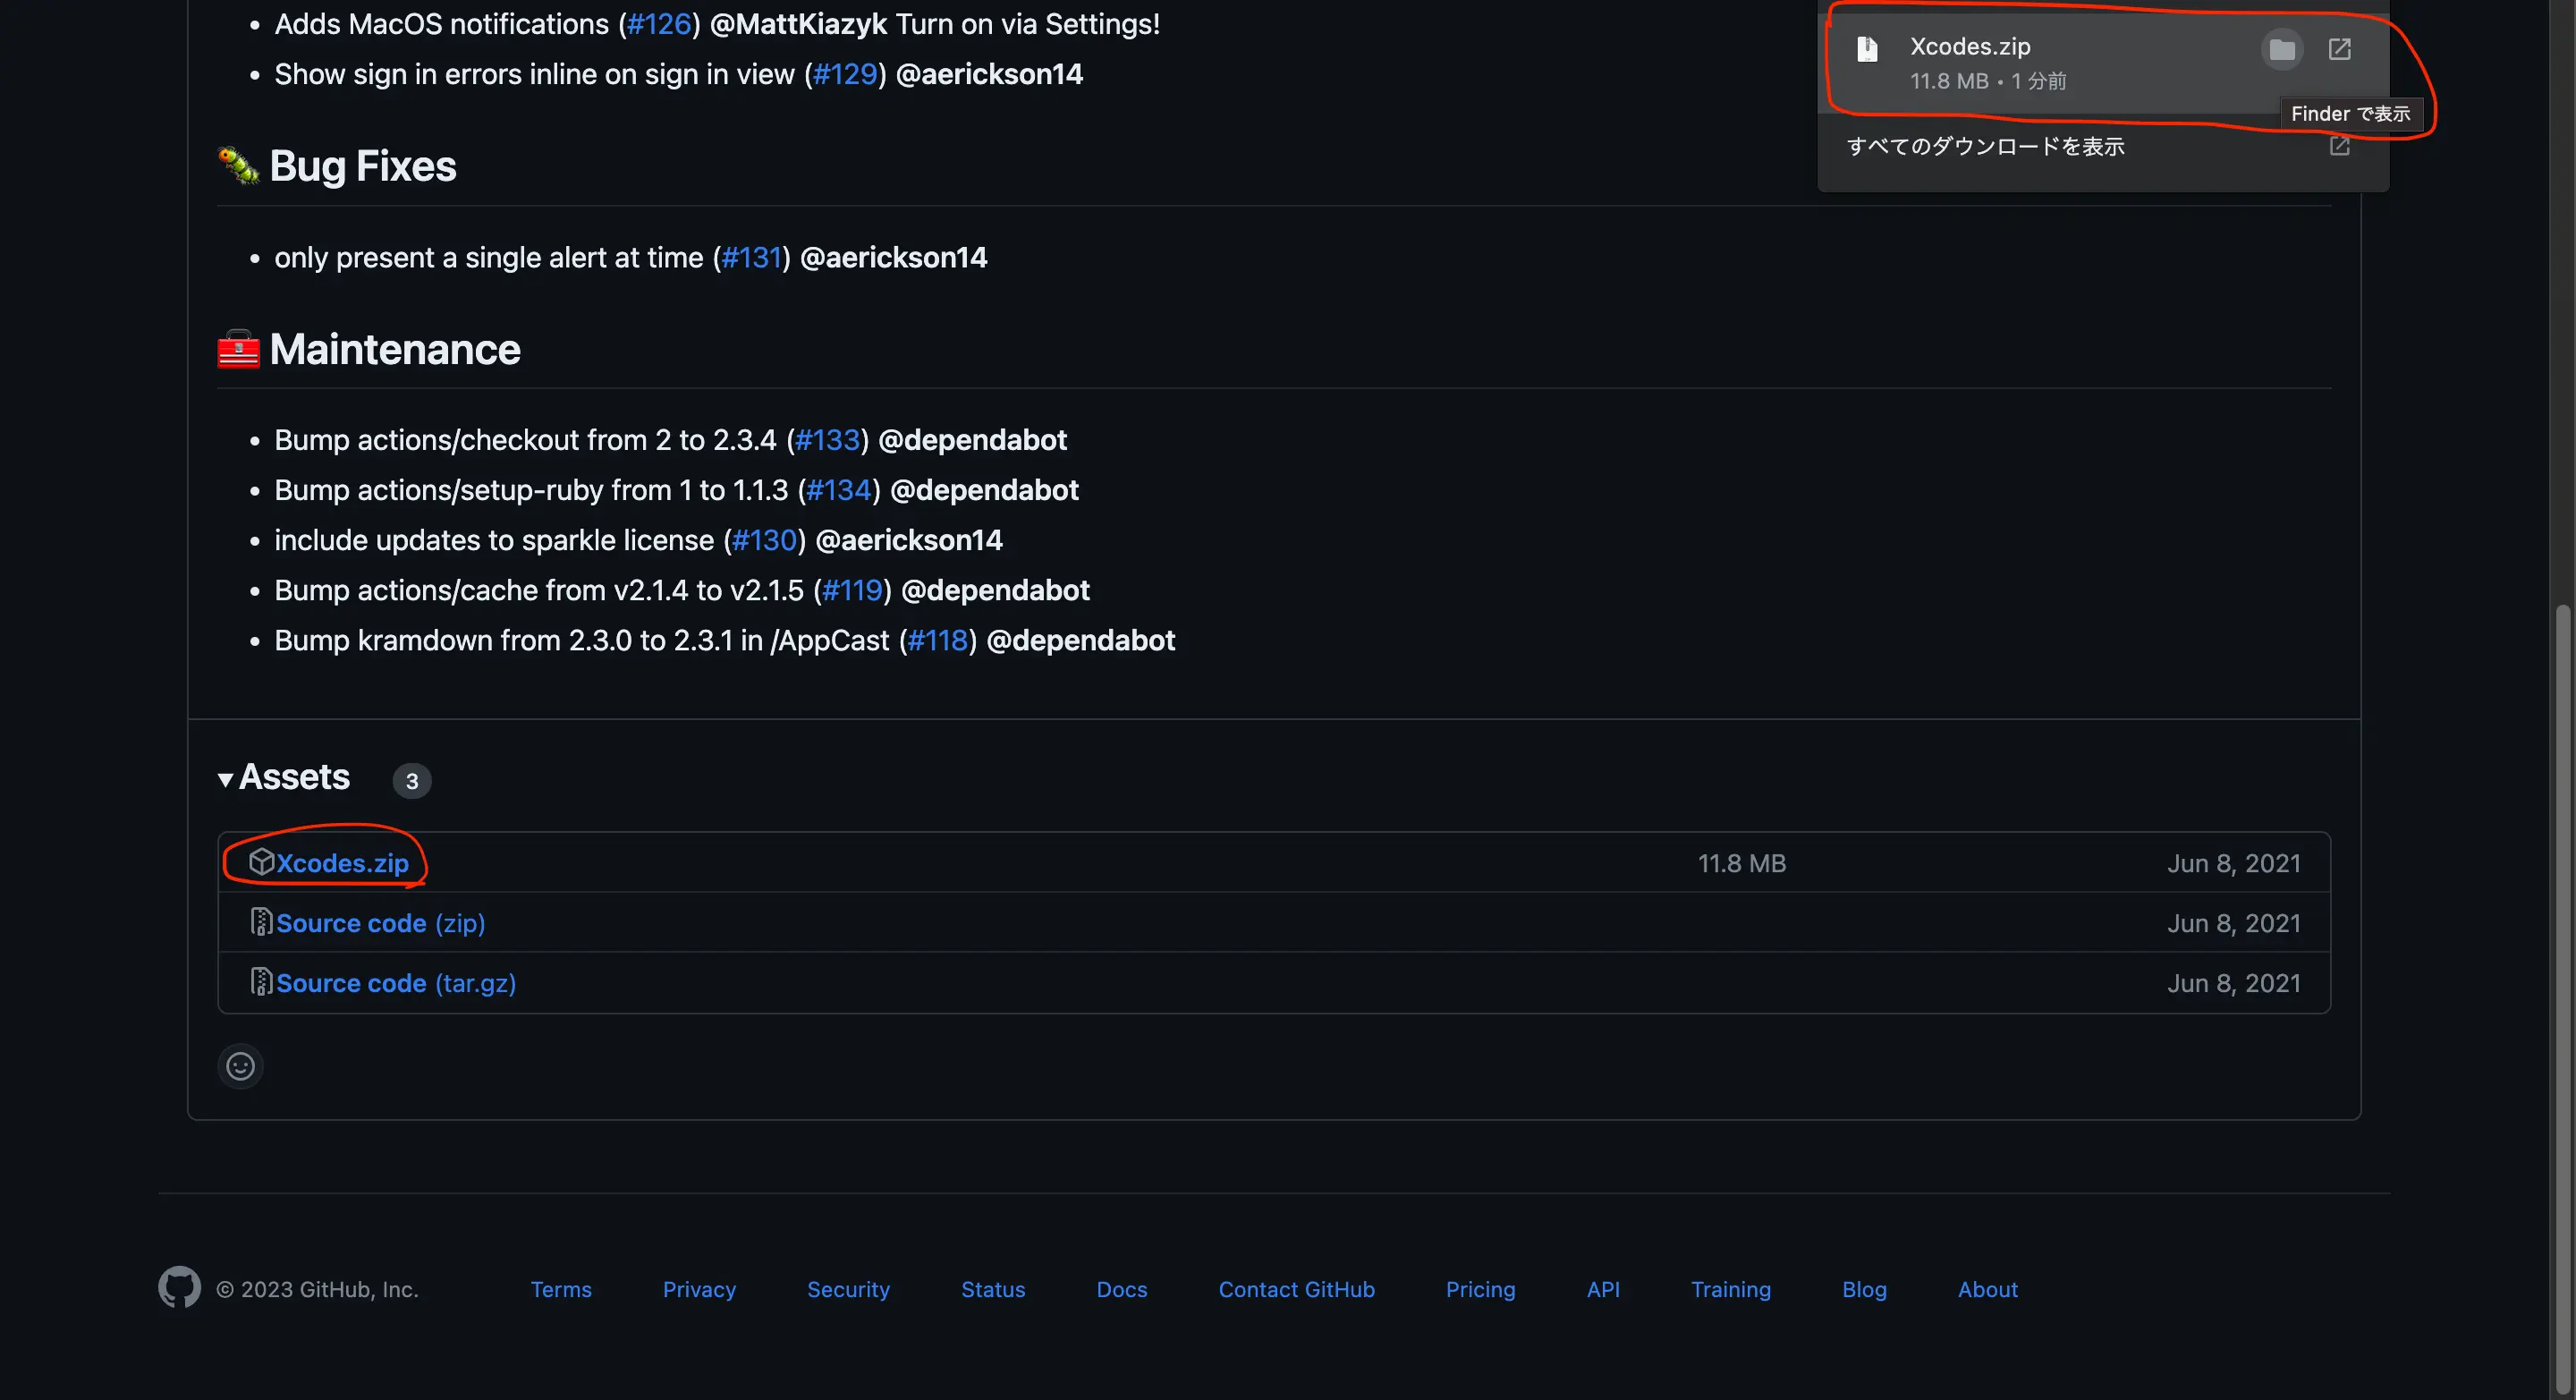
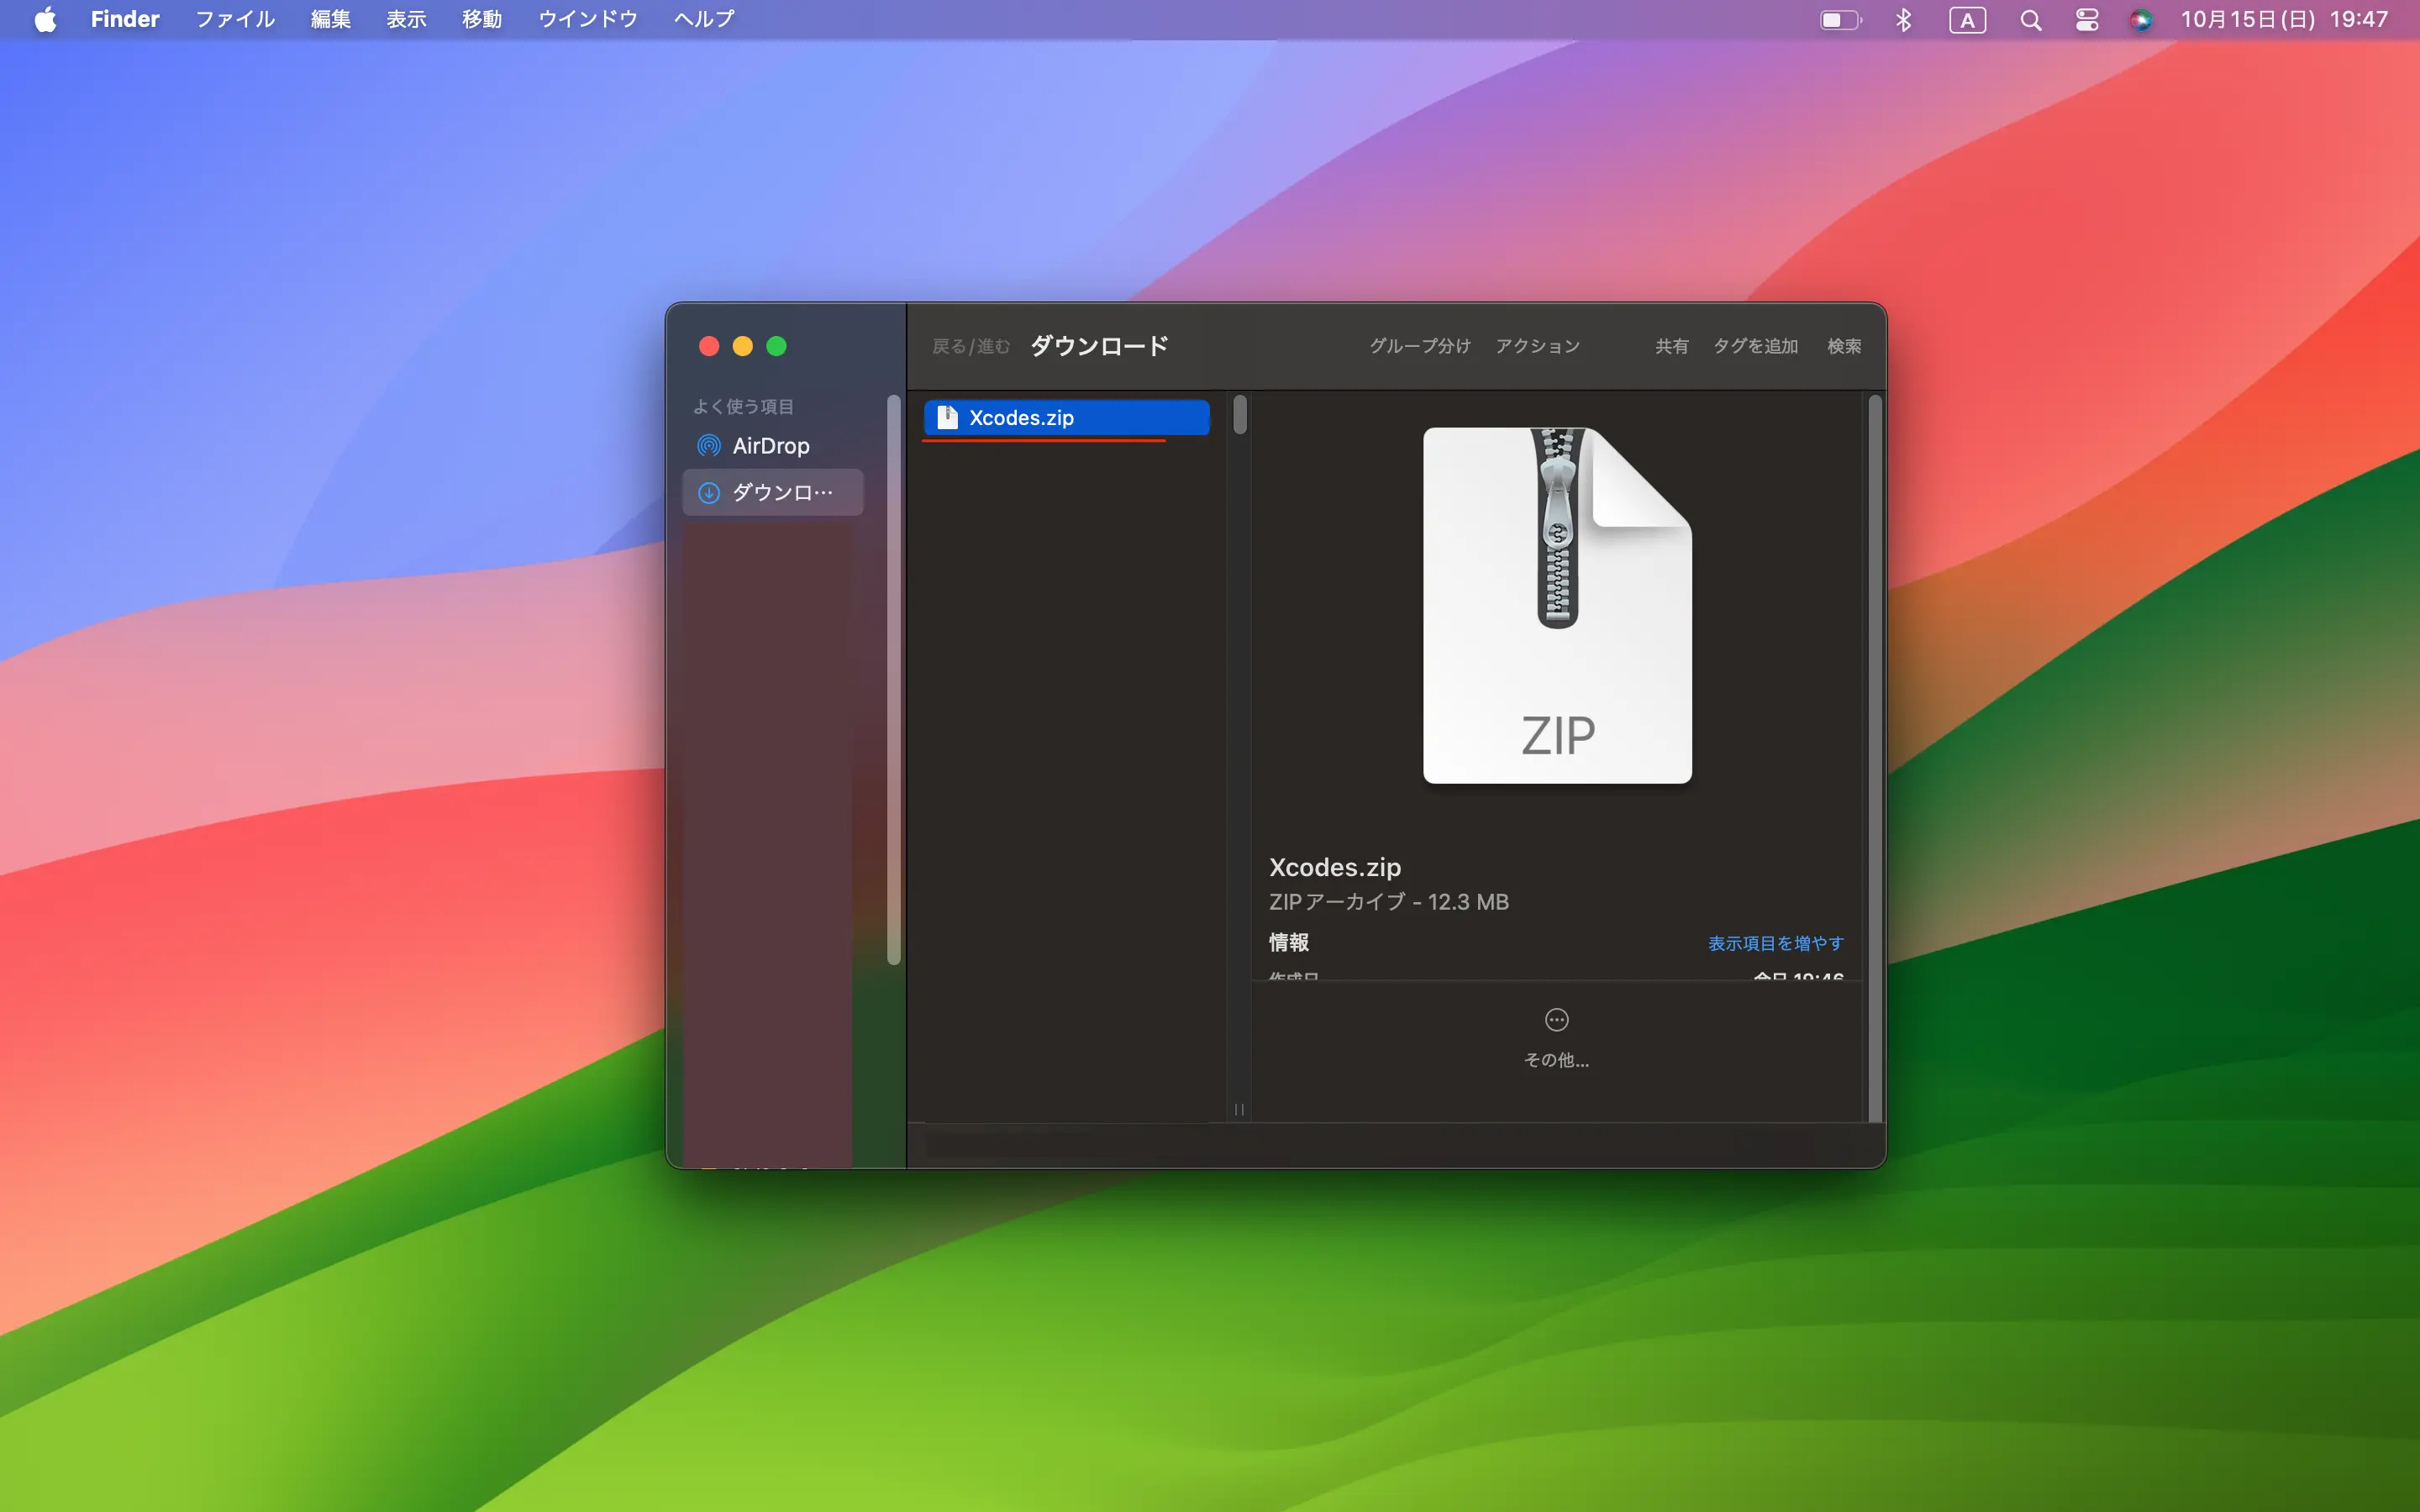
GitHubのページの下の方から「Xcodes.zip」をクリックし、ダウンロードが終わったらFinderで開きます。
zipファイルをダブルクリックして展開。
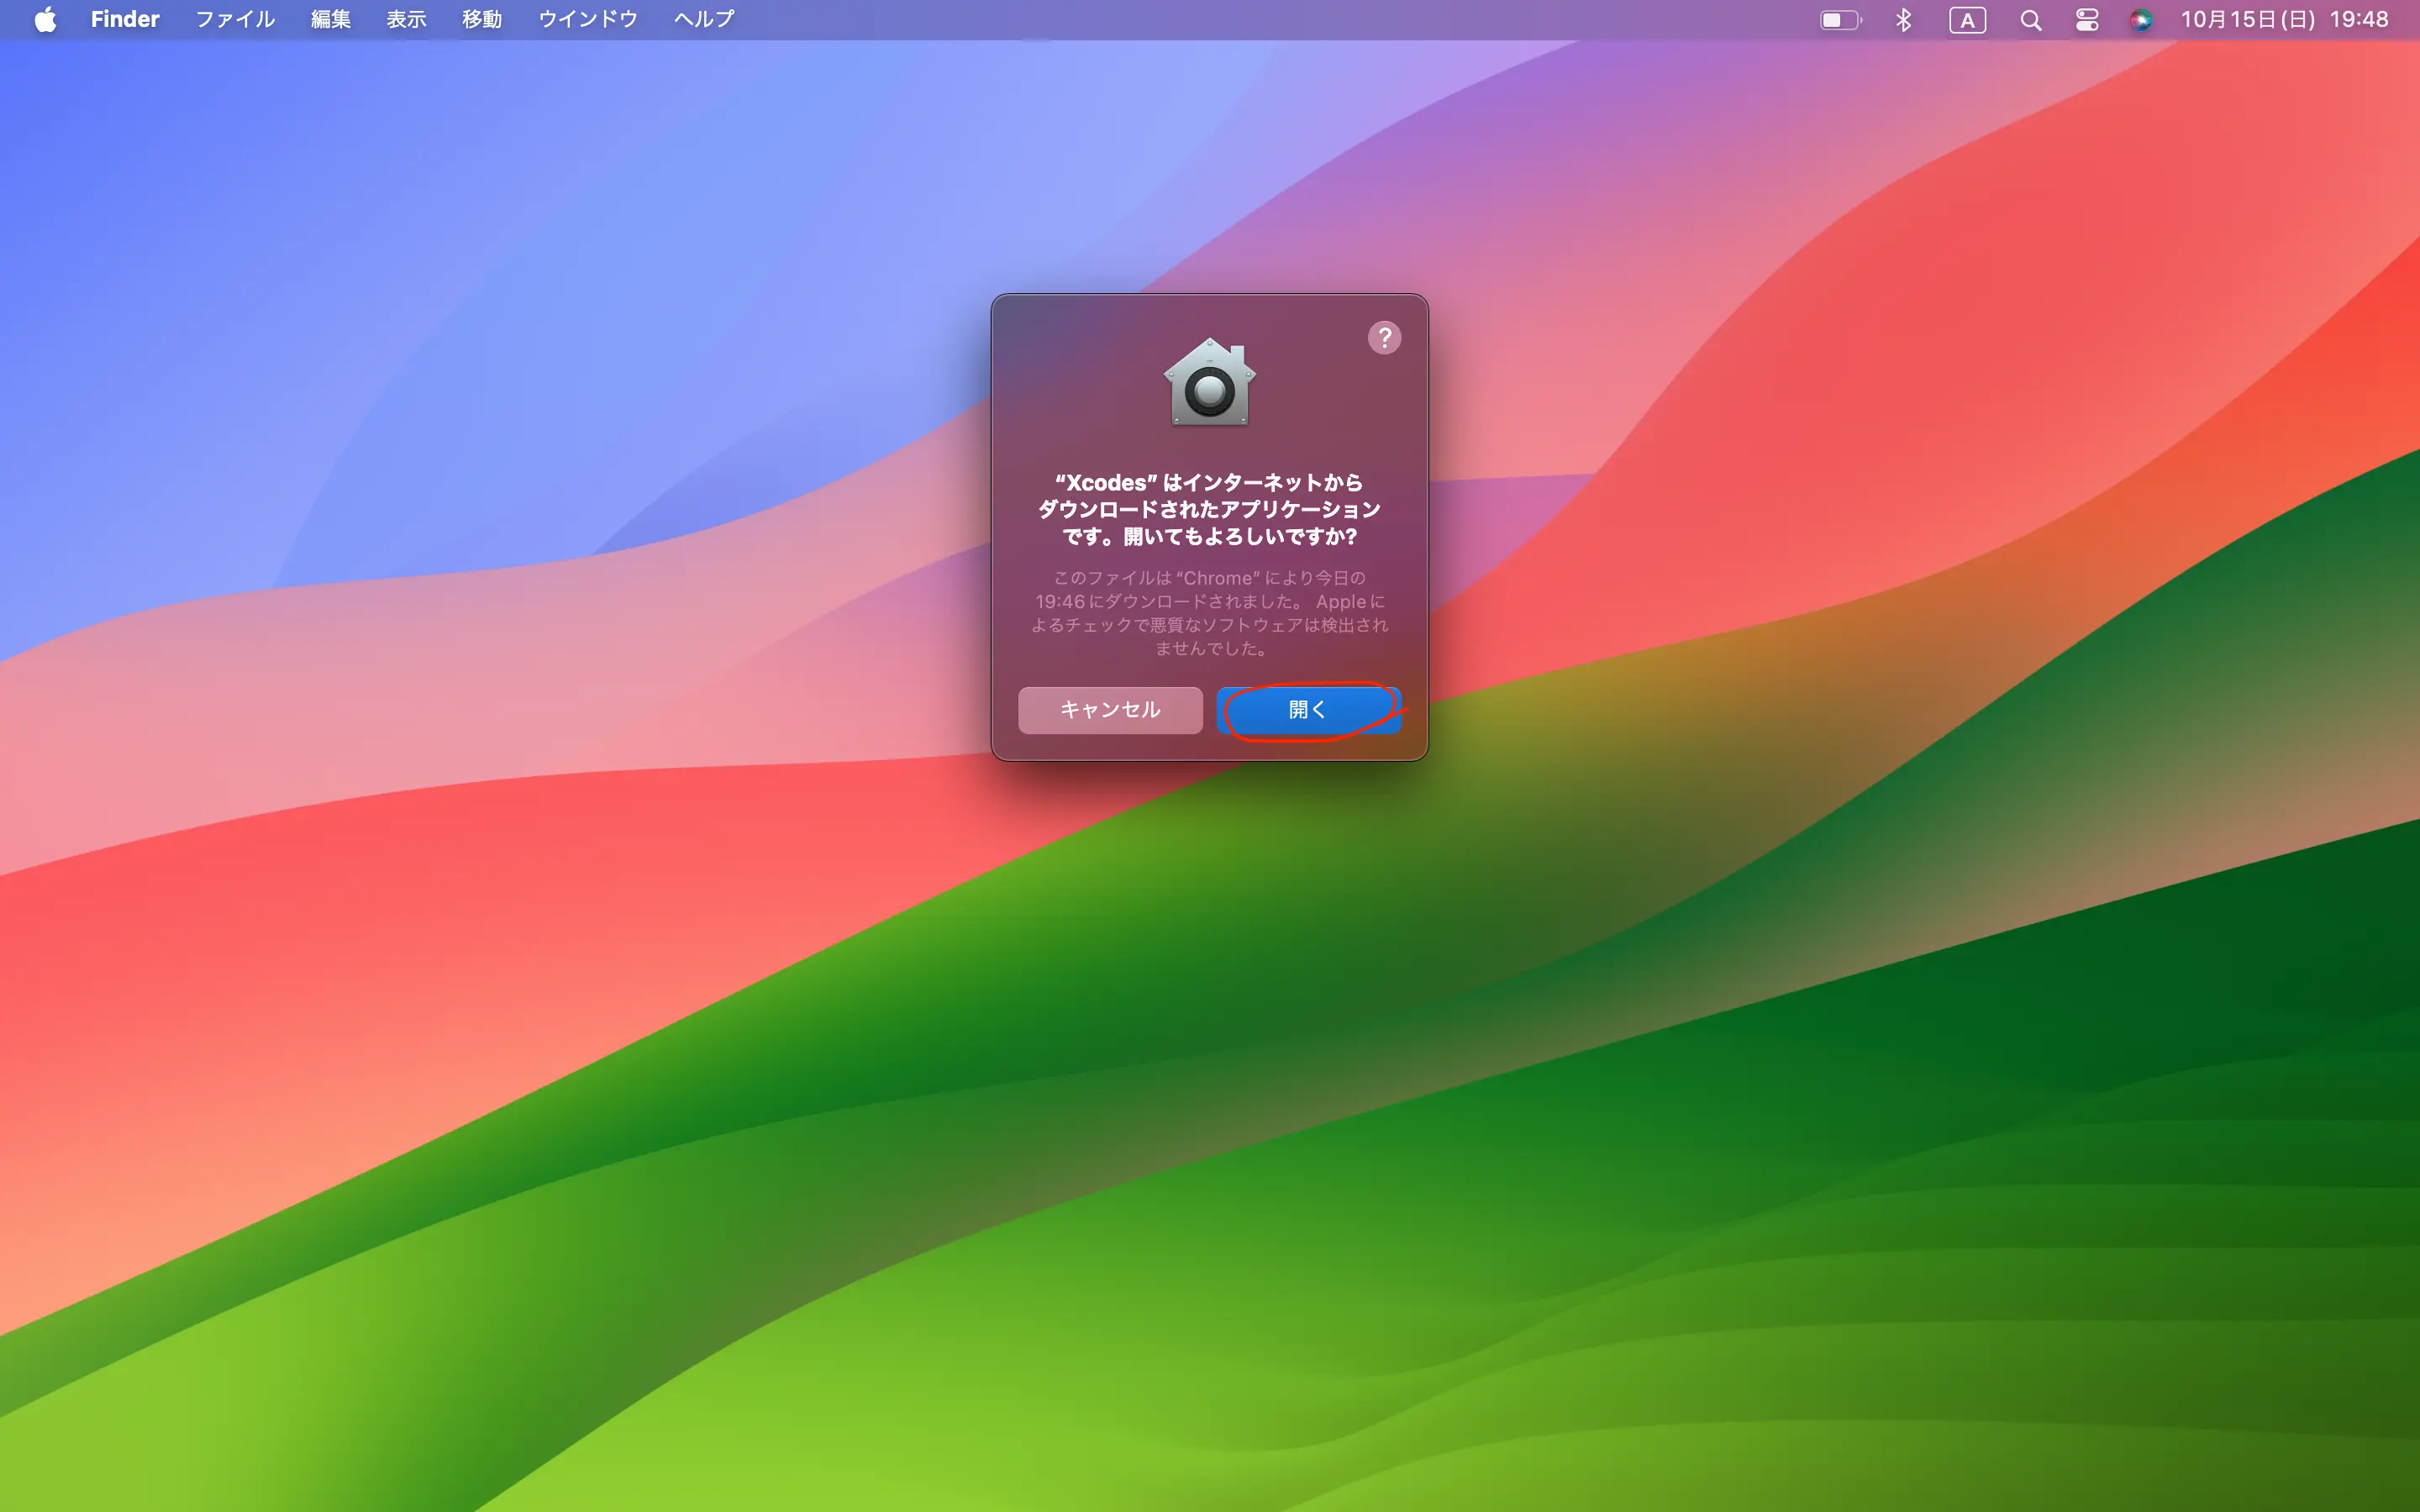
アプリを開く。

開く
このような画面になるので、人マークをクリック。
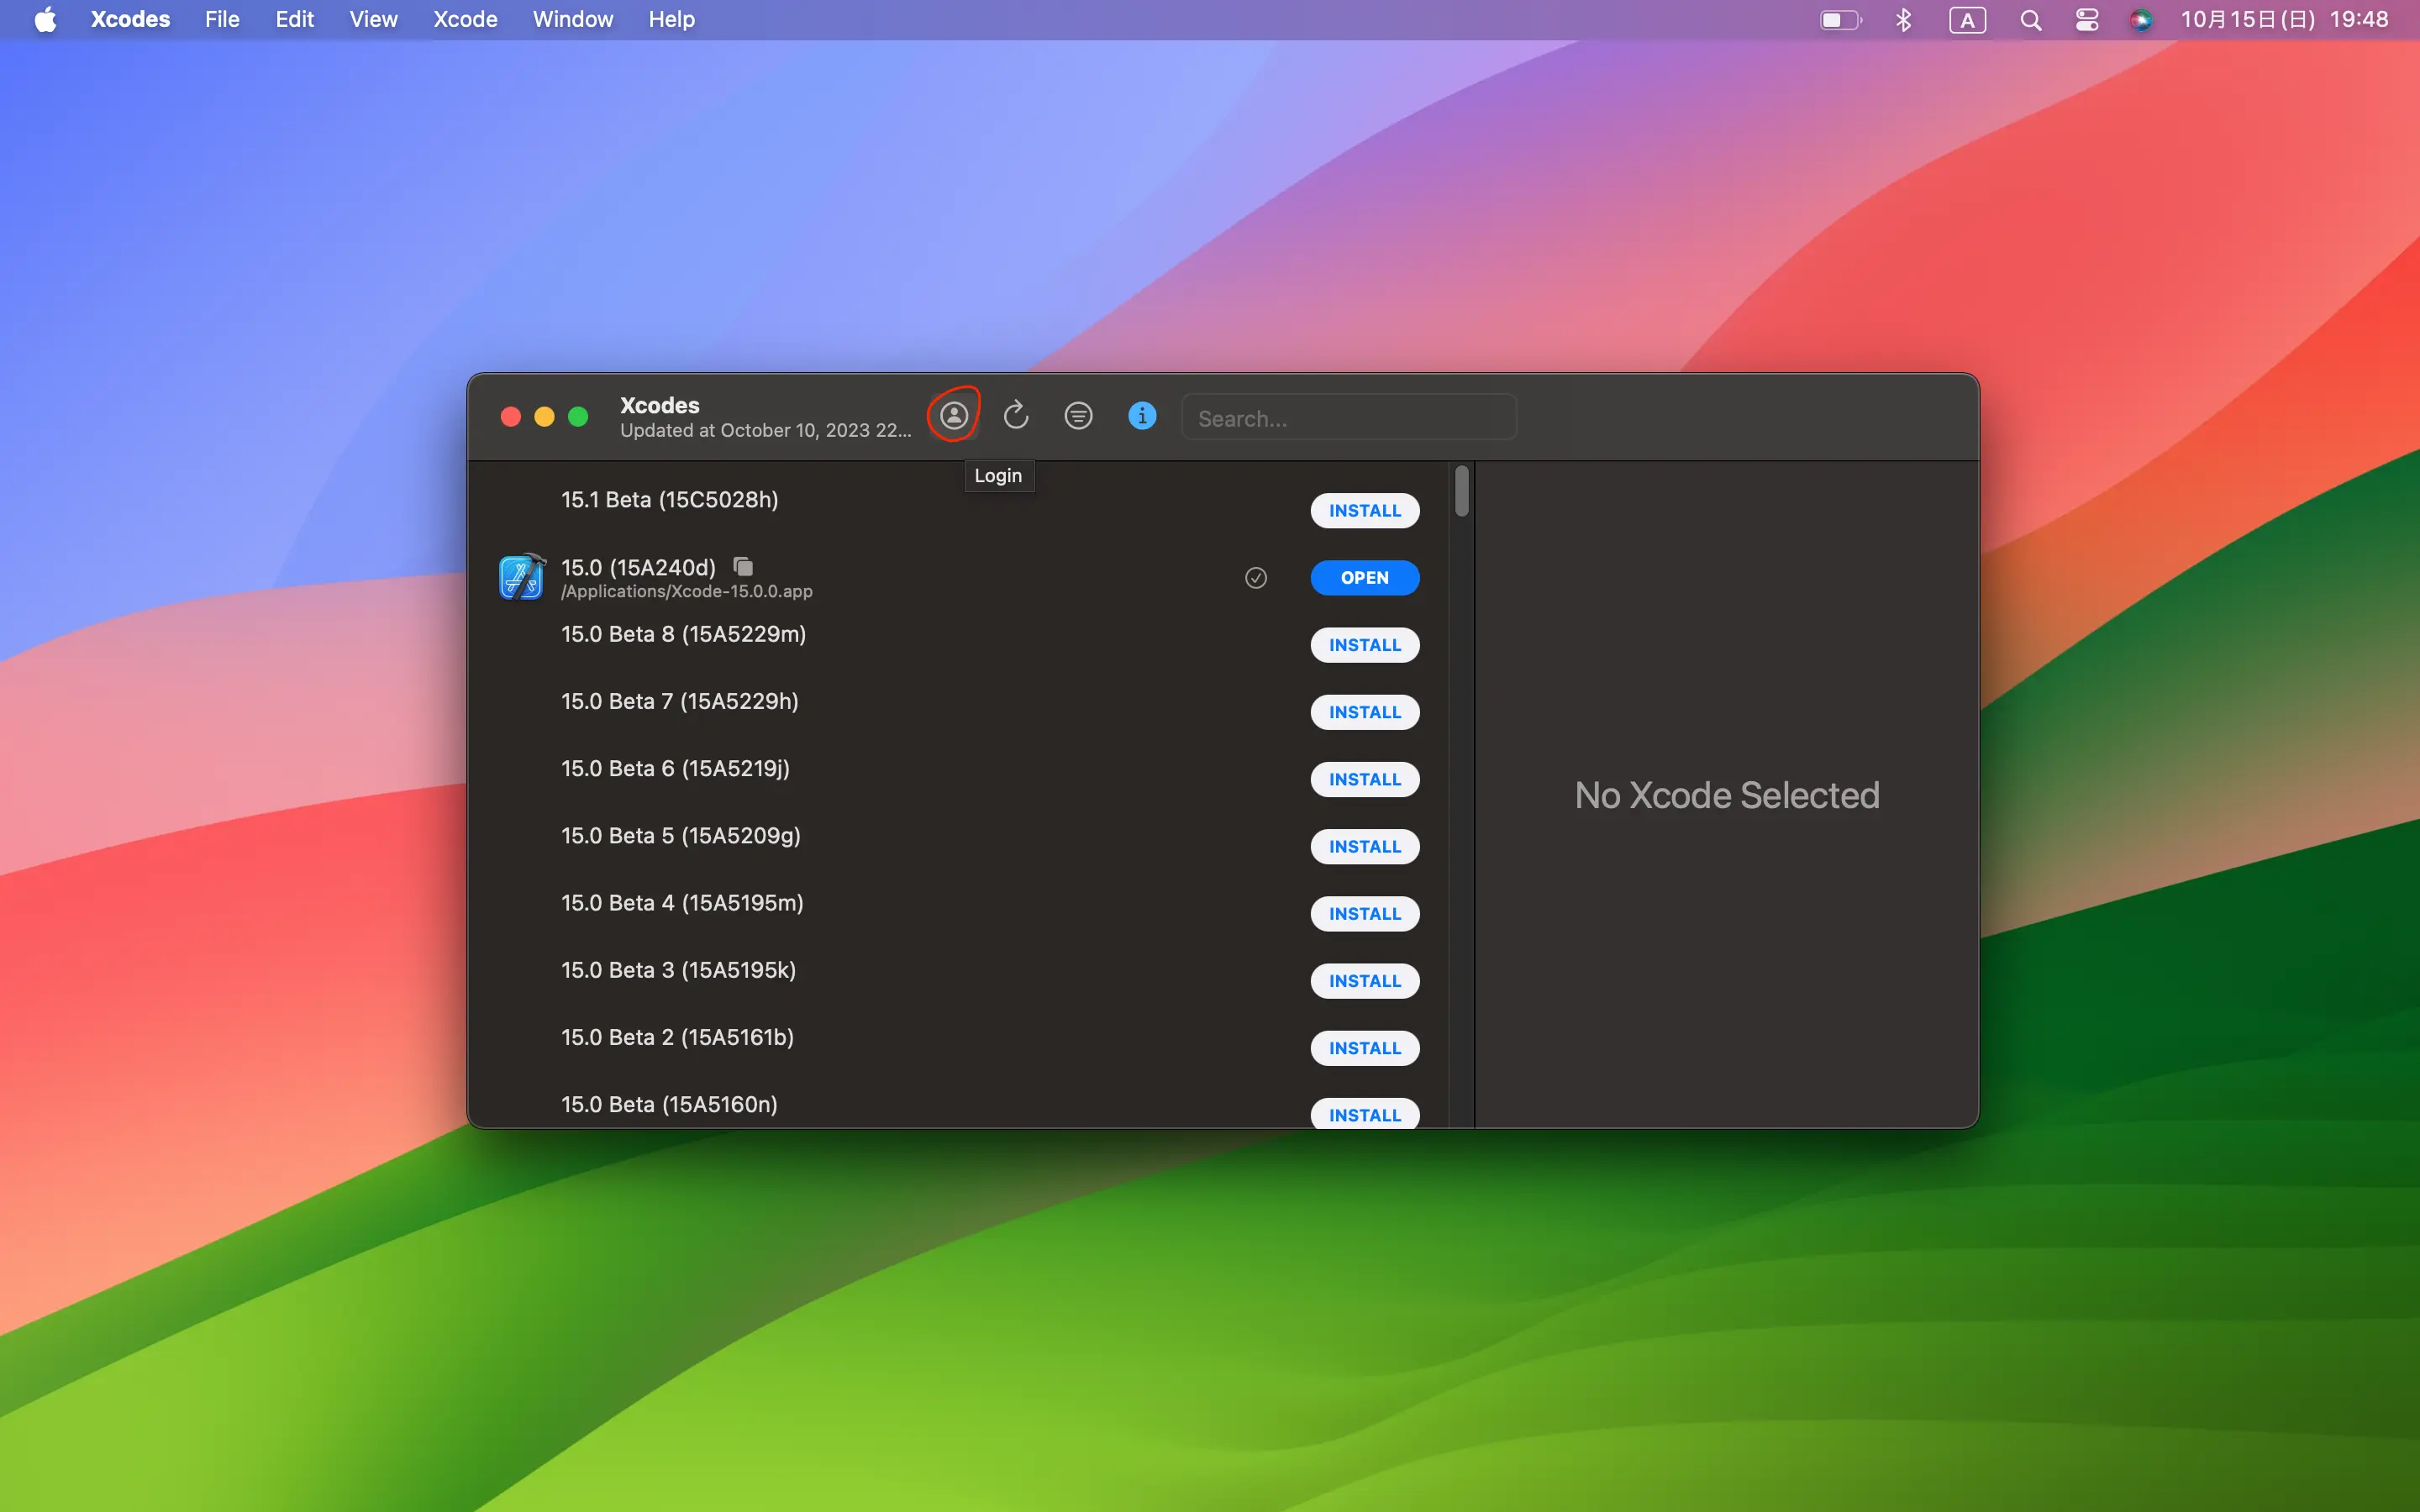
自分のApple IDにサインイン。
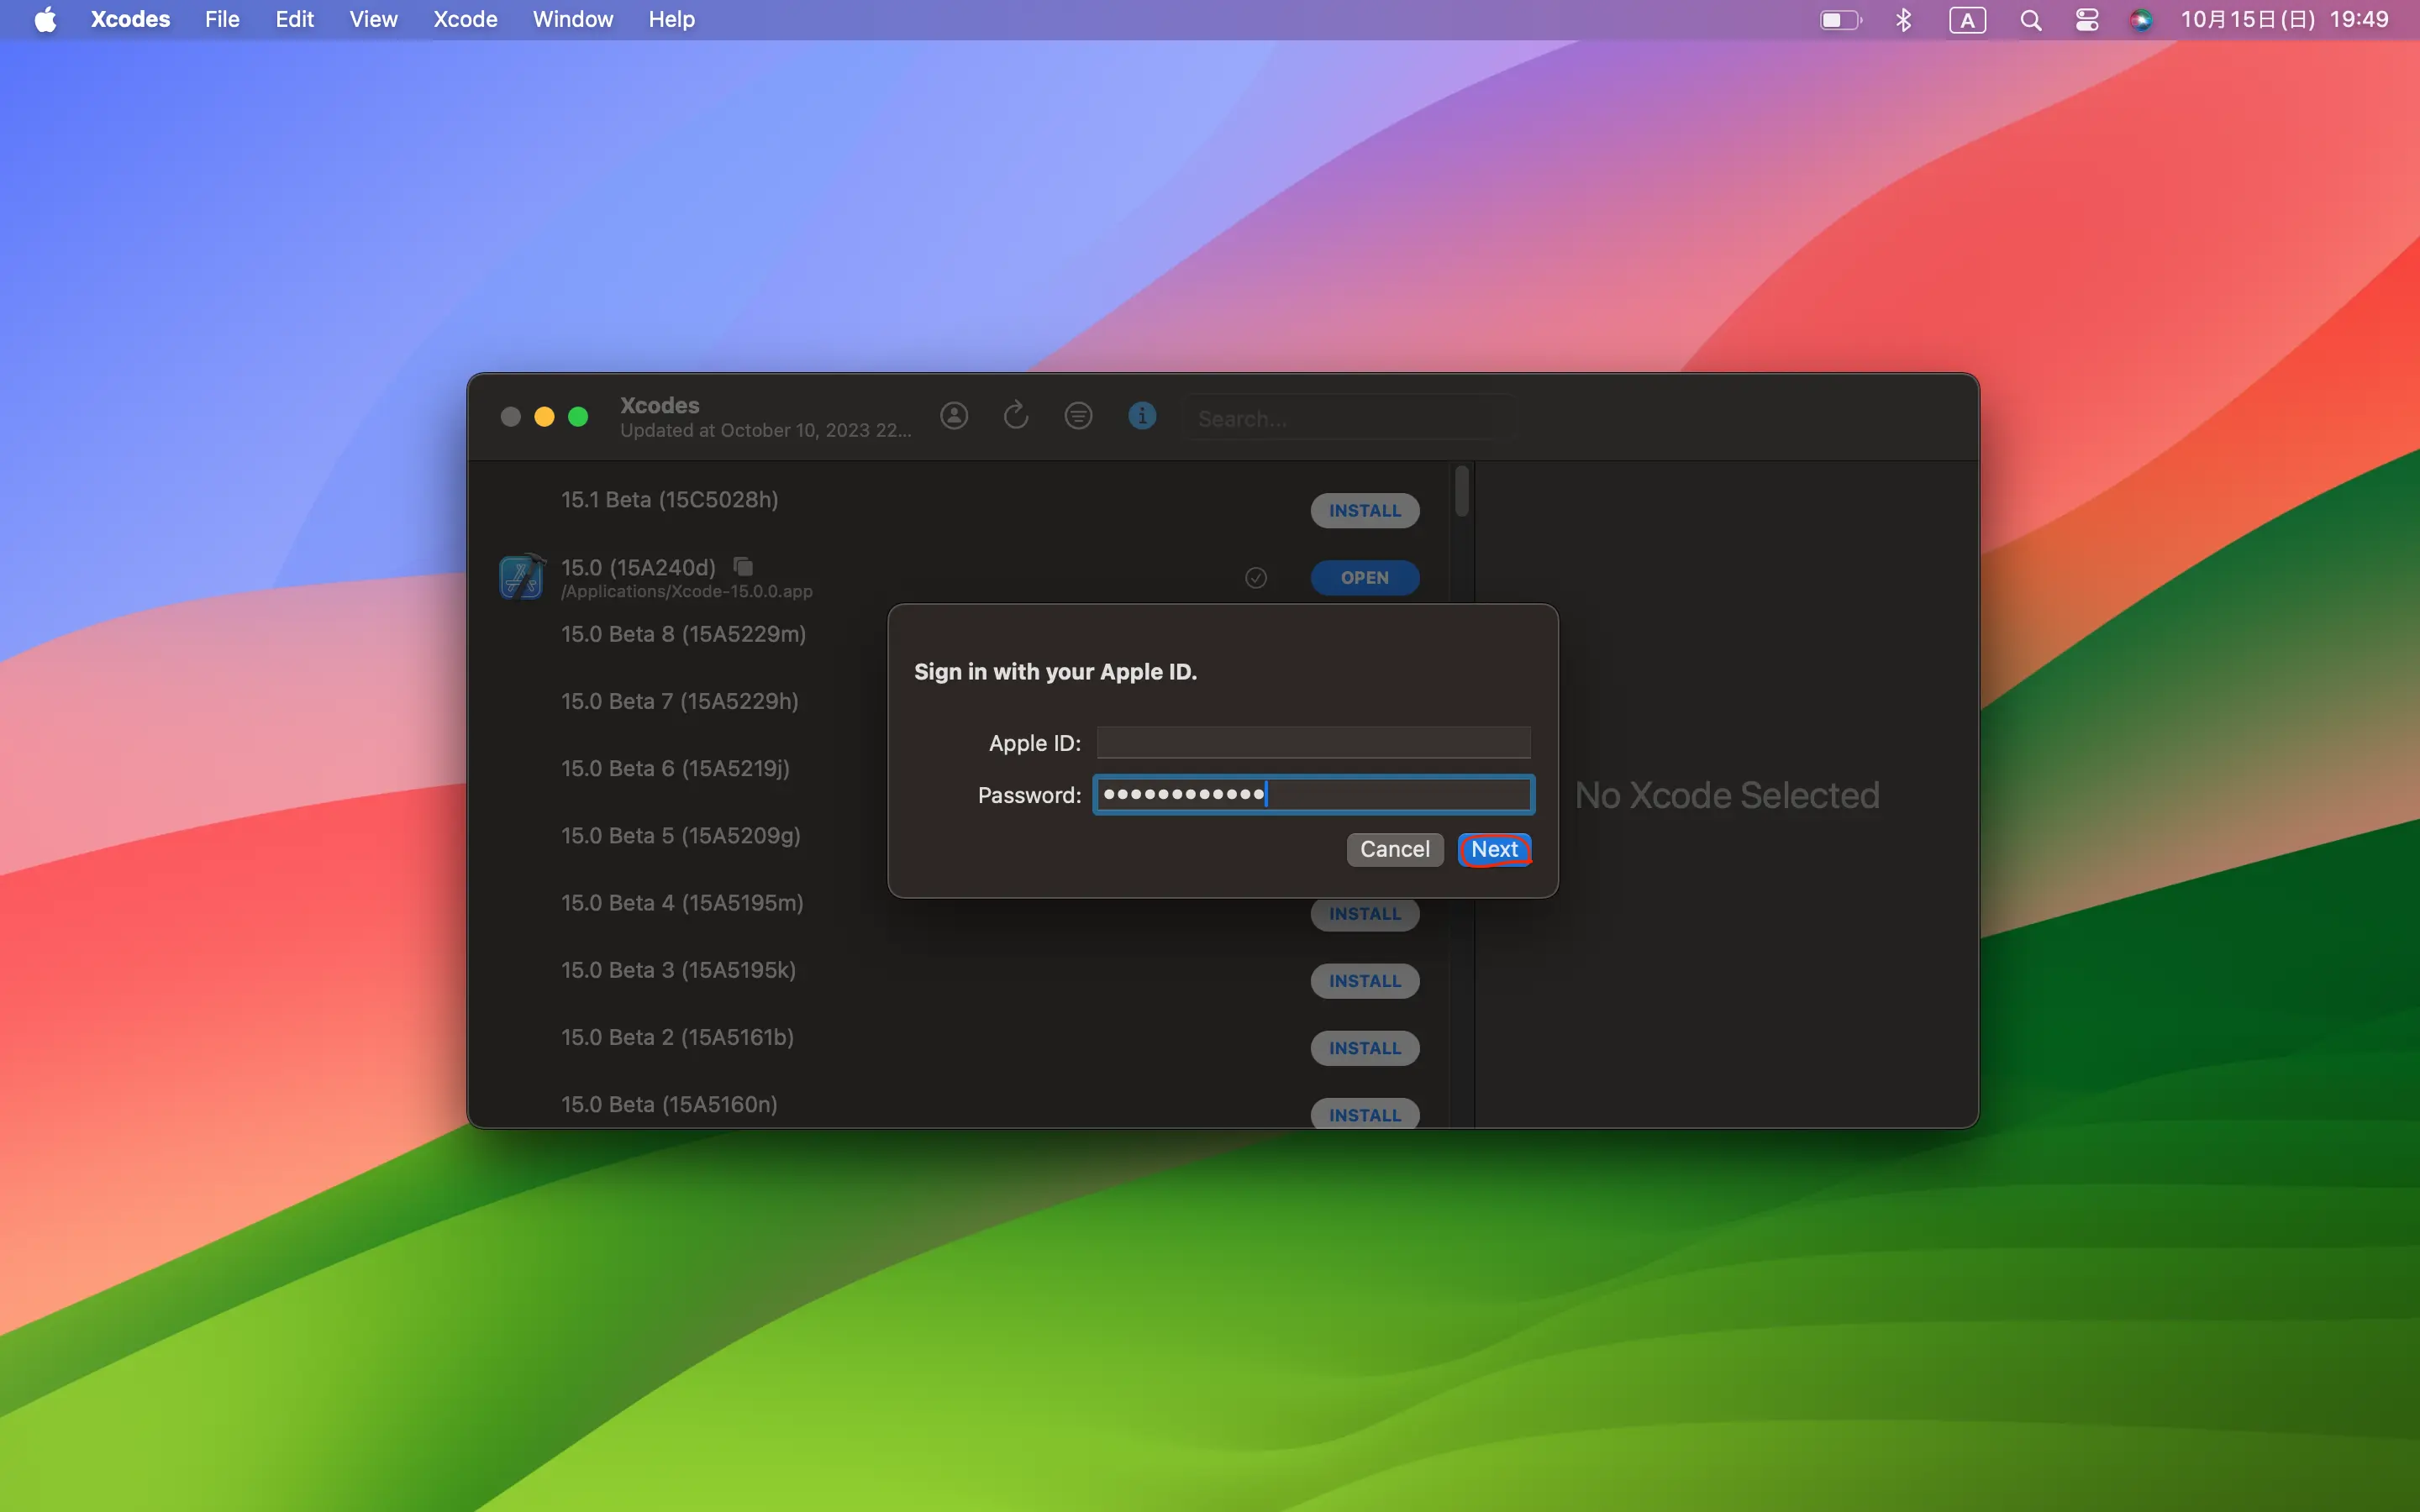
最新のバージョンをインストール。
Beta版は不安定なことがあるので、正式リリースされたバージョンをインストールするのがおすすめ。
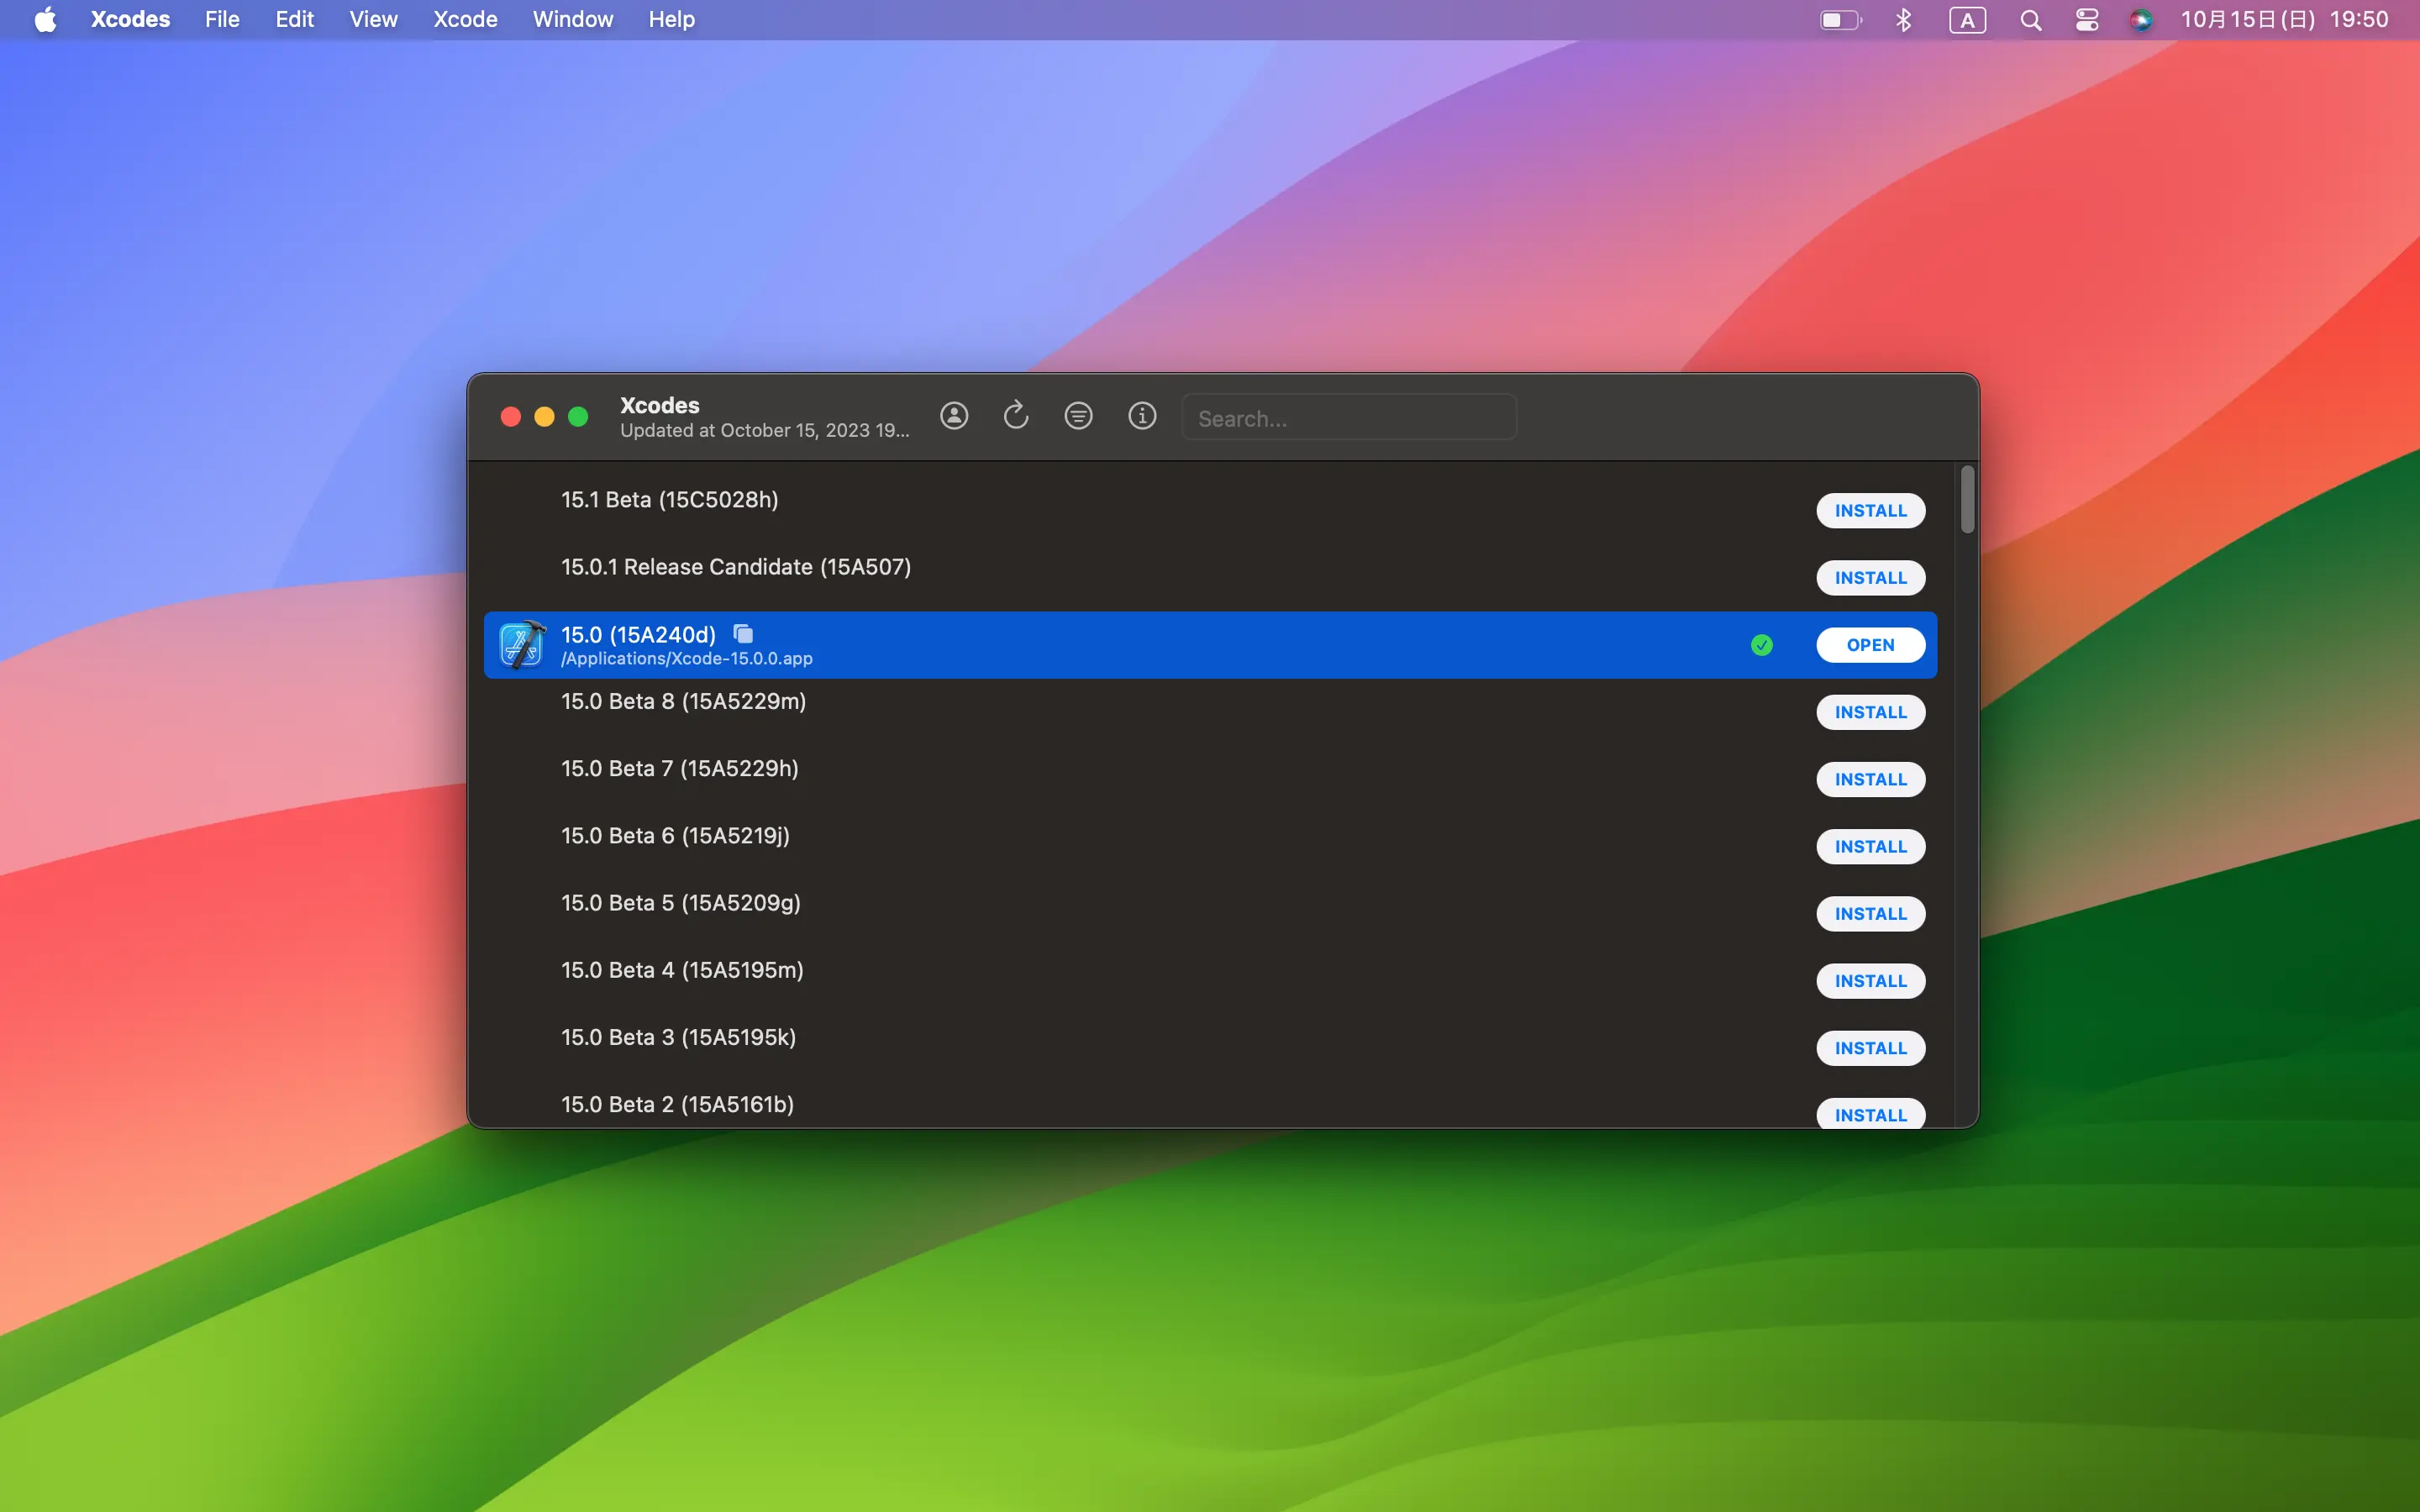
いずれかの方法でインストールできたらアプリを開いてみましょう。
このような画面になったらOK。
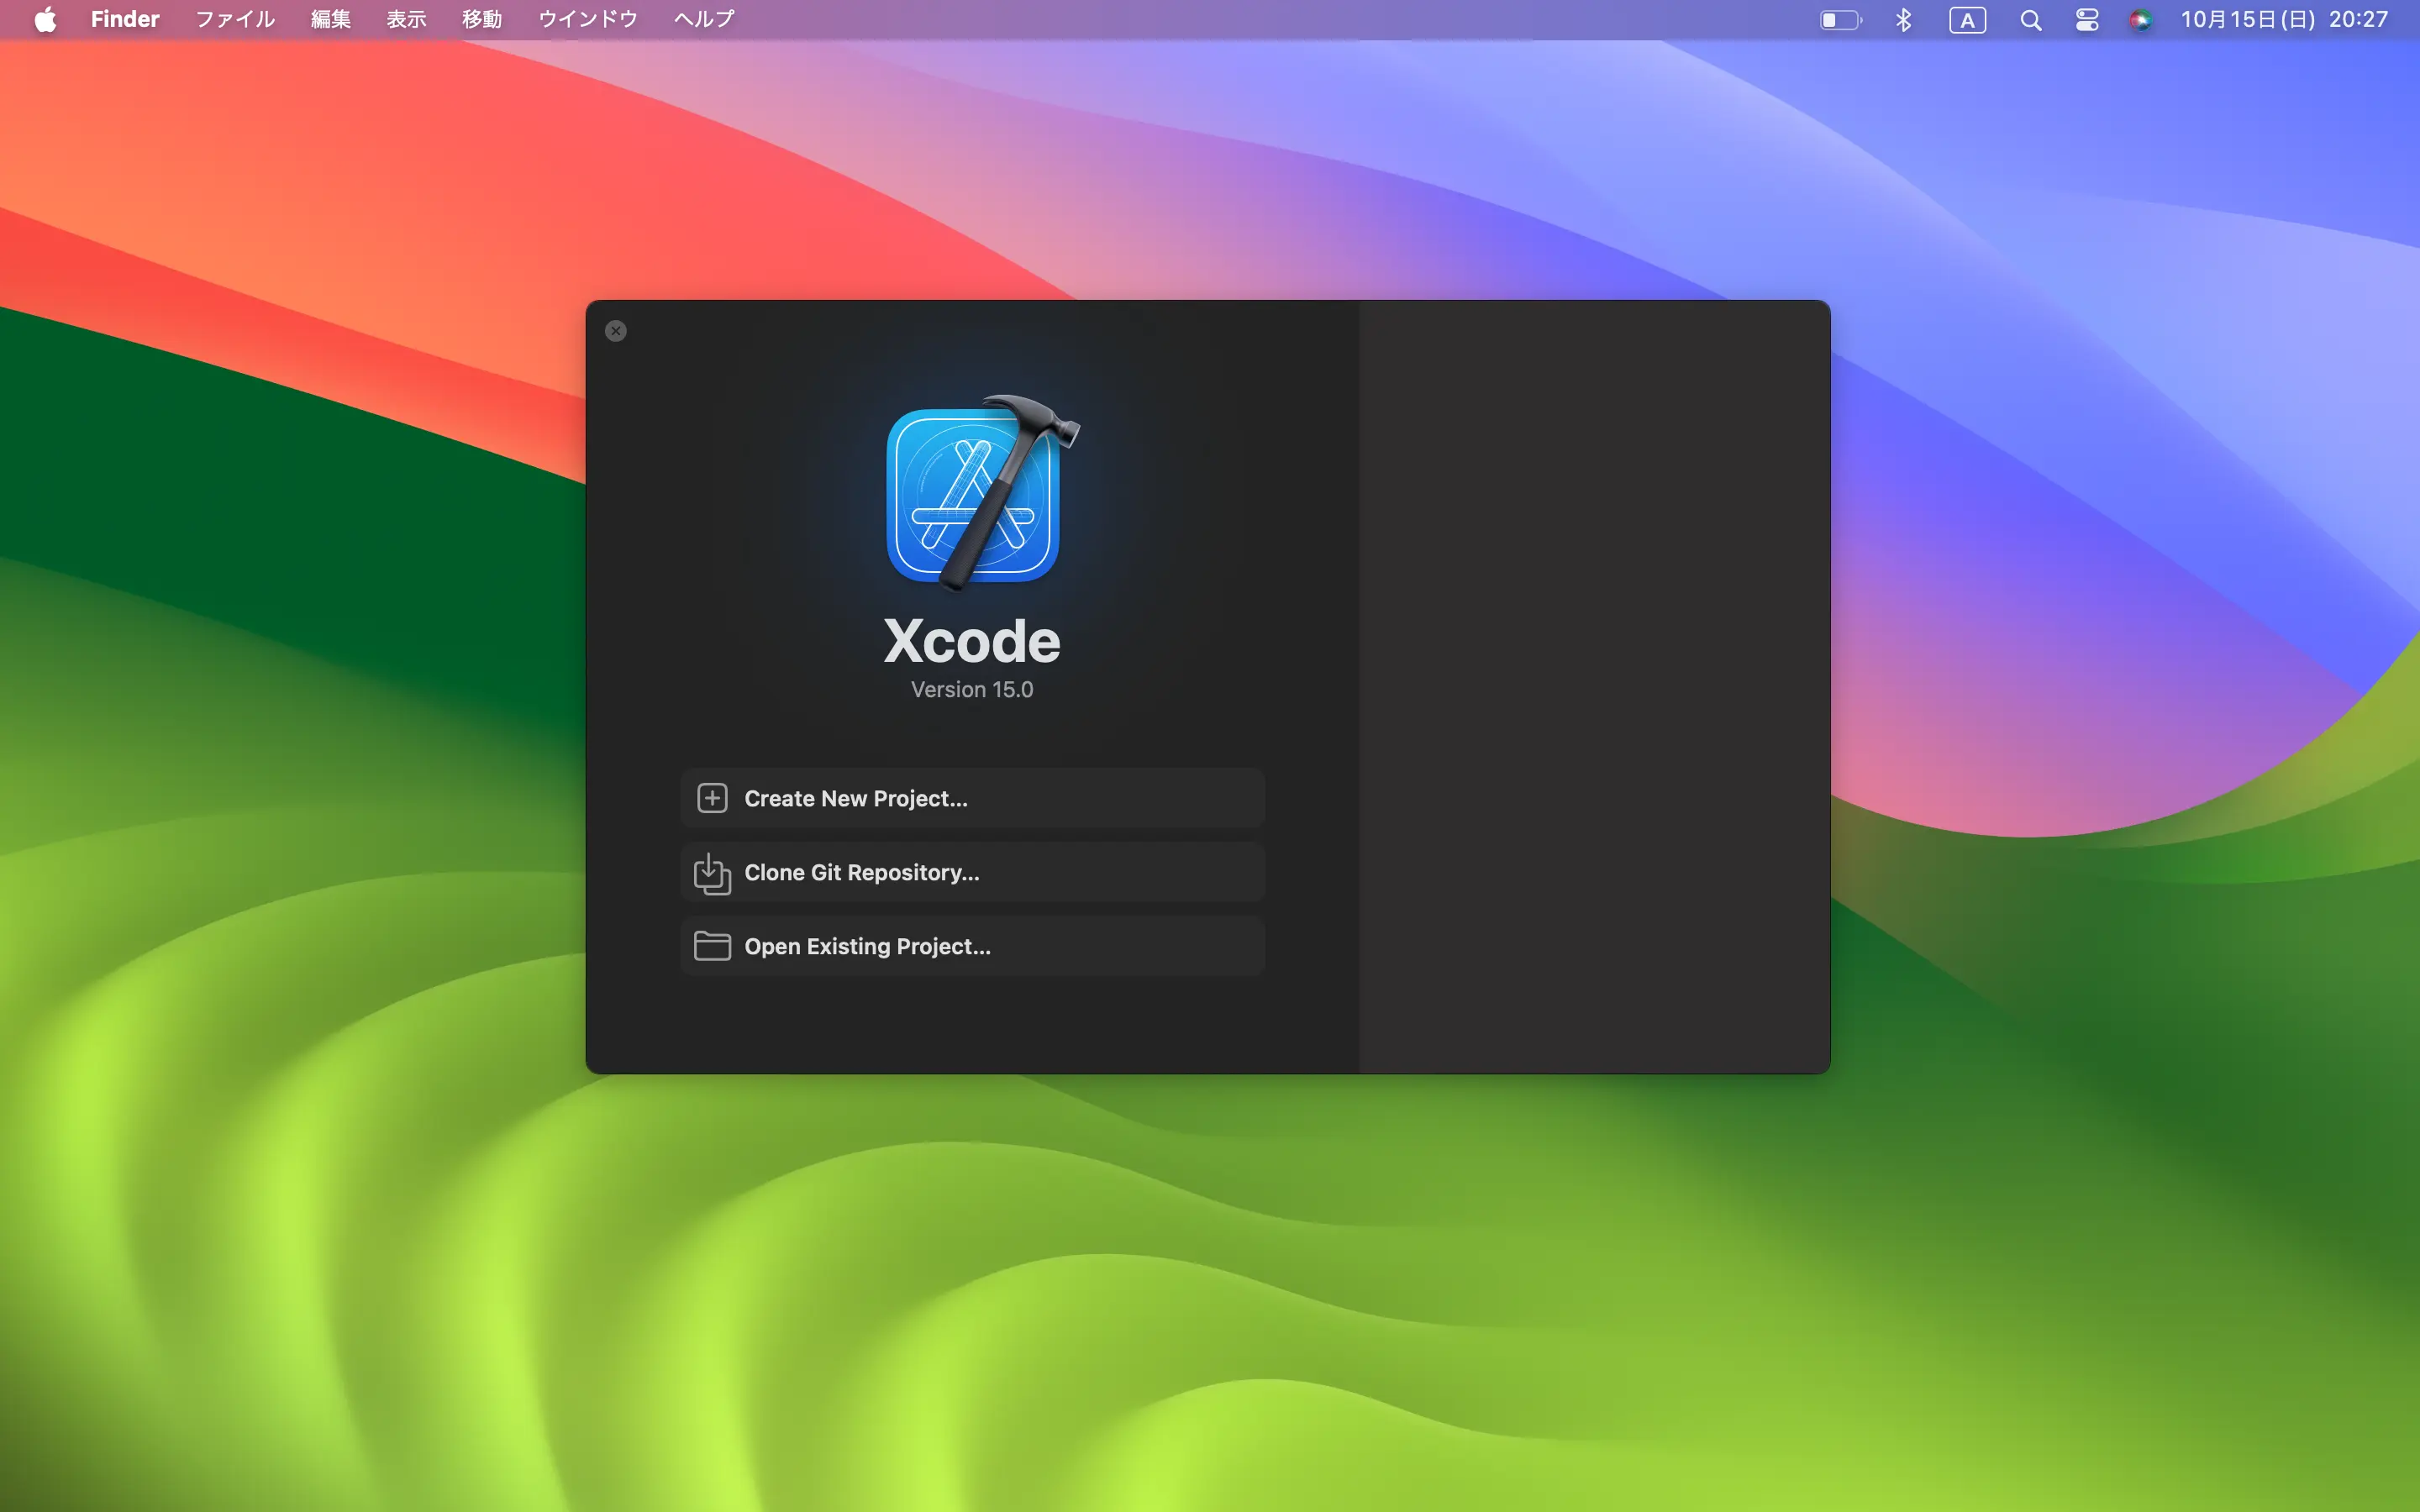
では実際にアプリ開発に必要なプロジェクトを作成していきましょう。
プロジェクト作成
先ほどの画面の左の方にある「Create New Project...」をクリック。
「Clone Git Repository...」はGitからクローンするときに使います。今は使いません。
「Open Existing Project...」はすでにあるプロジェクトを開くことができます。
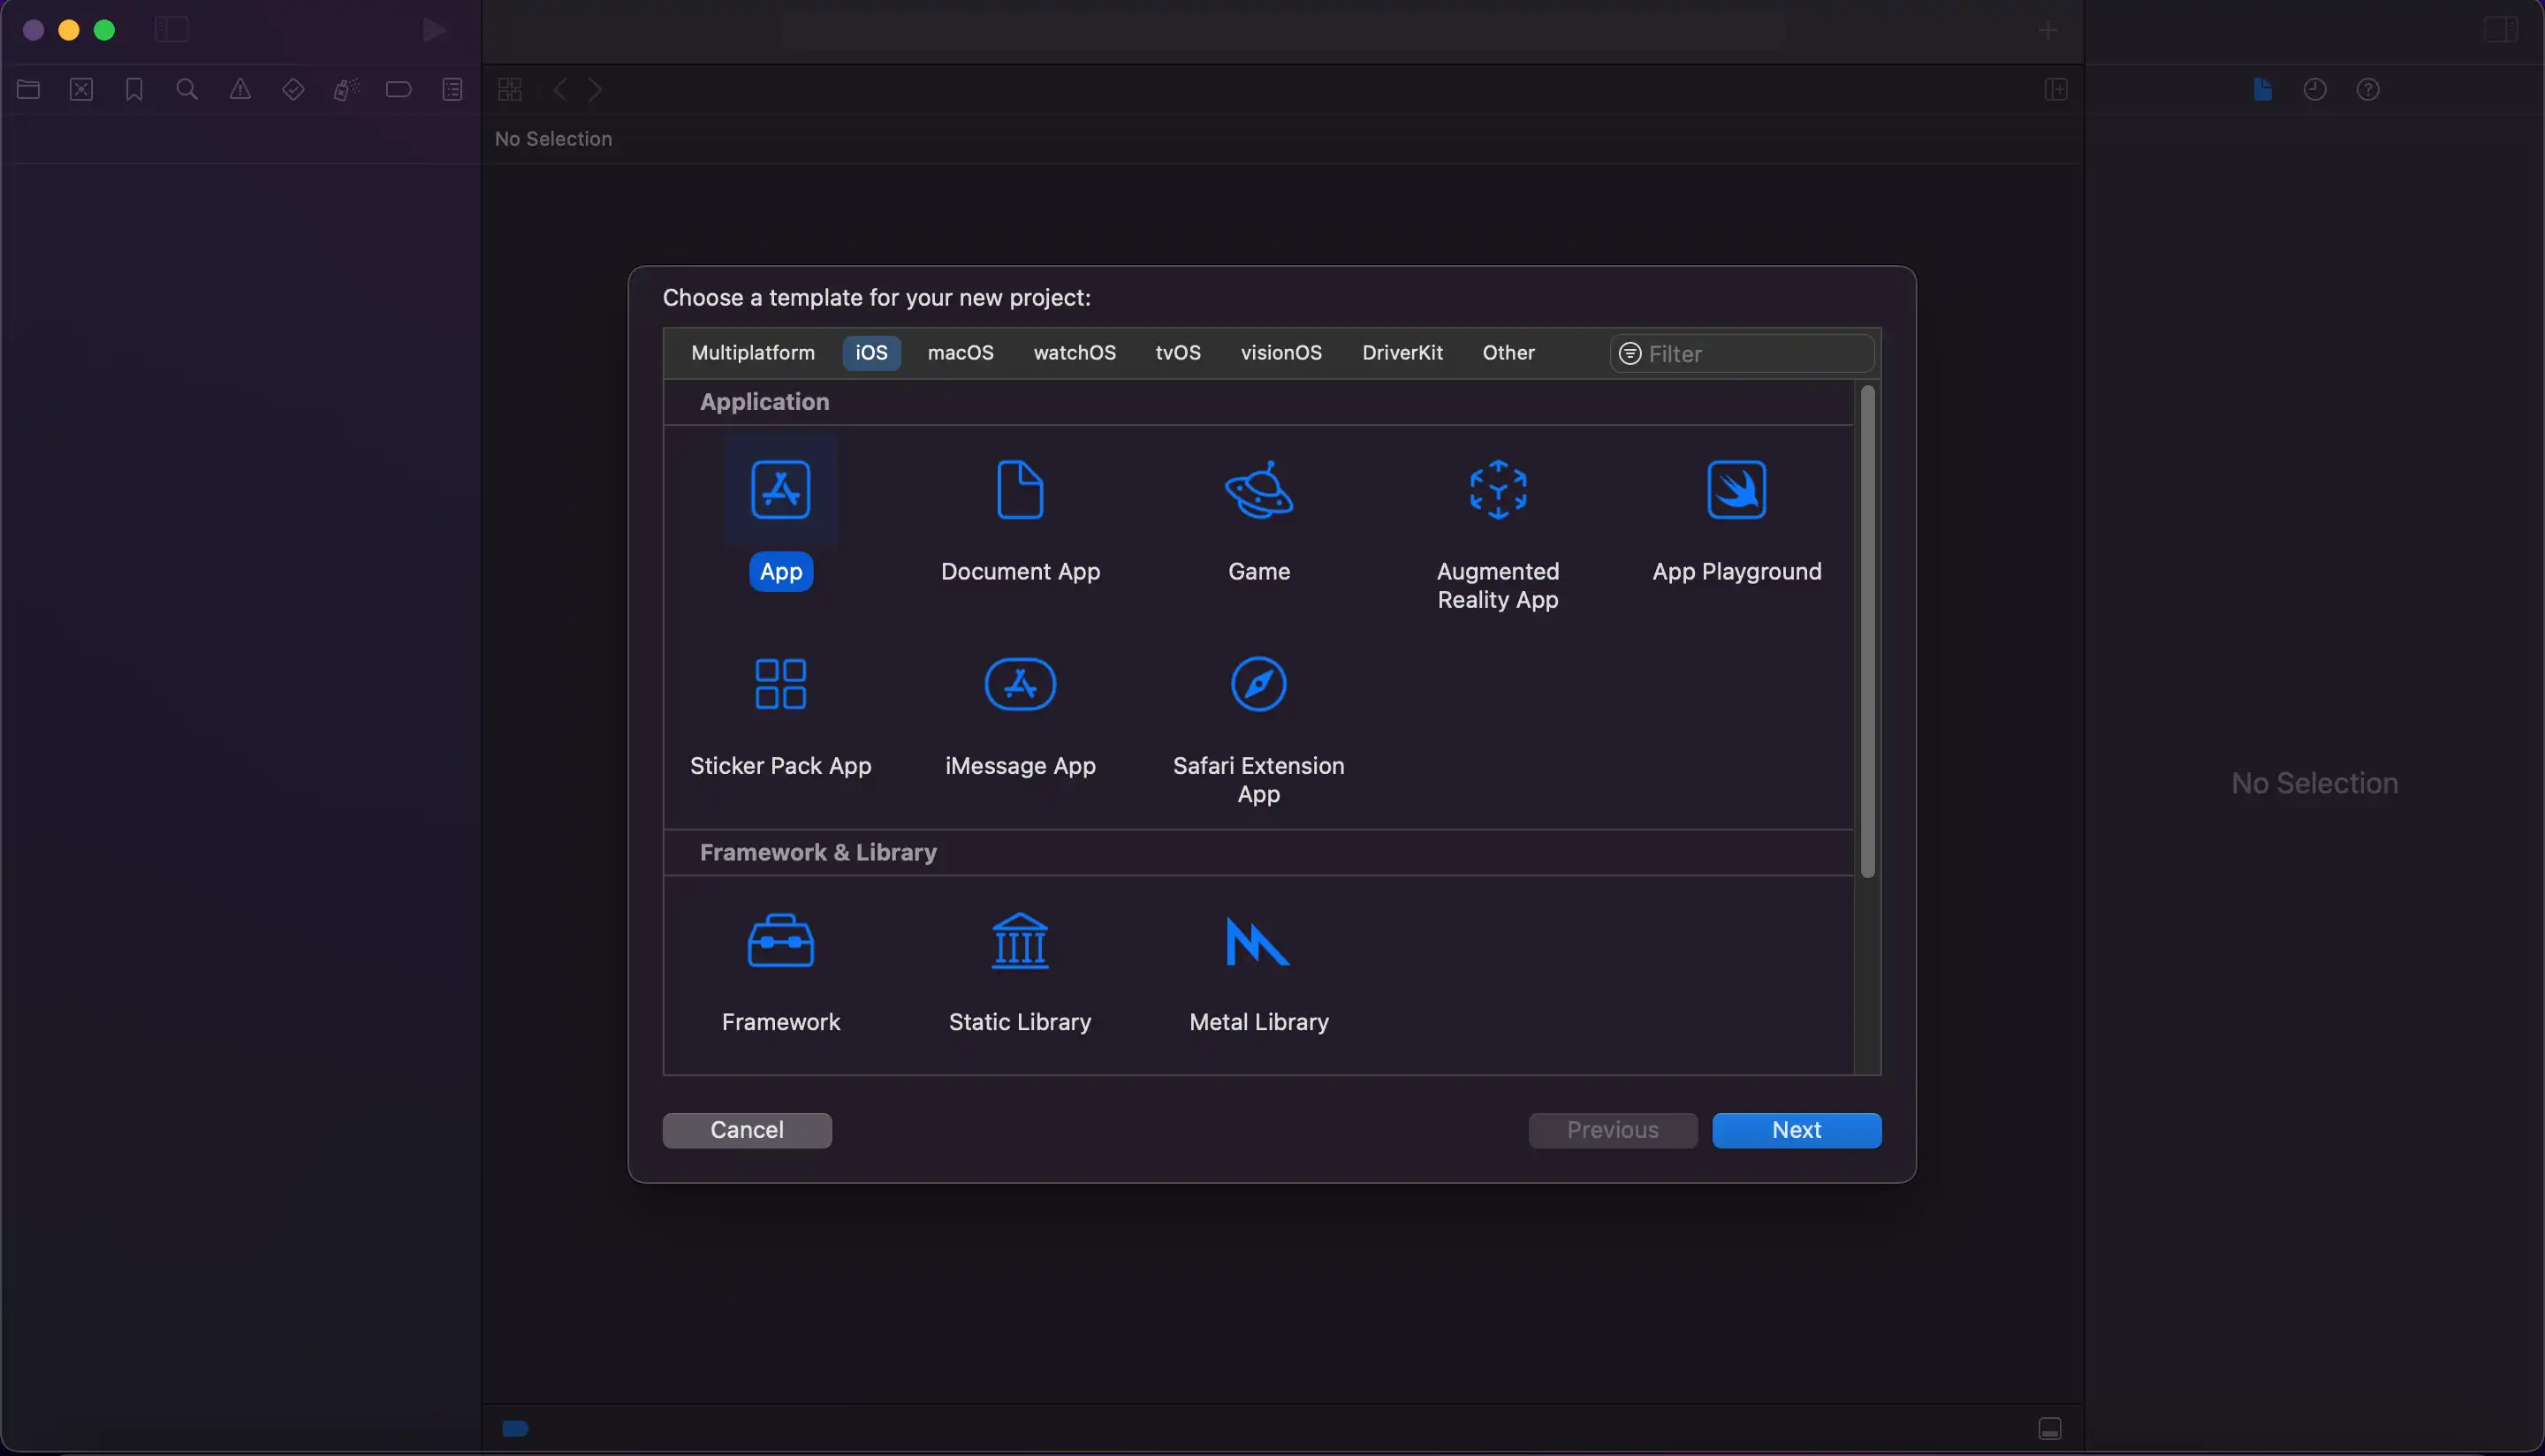
「iOS」の「App」を選択して「Next」をクリック。
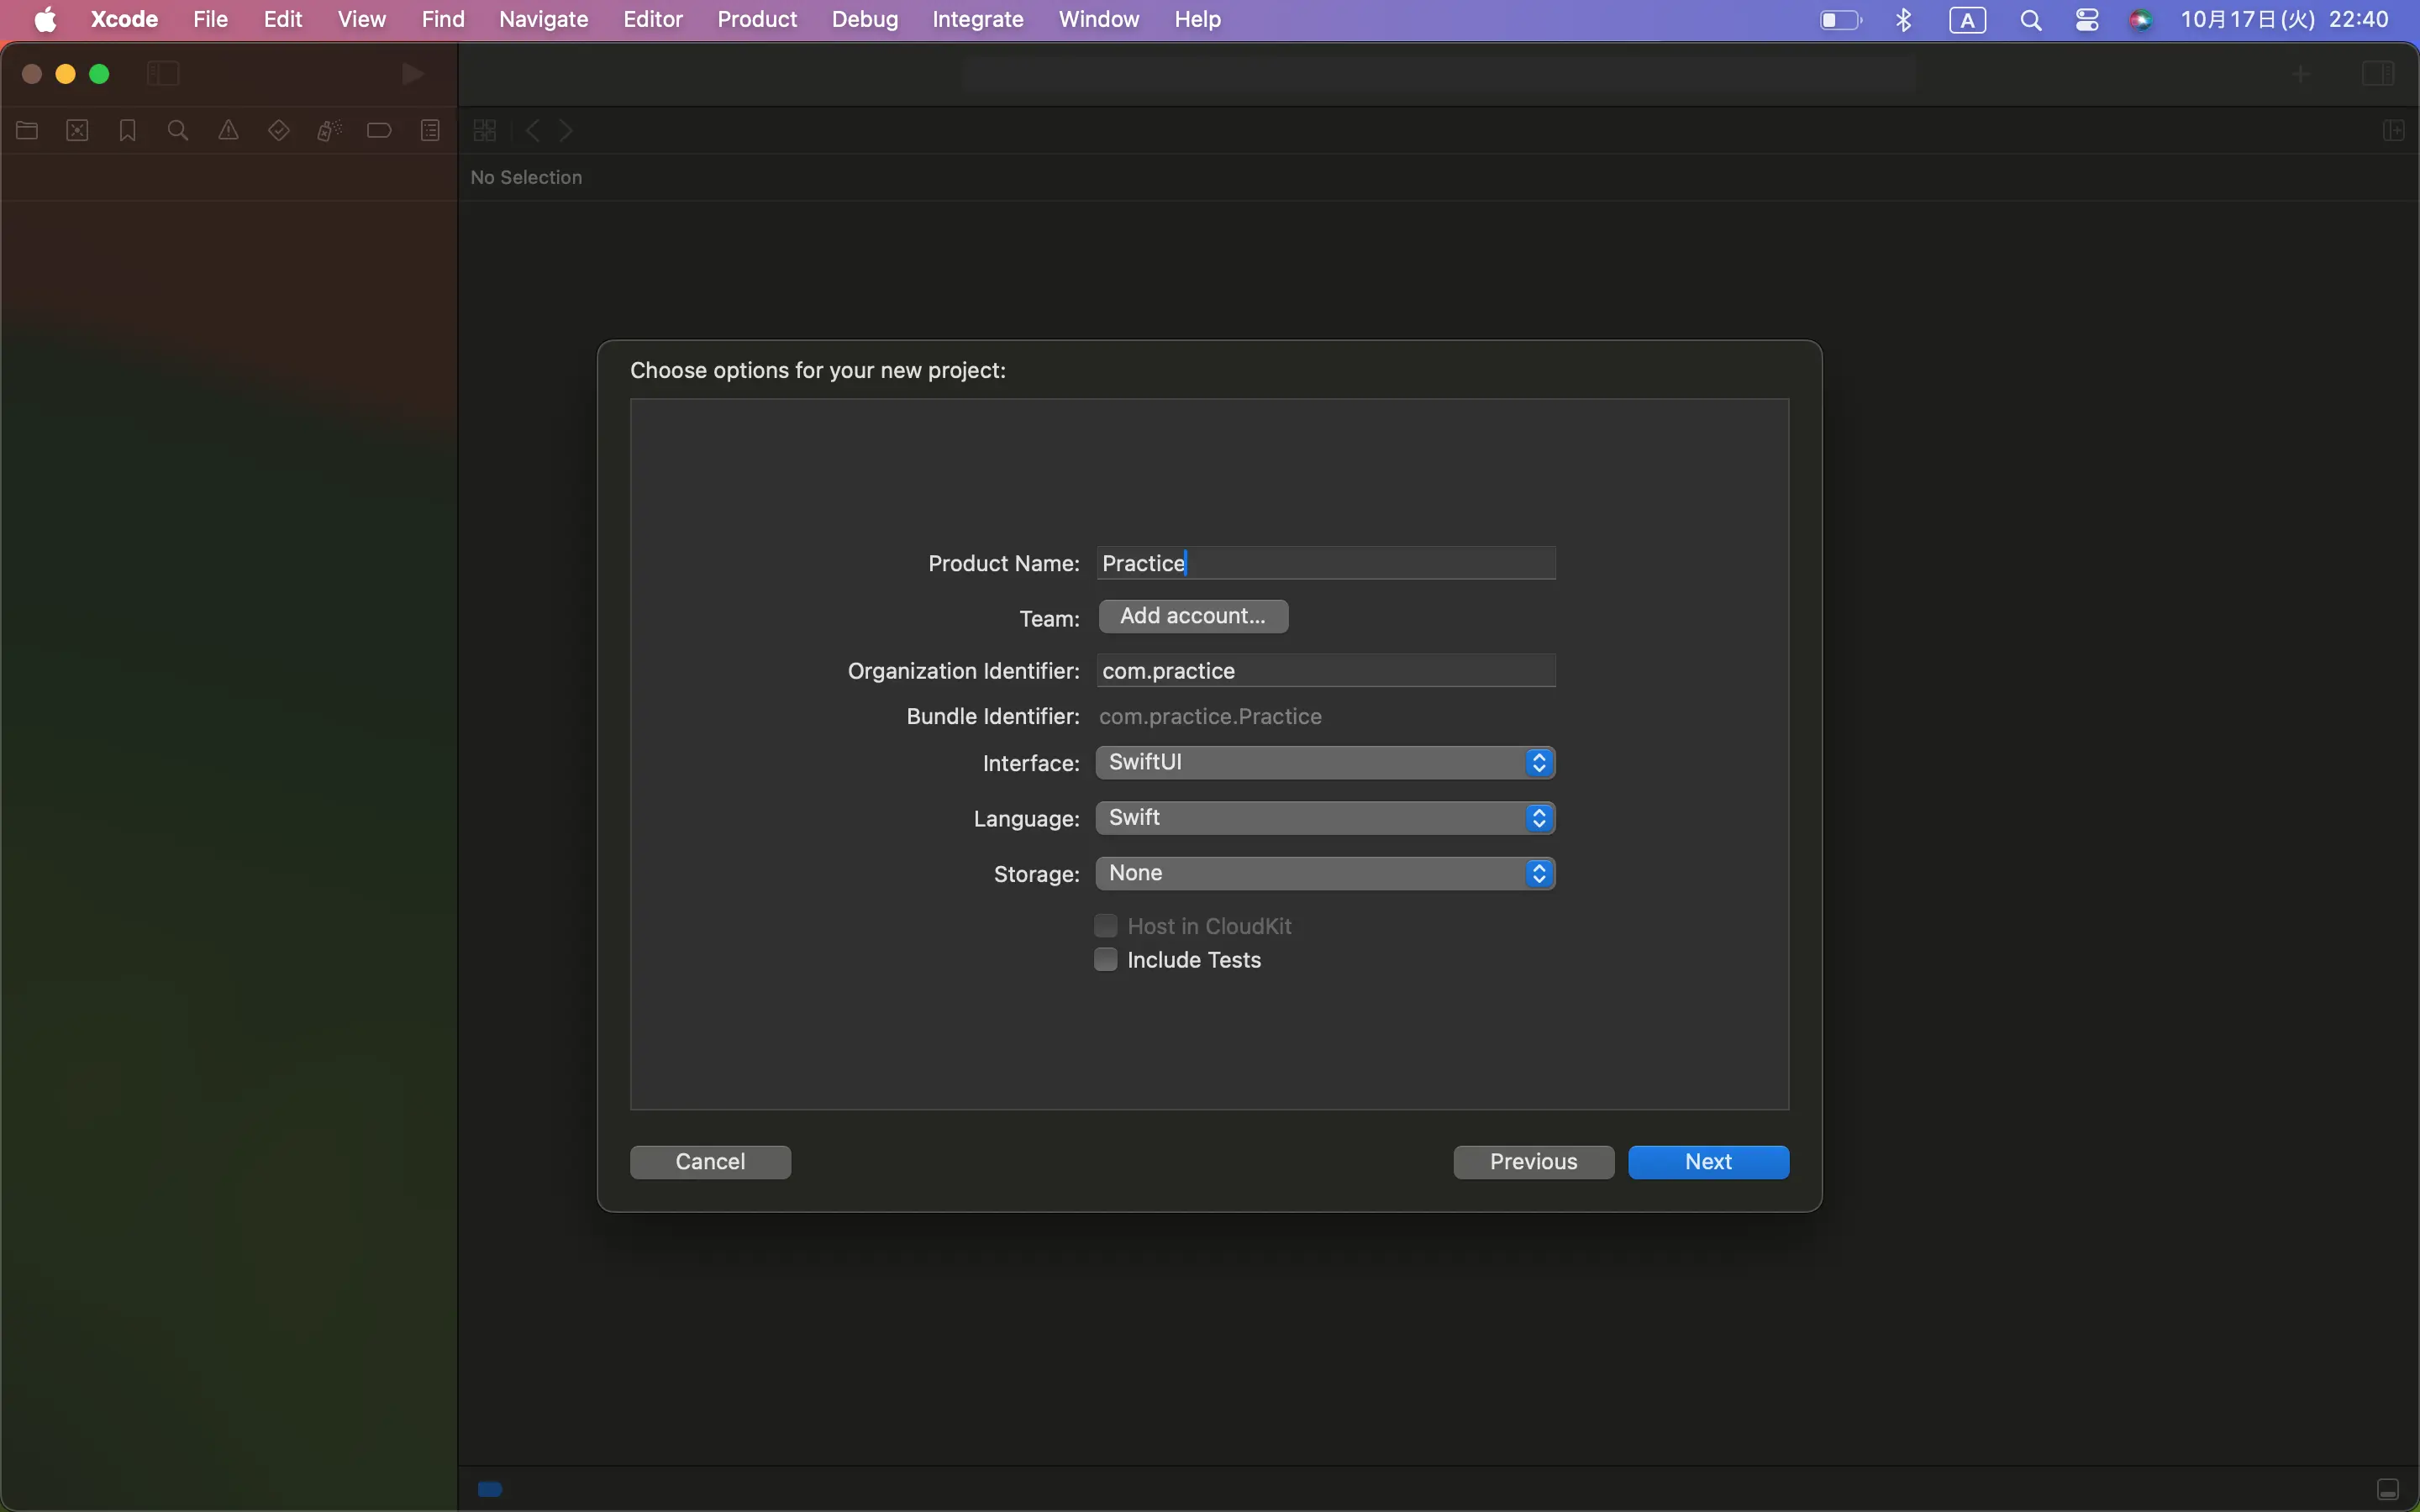
この画面の説明をします。
Product Name
プロジェクト名
Team
ここで自分のApple IDにサインインします。
「Add account」をクリック。
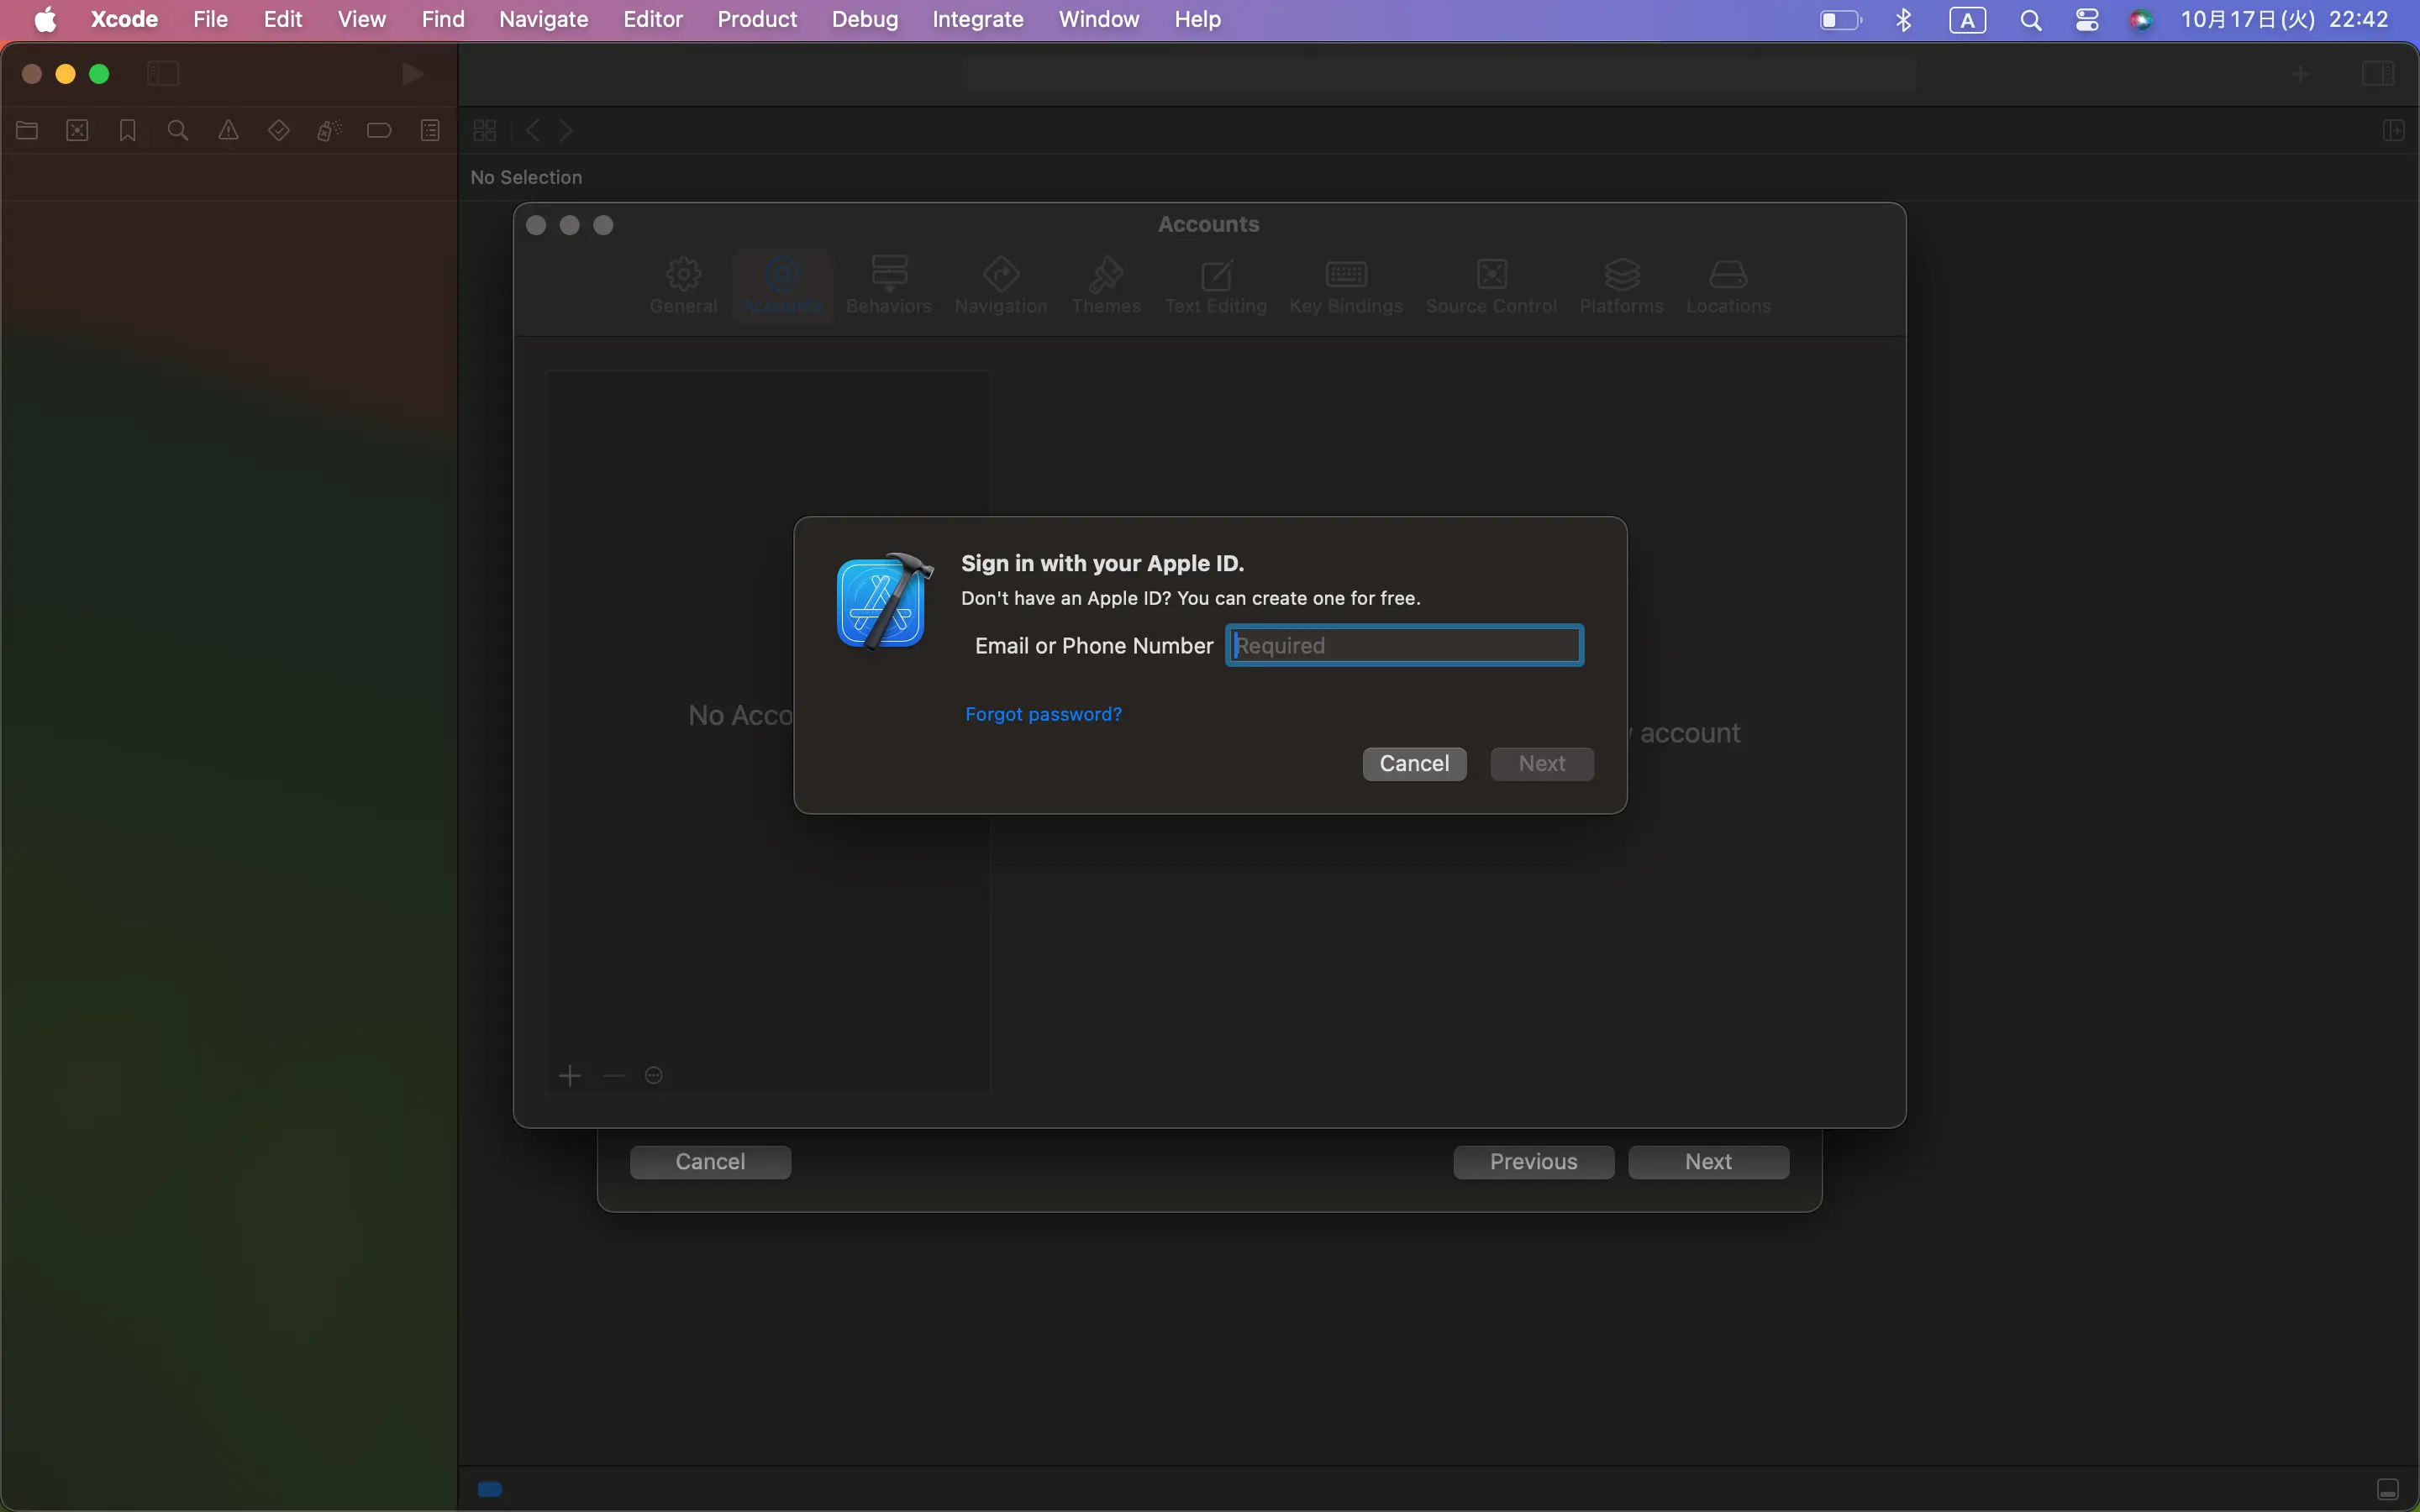
Apple IDのメールアドレスか電話番号を入力して、「Next」をクリック。
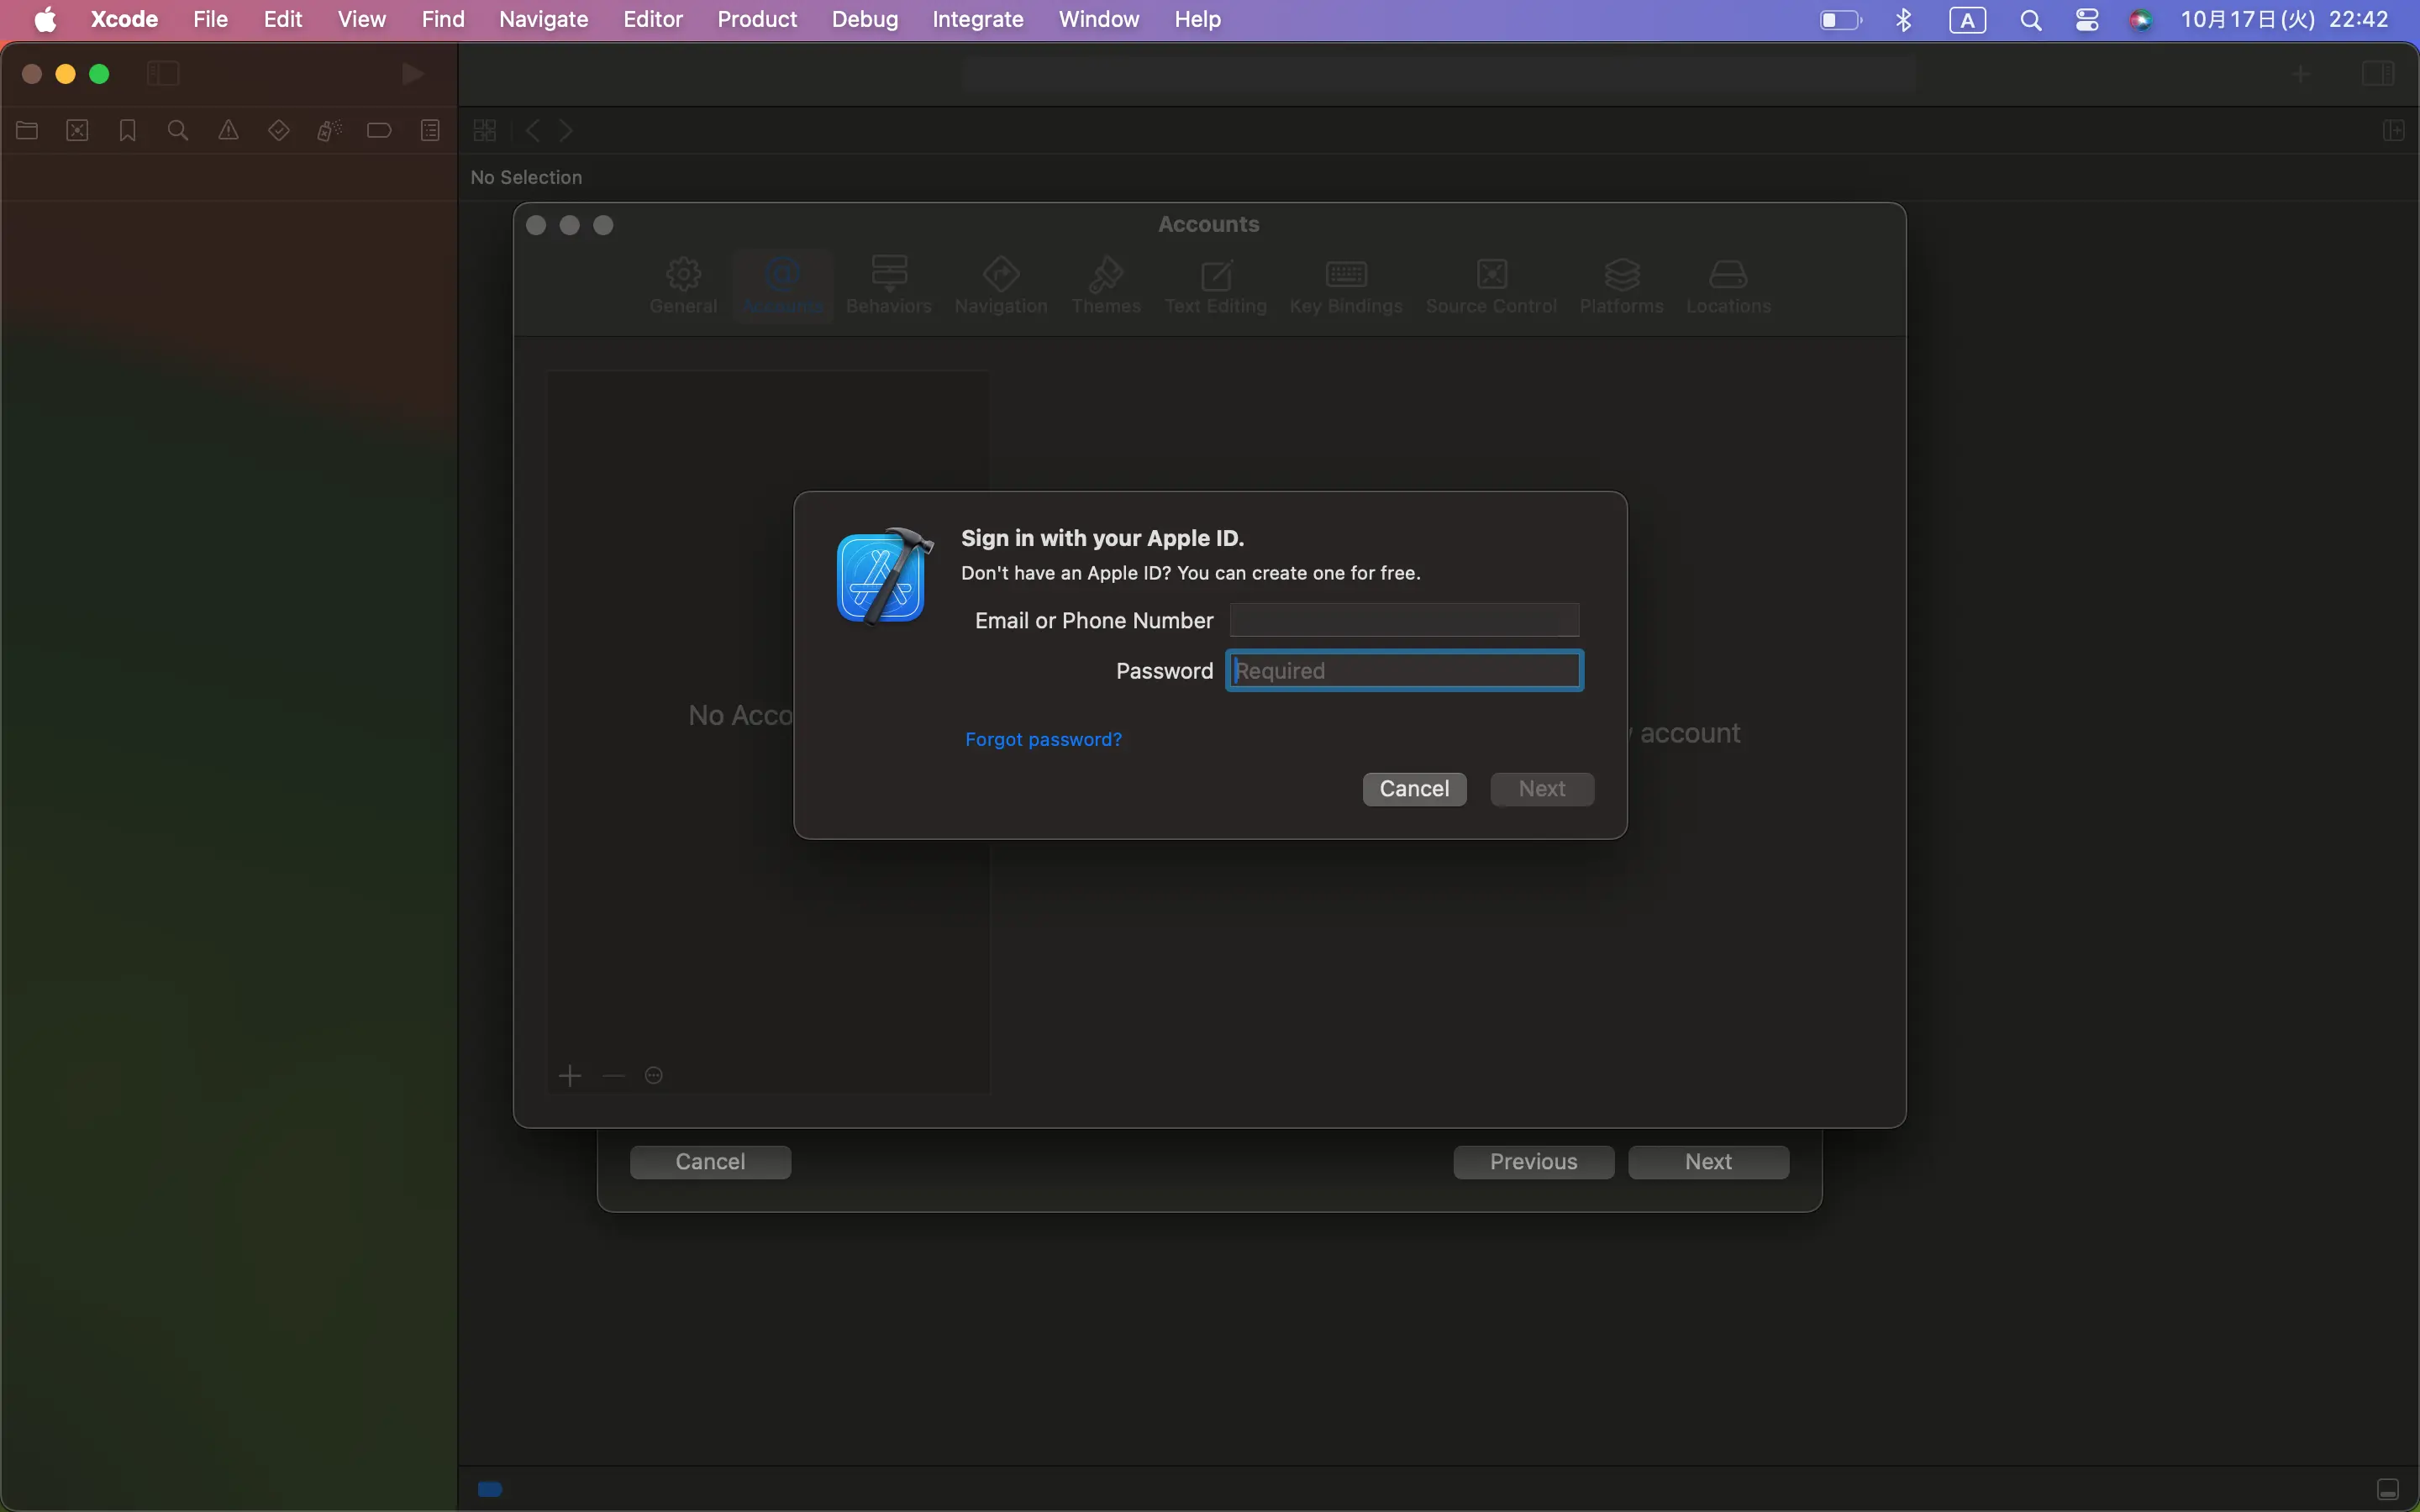
パスワードを入力して「Next」をクリック。
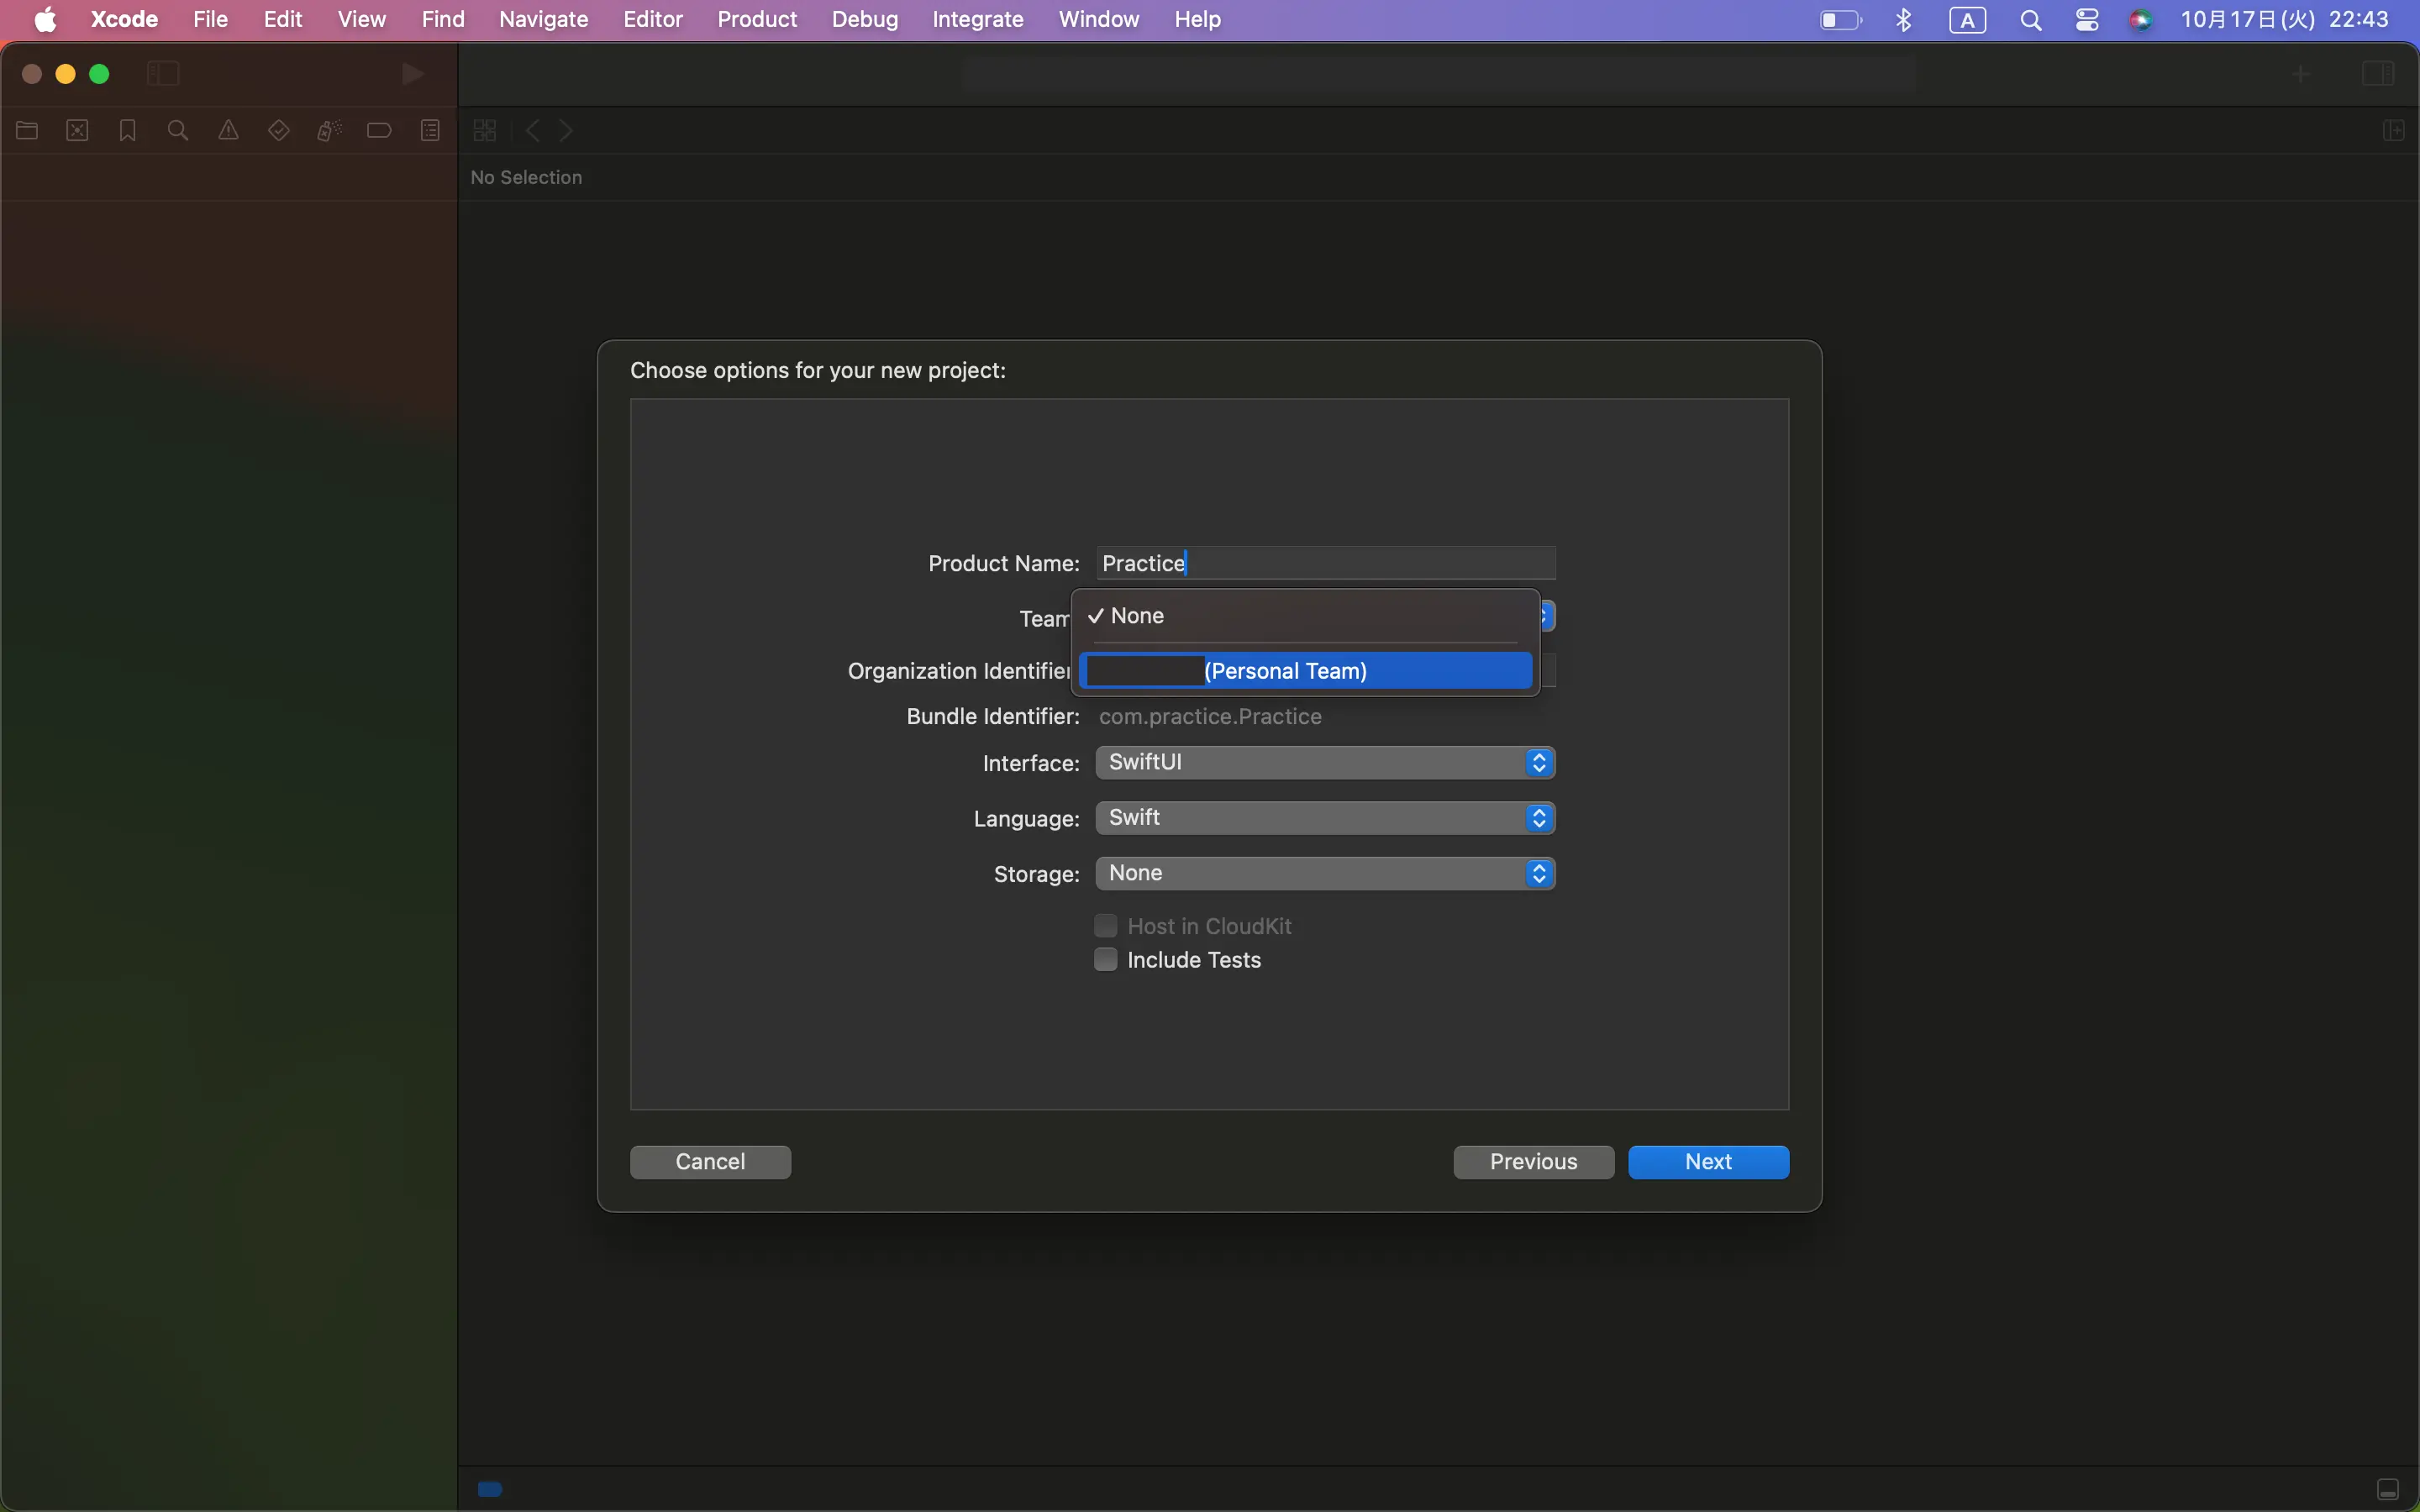
するとこのように自分のApple IDを選択できるようになるので、選択する。
Organization Identifier
アプリ公開時に必要になるIDですが、公開しないのであれば適当でいいです。
通常はドメインを逆にしたようなものにします。
「nehapire.com」なら
「com.nehapire」にするような感じ。
Interface
インターフェース。Storyboardというのもありますが、Swift UIを選択してください。
Language
プログラミング言語の選択、「Swift」と「Objective-C」があります。
「Objective-C」はSwiftが生まれる前に使われていた言語です。今はほとんど使われていないので「Swift」を選択。
「Next」をクリック
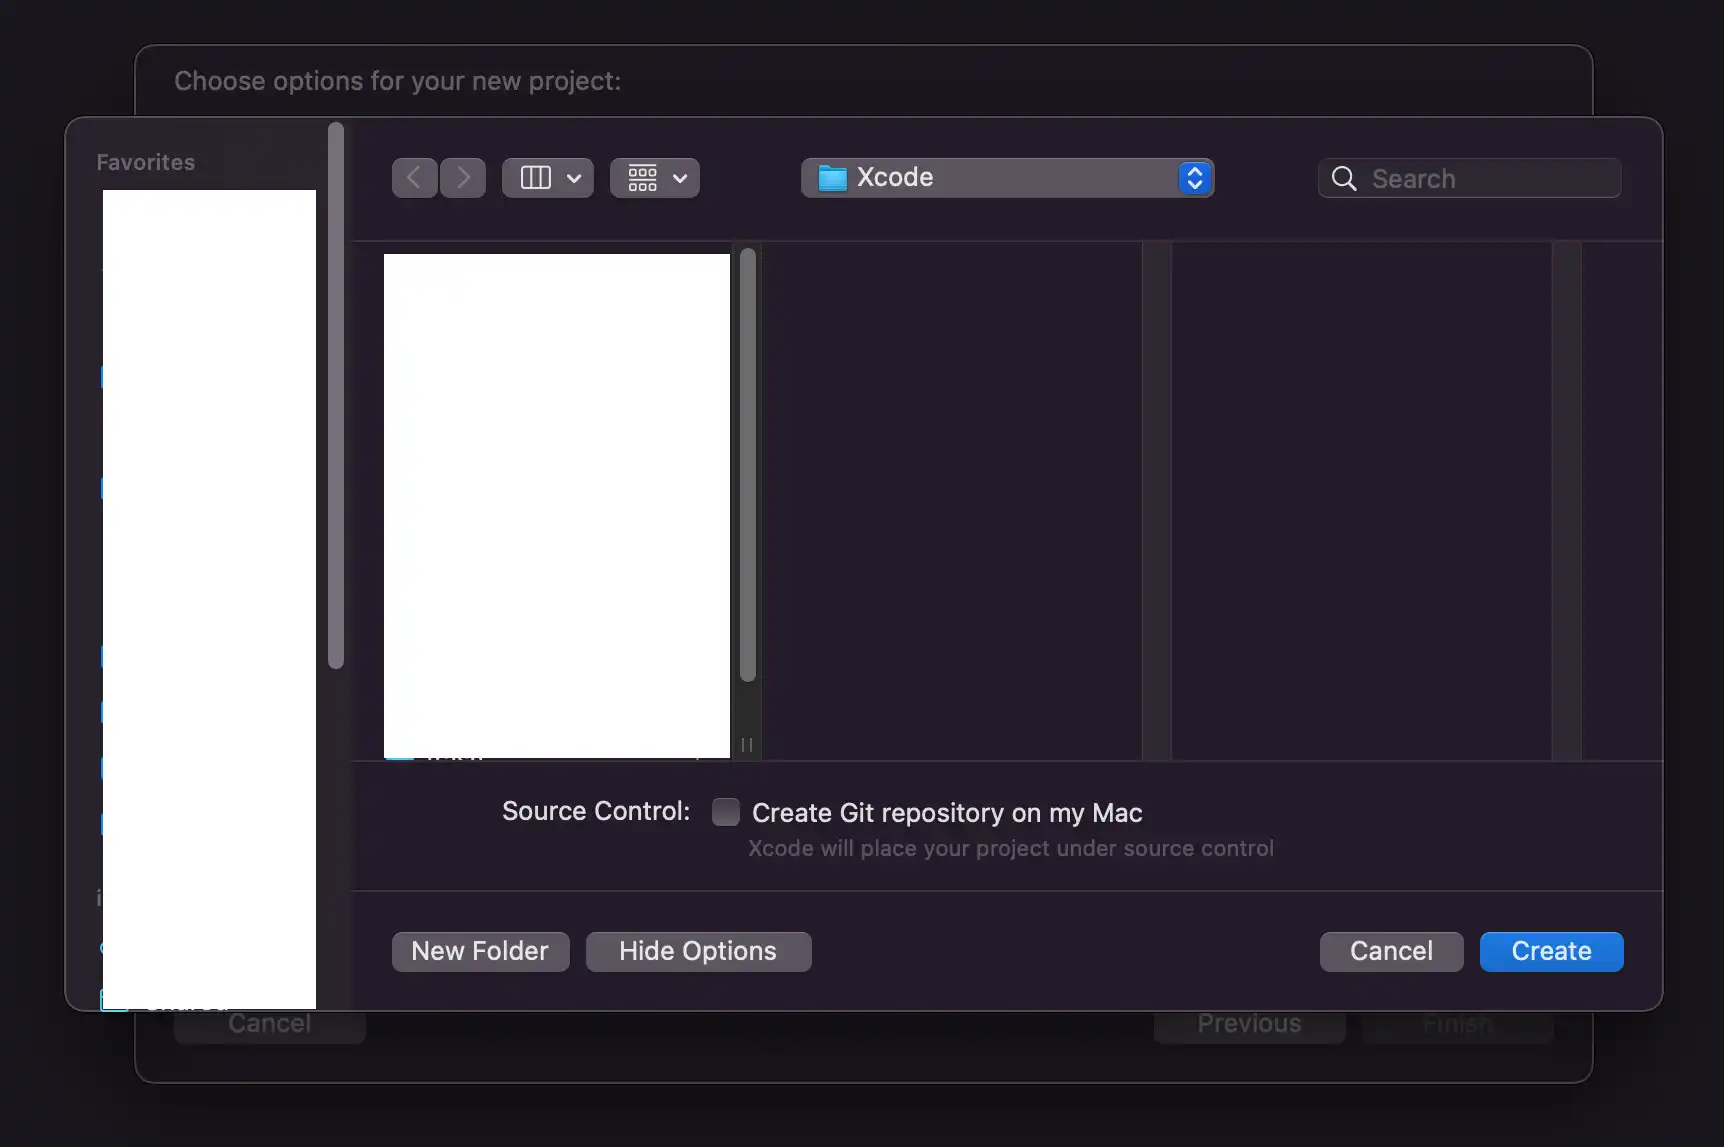
プロジェクトを作成するフォルダを選択。
「Create」をクリック
iOSのインストール
プレビュー画面を見たり、シミュレーターを起動するにはiOSのインストールが必要になるのでやりましょう。
「⌘command + ,」で設定を開き、右から2番目の「Platforms」を選択します。
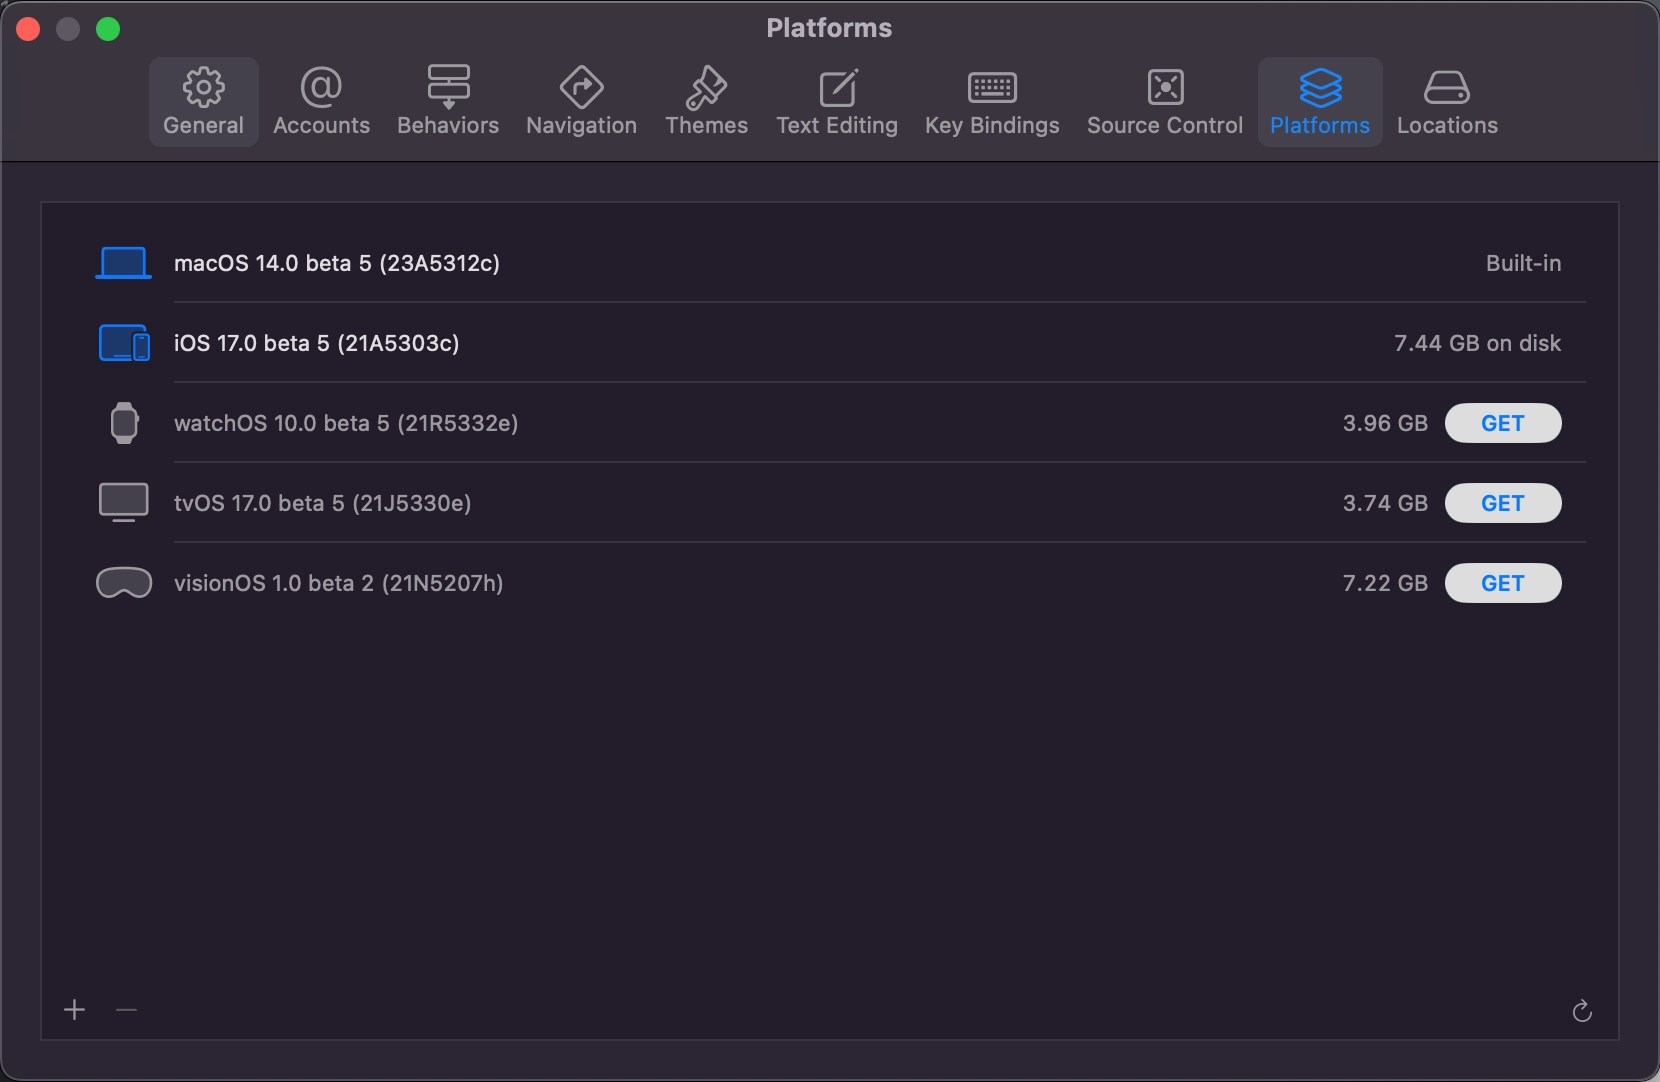
「Get」からiOSをインストールしてください。
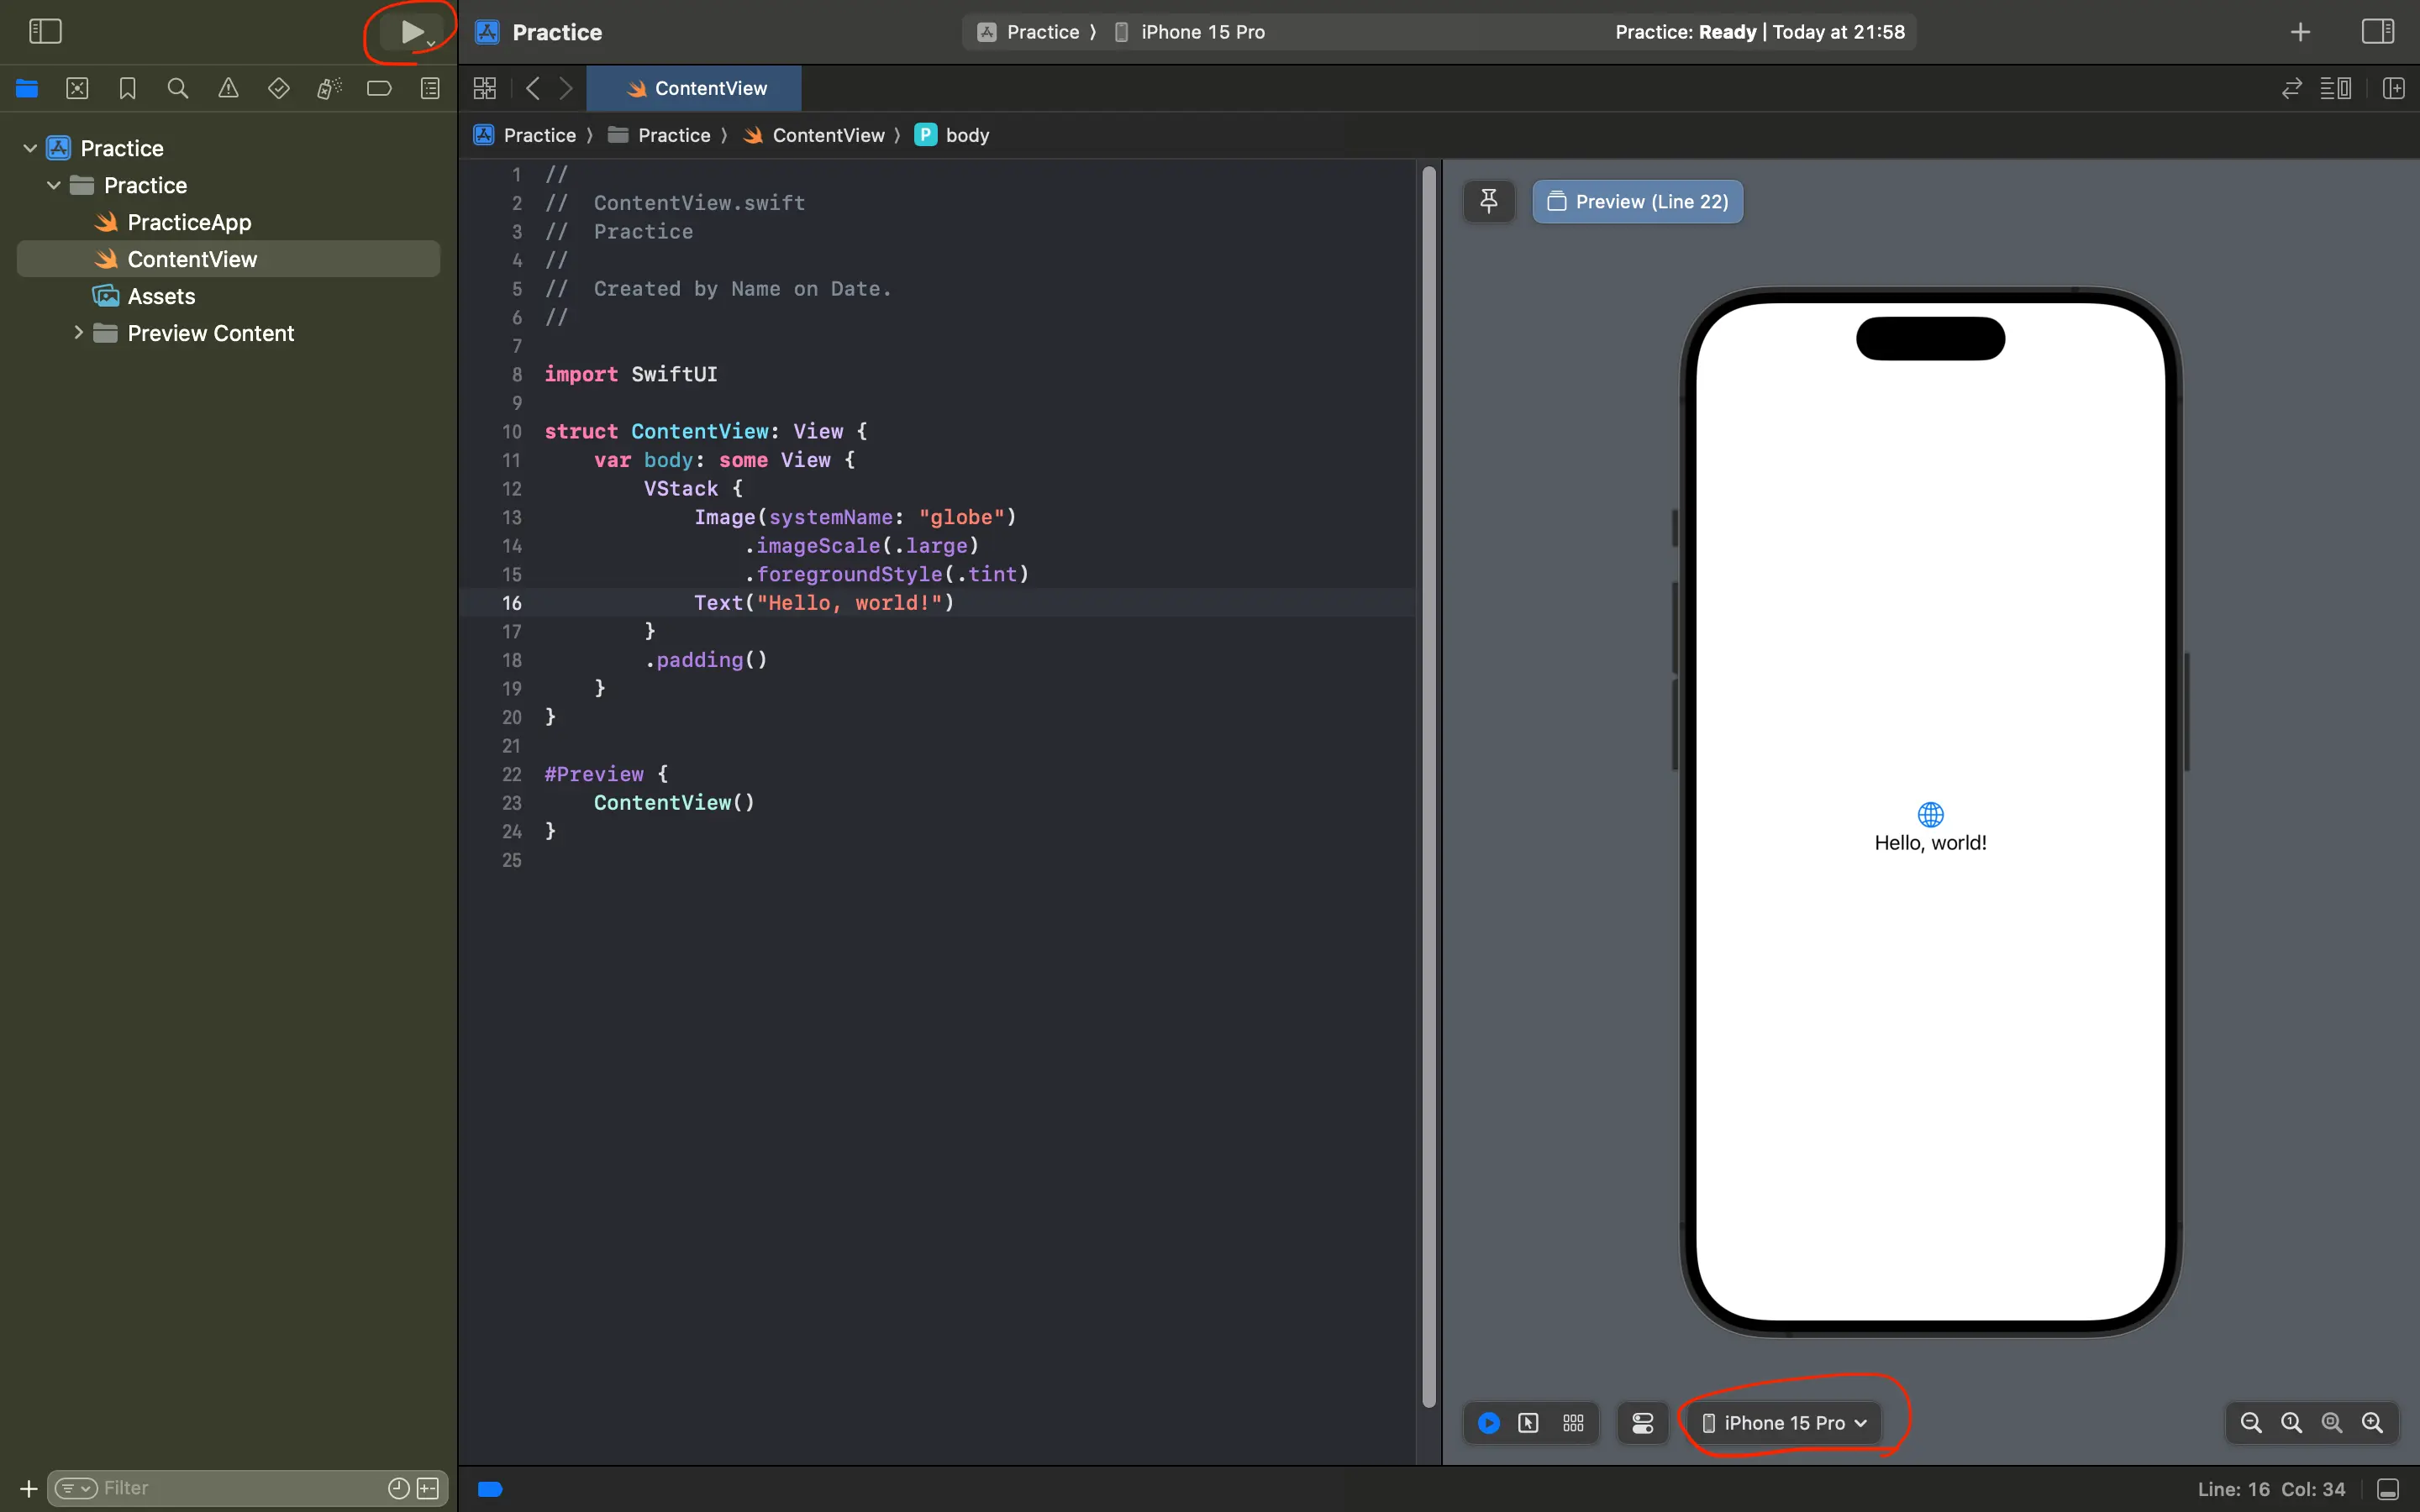
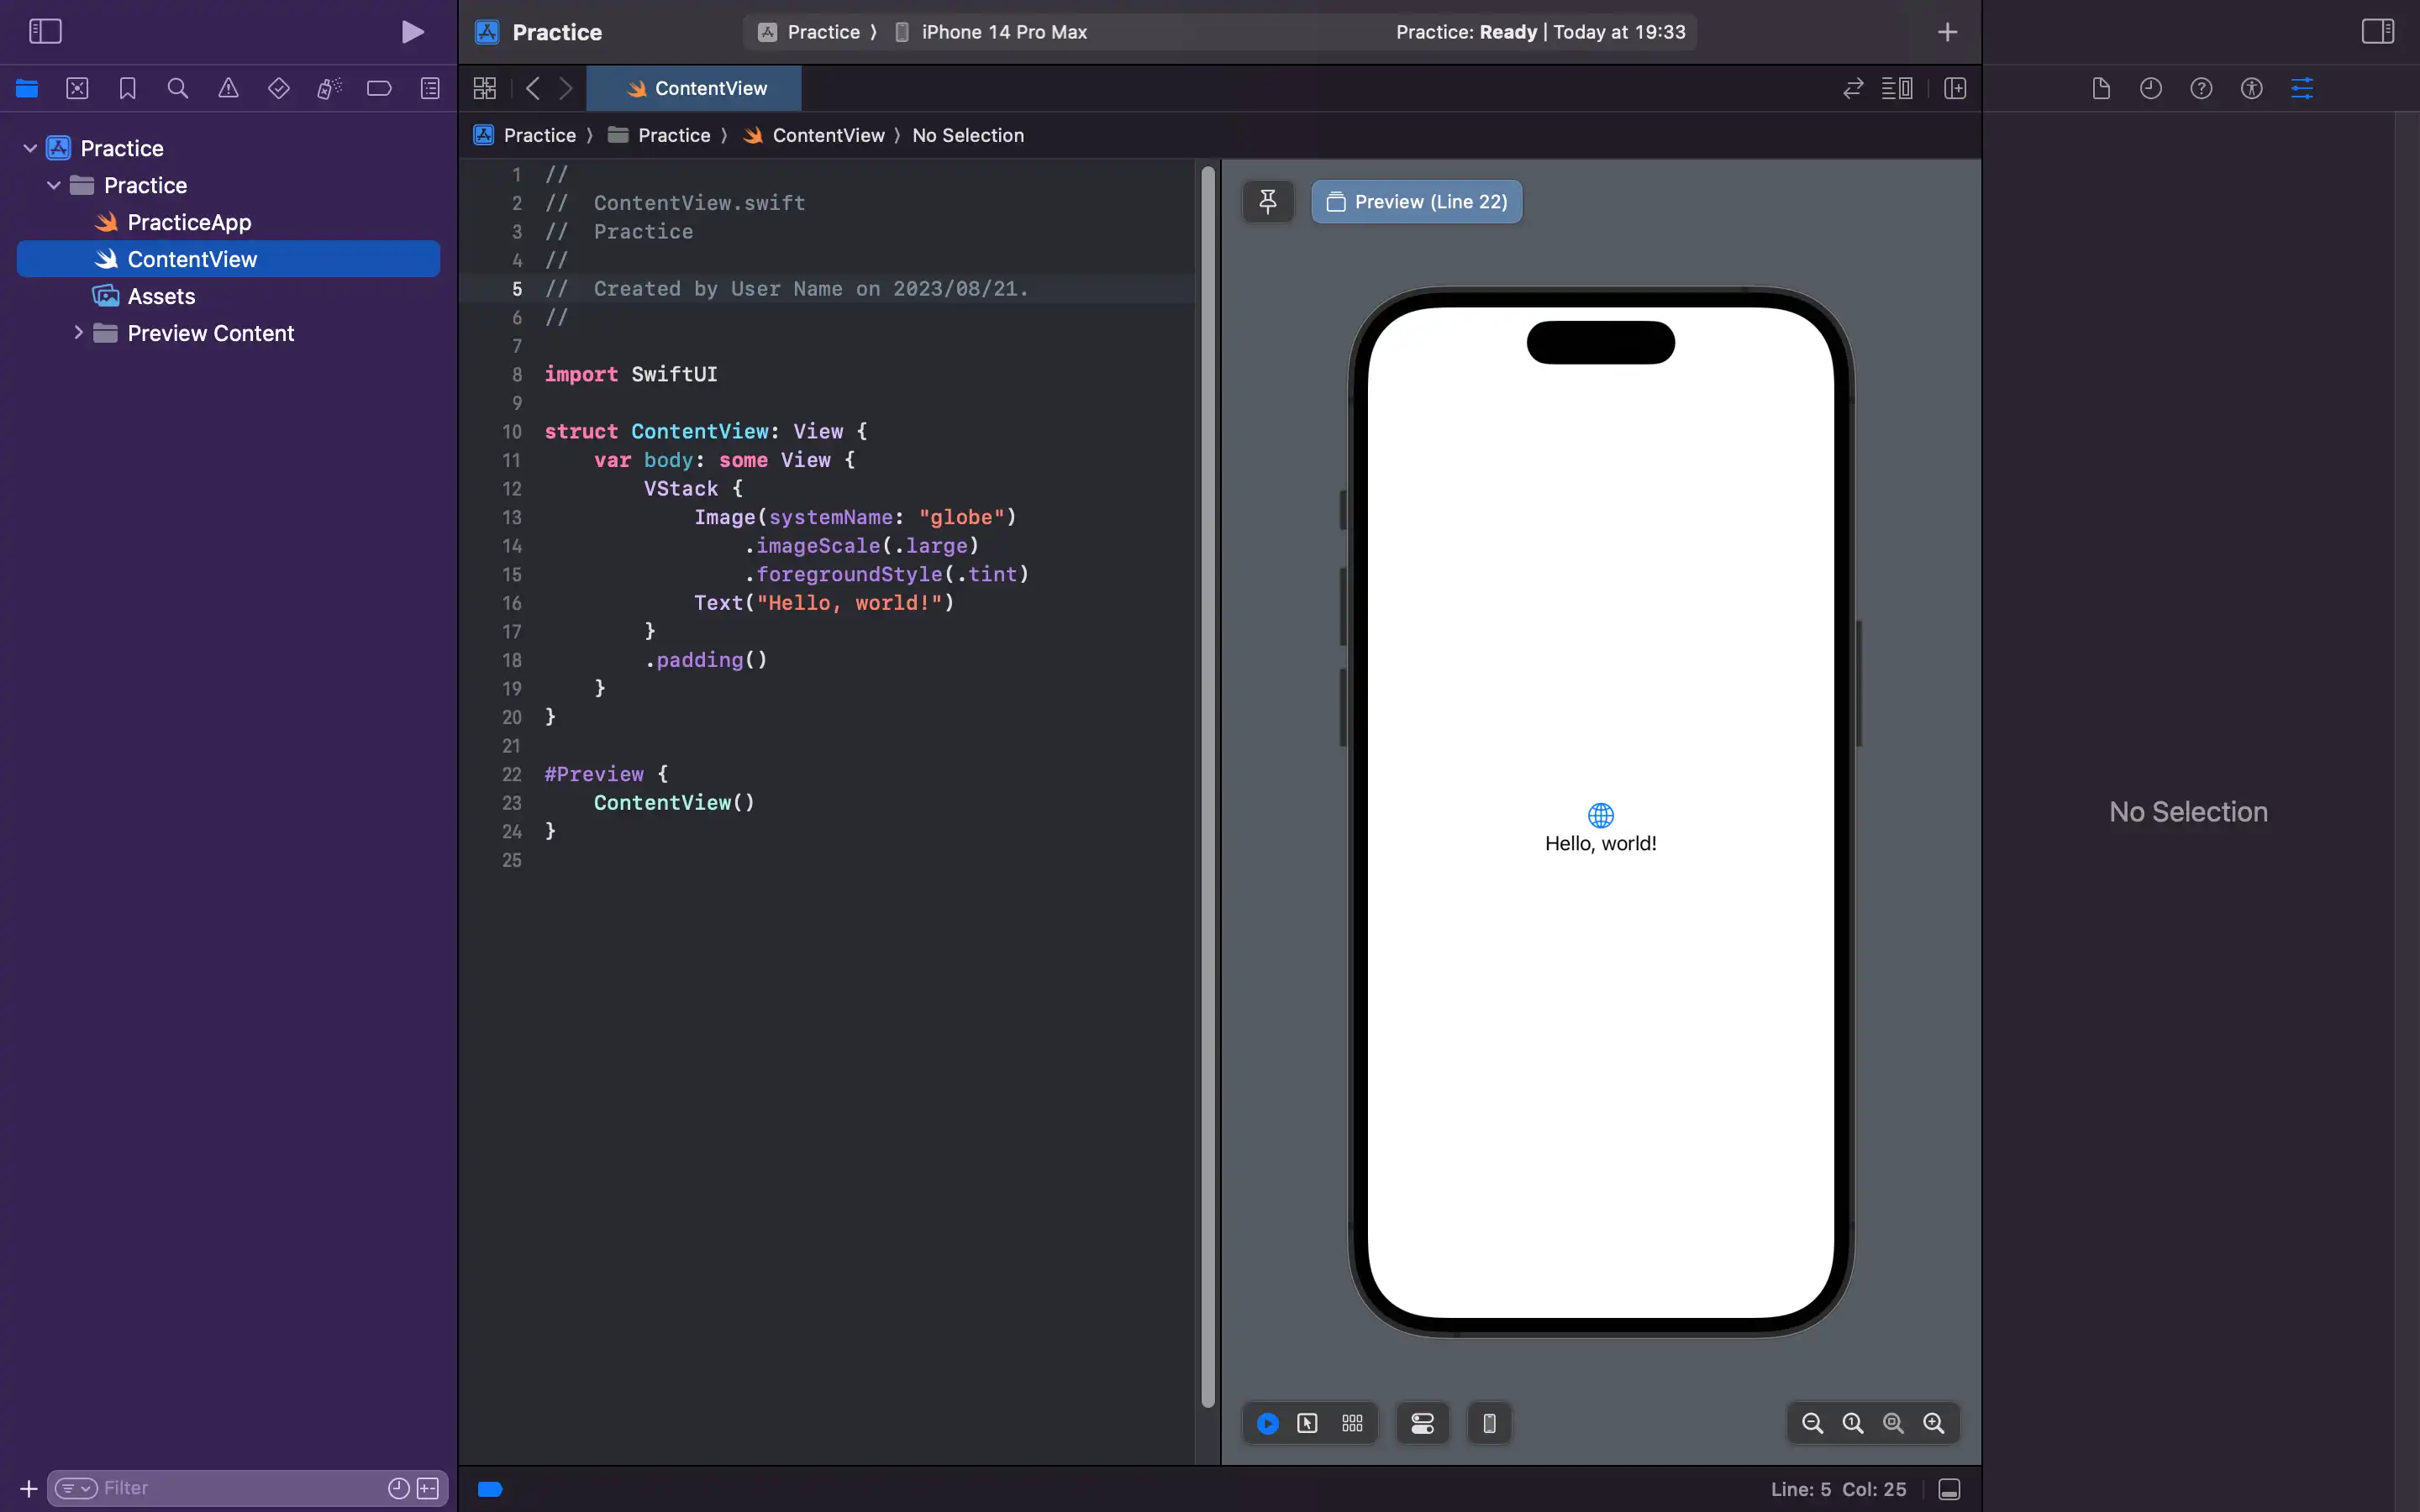
右下から機種を選んで、左上の▶️マークをクリックすると、シュミレータが起動します。
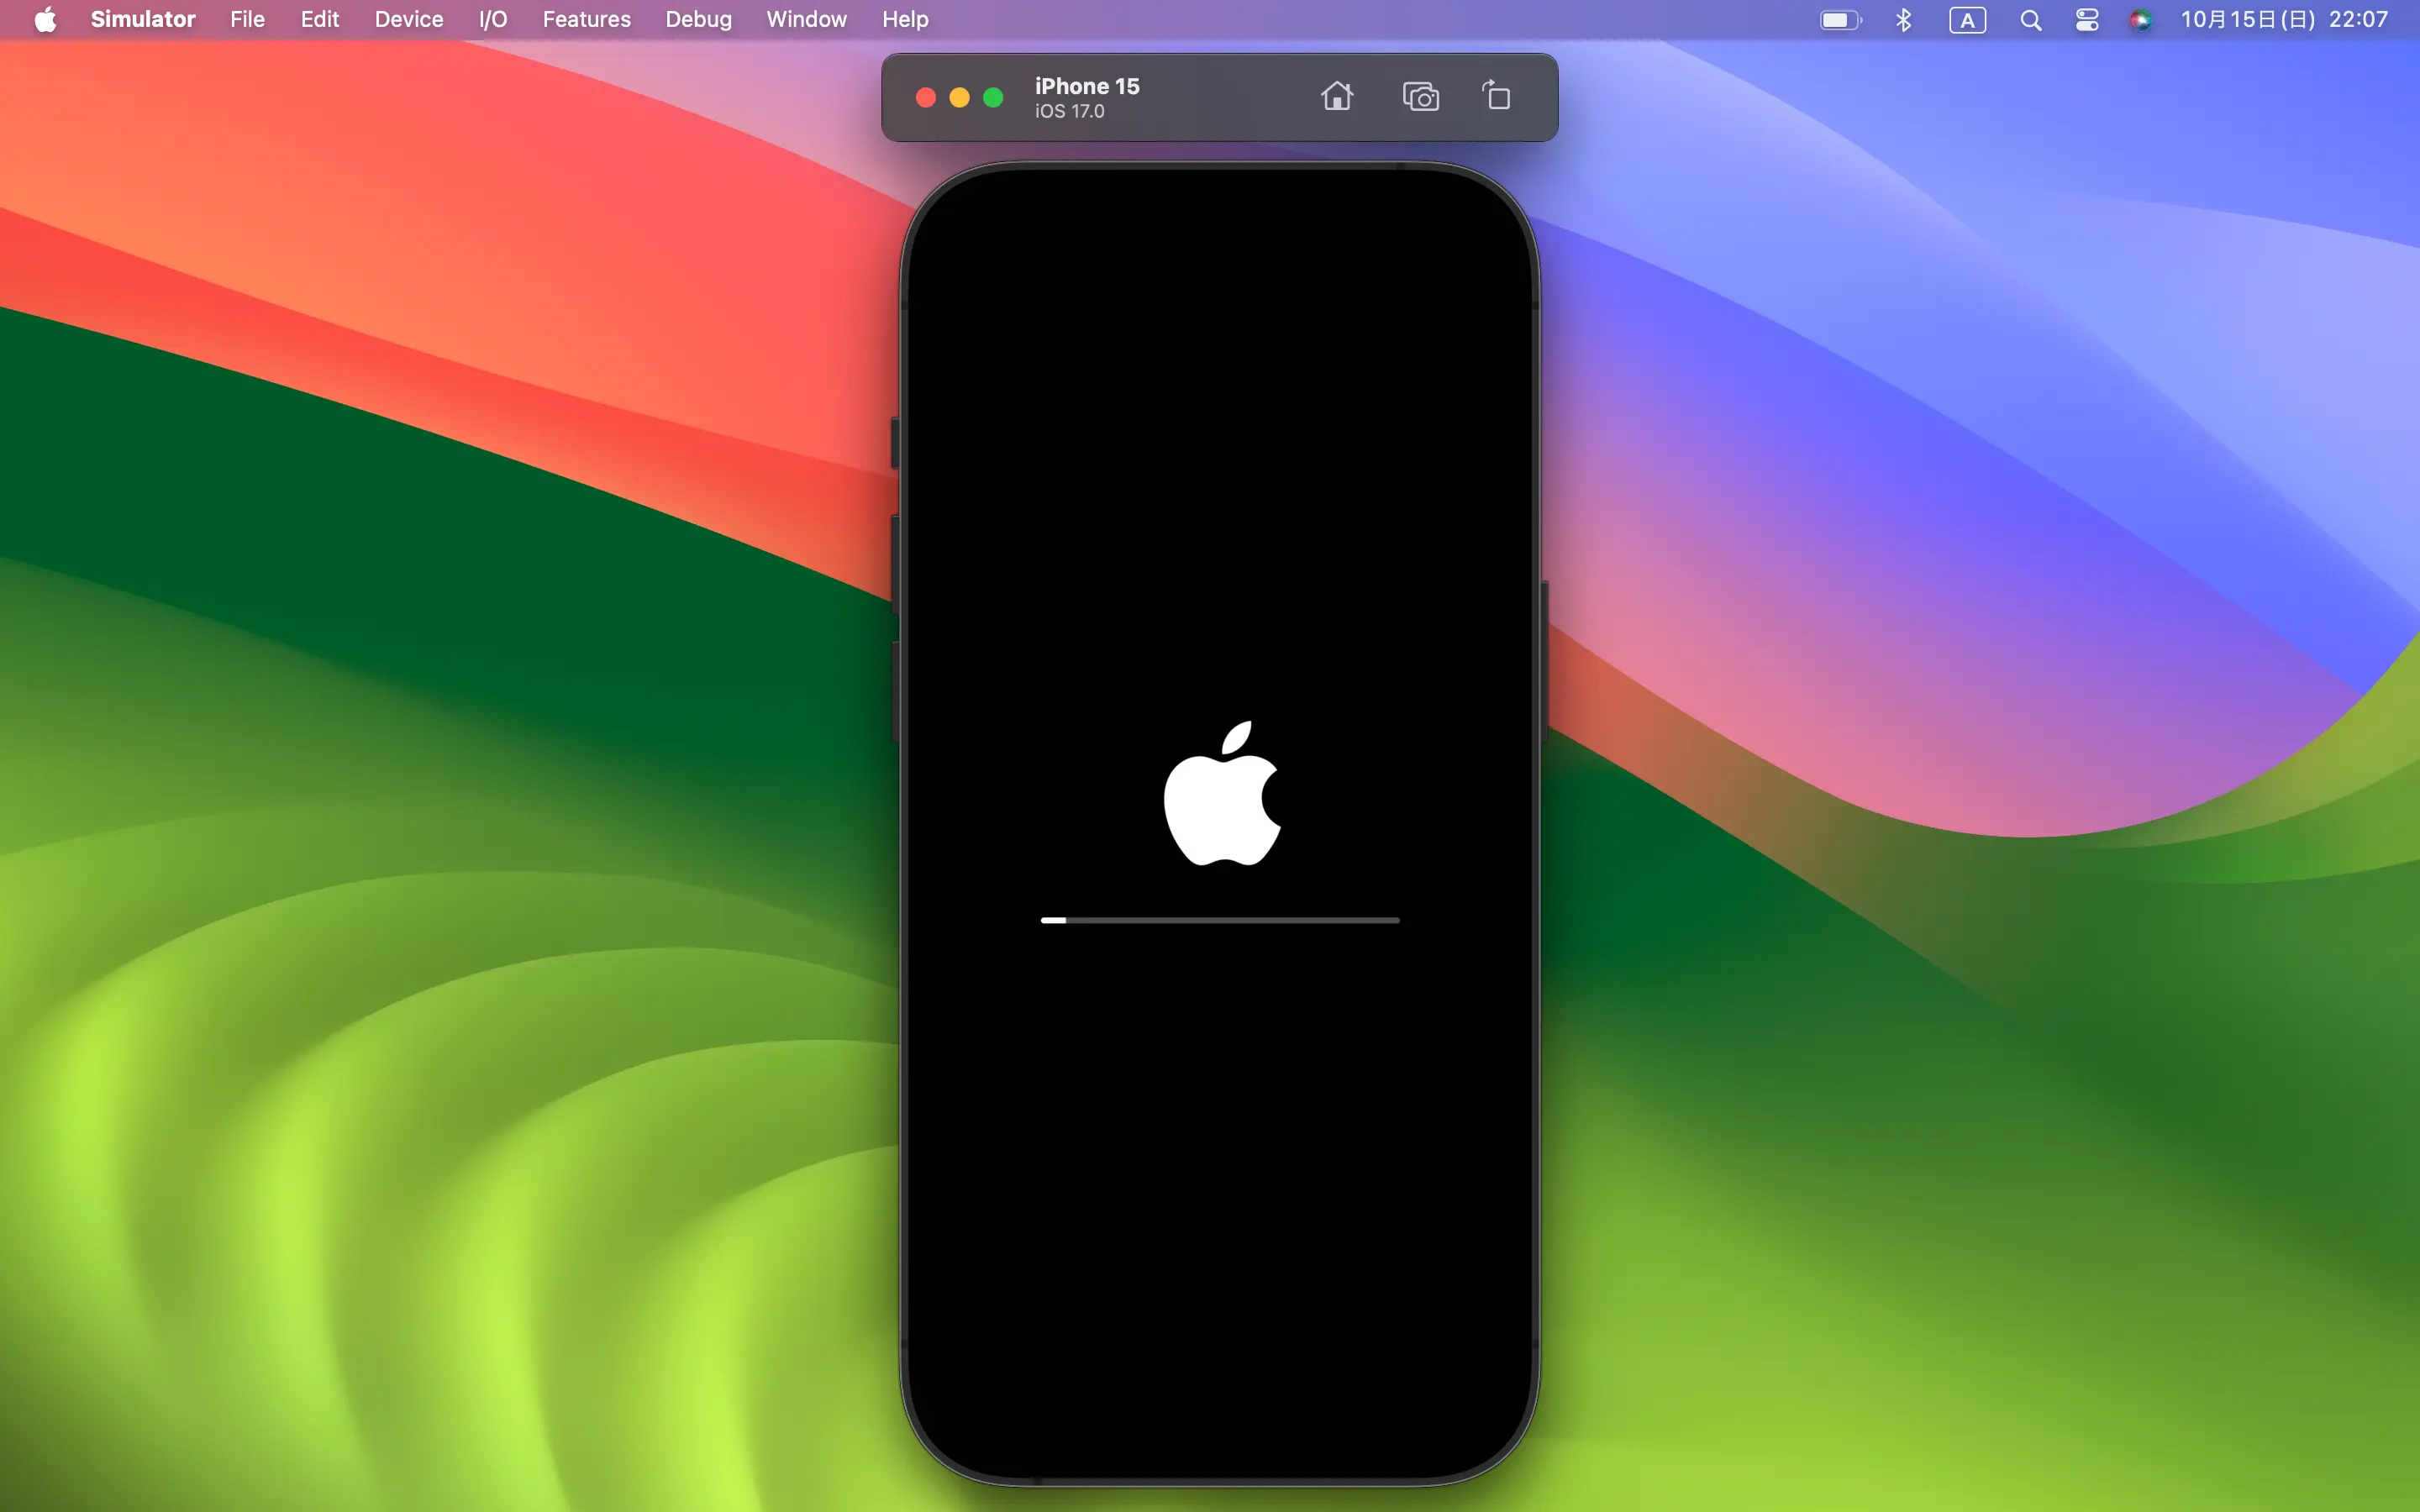
起動中...
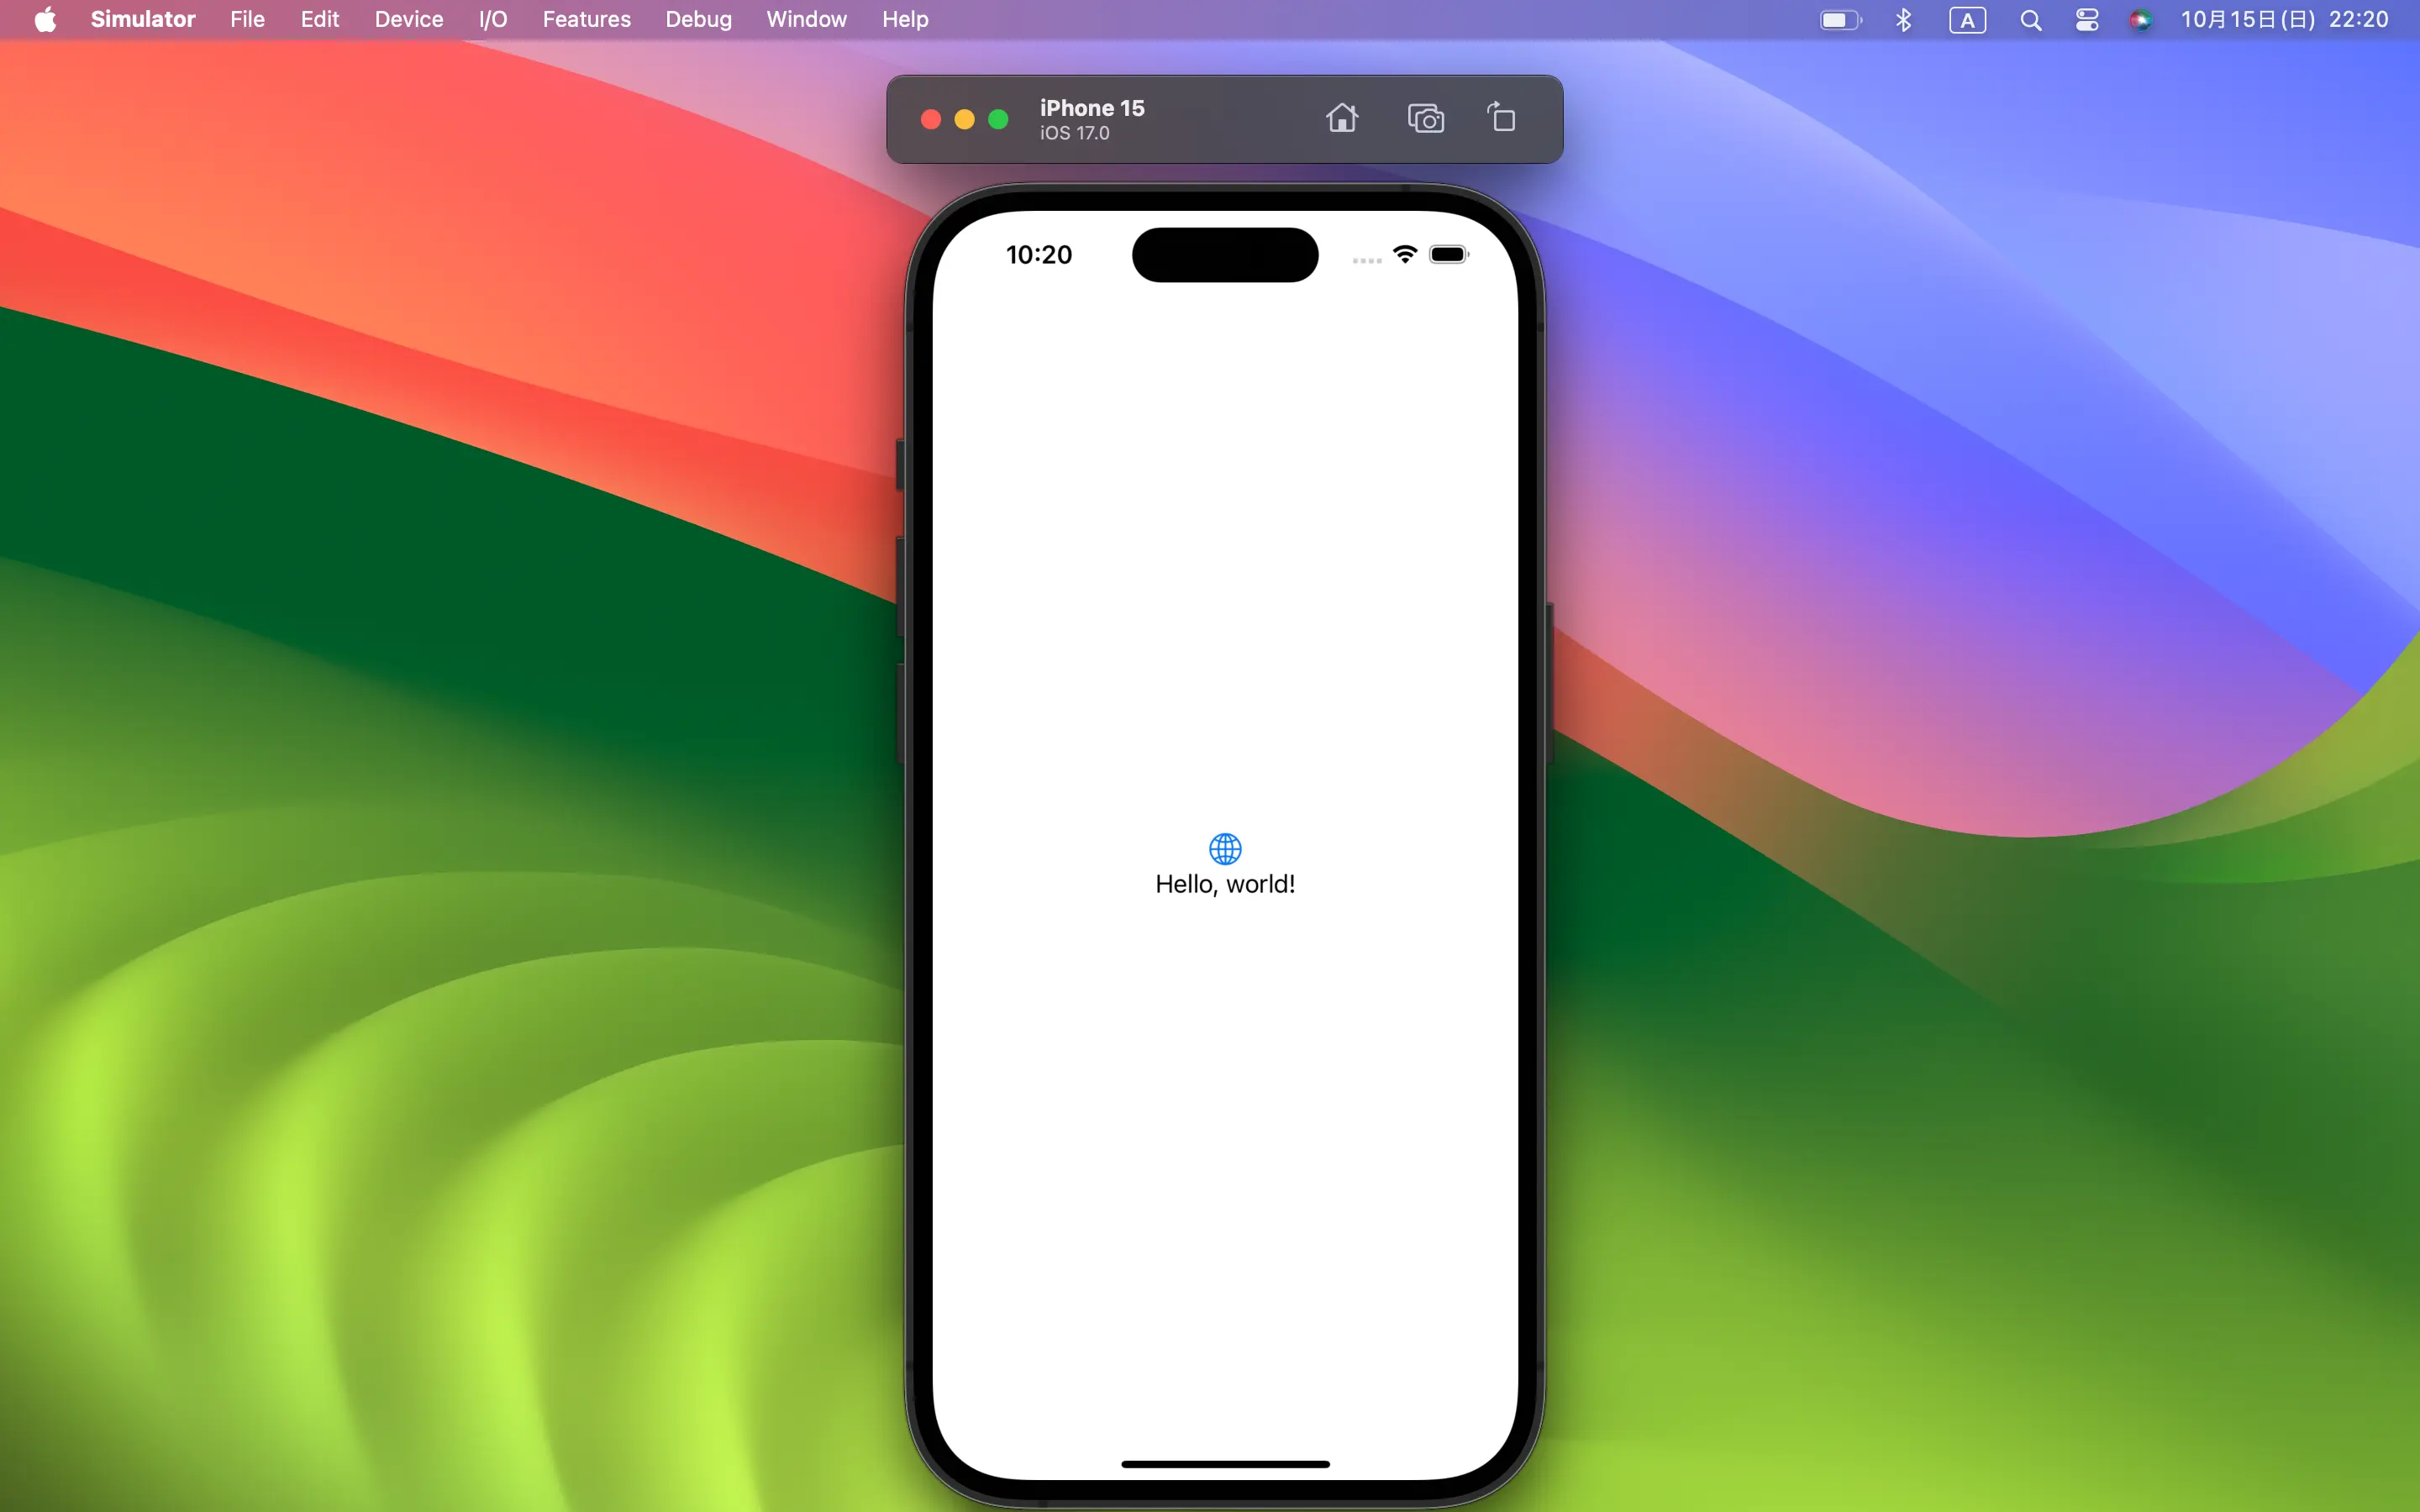
しばらくすると、このようにアプリが表示されます。
次回からは、実際にコードを書いてアプリを作っていくのでぜひ見てください!